Crucial: Starting August 29th, 2023, you have the option to link your Webflow site with HubSpot’s marketing and CRM platform using the HubSpot App. For more details, take a look at our guide on the HubSpot App.
Avoid third-party connection tools and manually written CSS for form embeds by aligning your Webflow form fields with your configuration in HubSpot. When users enter their details on your website’s forms, the integration automatically directs that information to HubSpot.
Remember: This functionality is exclusively accessible to Webflow Enterprise clients. If you or a customer are interested in knowing more, kindly reach out to our enterprise team.
In this tutorial, you will learn:
- How to link HubSpot with Webflow
- How to align individual forms with HubSpot
Linking HubSpot with Webflow
Initially, you must add the HubSpot integration to your Workspace. To reach your Workspace:
- Expand the Account dropdown in the navigation bar
- Click Workspaces
- Choose a Workspace to establish the HubSpot integration
To add the HubSpot integration:
- Visit Workspace settings > Integrations tab > Marketing automation integrations
- Click Add marketing integration
- Opt for HubSpot from the dropdown menu
- Click Add marketing integration (you will be redirected to HubSpot to connect the two applications)
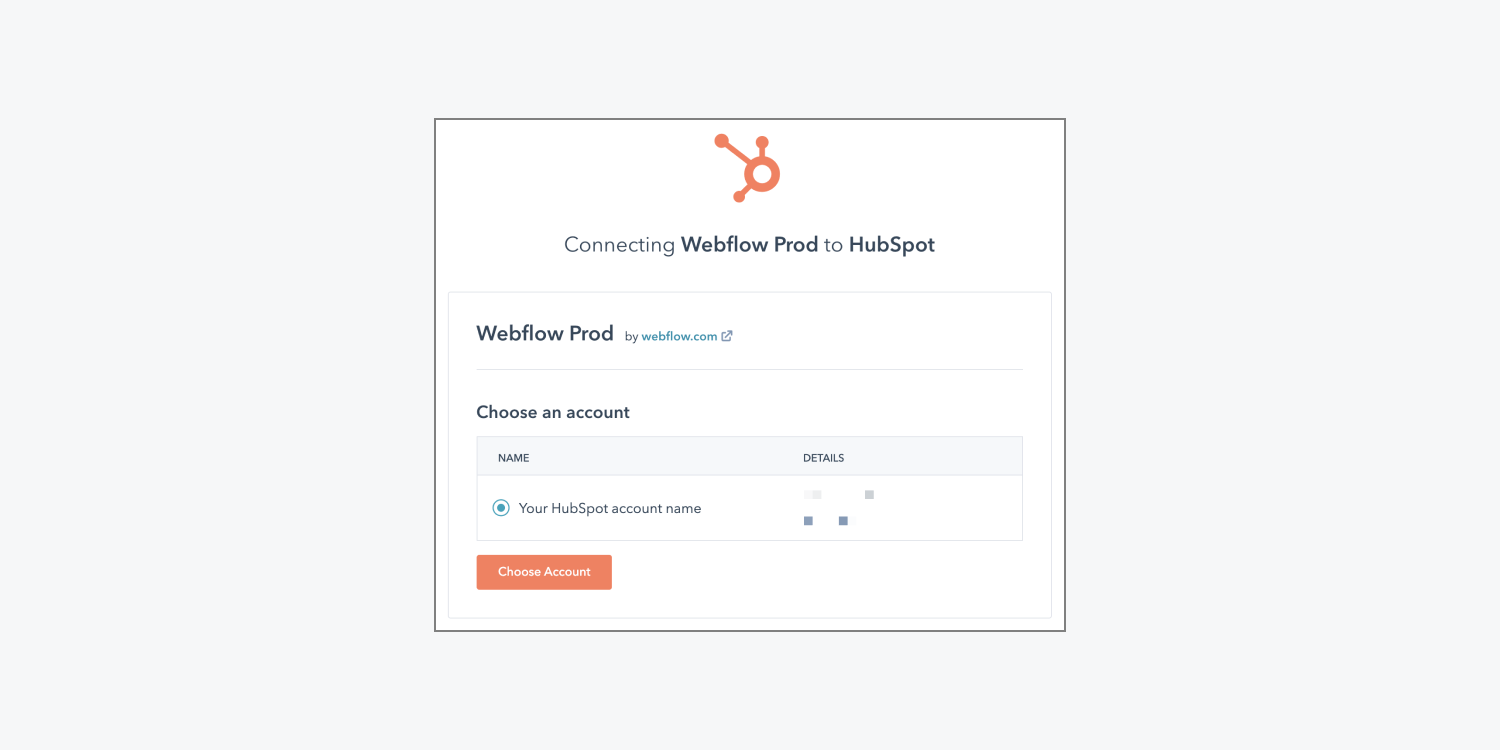
- Select your HubSpot account in the “Connecting Webflow Prod to HubSpot” page and click Choose account
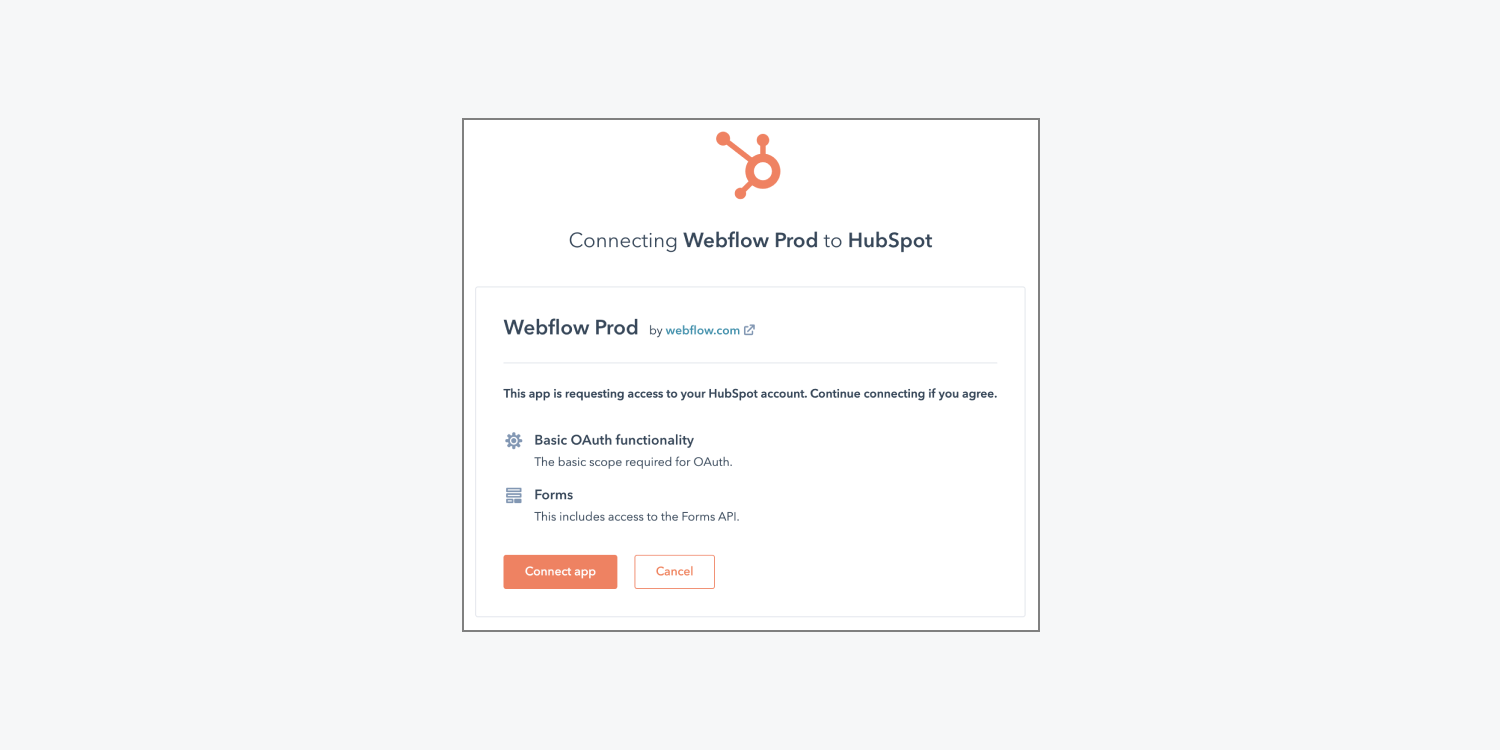
- Hit Connect app to grant Webflow access to your HubSpot account (you will then be directed back to the Integrations tab in your Webflow Workspace)
Note: To modify your integration, you will have to delete and replace it.


Removing your HubSpot integration
If you wish to eliminate your HubSpot integration, start by accessing your Workspace:
- Expand the Account dropdown in the navigation bar
- Choose Workspaces
- Select the Workspace you want to remove the HubSpot integration from
Next, remove the HubSpot integration:
- Proceed to Workspace settings > Integrations tab > Marketing automation integrations
- Click Delete next to the integration you want to uninstall
- Enter “DELETE” to confirm and click the Delete button
Crucial: If you delete your Workspace’s HubSpot Marketing automation integration and later re-add it, you will also need to remove any prior HubSpot form integrations on your sites and re-add them to ensure their proper functioning.
Aligning individual forms with HubSpot
When a user completes a form on your Webflow site, each Webflow form field that you have linked to a HubSpot form field automatically retrieves the submitted data into the values of your corresponding HubSpot fields. In essence, this integration exchanges submitted data from mapped fields between your Webflow form and your HubSpot form. You can align your form and manage it with the following steps:
- Publish your form and make a test submission
- Link your Webflow form to HubSpot
- Test your linked form
- Adjust your form integration settings
- Delete your form integration
Publish your form and make a test submission
Prior to aligning your dynamic Webflow forms with a universal HubSpot form, you must create your form in Webflow, publish your site (or republish it if you already have a form in operation), and make a test submission:
- Create your form in Webflow if it doesn’t exist yet
- Publish (or re-publish) your site containing the form you wish to connect to HubSpot
- Thoroughly fill out and submit your form on your live site
Remember, every Form block in your site should have a distinct Form name. If two or more forms share the same name, it can lead to issues with Webflow’s API and how it fetches mappable form fields. By default, our API fetches forms with the most recent submission, and if 2 forms share the same name, it can disrupt or break the expected mapping between Webflow and HubSpot. Having multiple forms with the same name can also cause other complications (e.g., multiple forms submitting to HubSpot when you intended only one to submit).
Crucial: Even if you have previously published your form, you will need to republish it for the integration to work as intended.
Learn more aboutforms.
Link your Webflow form to HubSpot
After generating a test submission from the form you wish to connect to HubSpot and after adding the HubSpot integration to Webflow, you can link the form to HubSpot.
- Access Site settings of the site containing the form you wish to link to HubSpot
- Navigate to the Forms tab > Form integrations
- Click Map new form
- Select webflow.com(HubSpot) from the Marketing platform dropdown menu
- Pick your form from the Marketing form name dropdown menu
- Choose your respective Webflow form from the Webflow form name dropdown menu
- Link your Webflow form fields with Marketing lead fields (e.g., a “FirstName” field in Webflow links to a “firstName” field in HubSpot — you don’t have to link all your fields if you don’t want to)
- Click Connect form to link your Webflow form to HubSpot
Helpful to be aware: When linking form fields, ensure your HubSpot form incorporates every Webflow form field as a corresponding field in the HubSpot form itself. You can include these corresponding fields in your HubSpot form by choosing your matching HubSpot form, accessing it, editing it, and adding any necessary fields to your HubSpot form.
Test your linked form
You can test your integration after linking your Webflow form to your HubSpot form to confirm that it’s pulling data into HubSpot as desired:
- Access your live site, thoroughly fill out,and submit your form
- Log in to HubSpot
- Check the submission log in HubSpot to verify that your form information was correctly pulled into HubSpot
Adjust your form integration settings
If you wish to modify your form integration settings, you must first create a form test submission:
- Publish the site containing the form you wish to link to HubSpot
- Complete your form
- Submit it
After creating a test submission from the form you want to connect to HubSpot, you can update your form fields in your current form integration:
- Head to Site settings of the site containing the form integration you wish to update
- Go to the Forms tab > Form integrations
- Click Edit next to the form you want to modify
- Make any necessary changes to your fields
- Press Update form connection to save your alterations
Delete your form integration
If you need to erase a form integration:
- Navigate to the Site settings of the site containing the HubSpot form integration you wish to delete
- Go to the Forms tab > Form integrations
- Click the Delete button next to the form integration you aim to remove
- Enter “DELETE” to confirm and press the Delete button
- Include or eliminate Workspace spots and members - April 15, 2024
- Centering box summary - April 15, 2024
- Store a site for future reference - April 15, 2024

