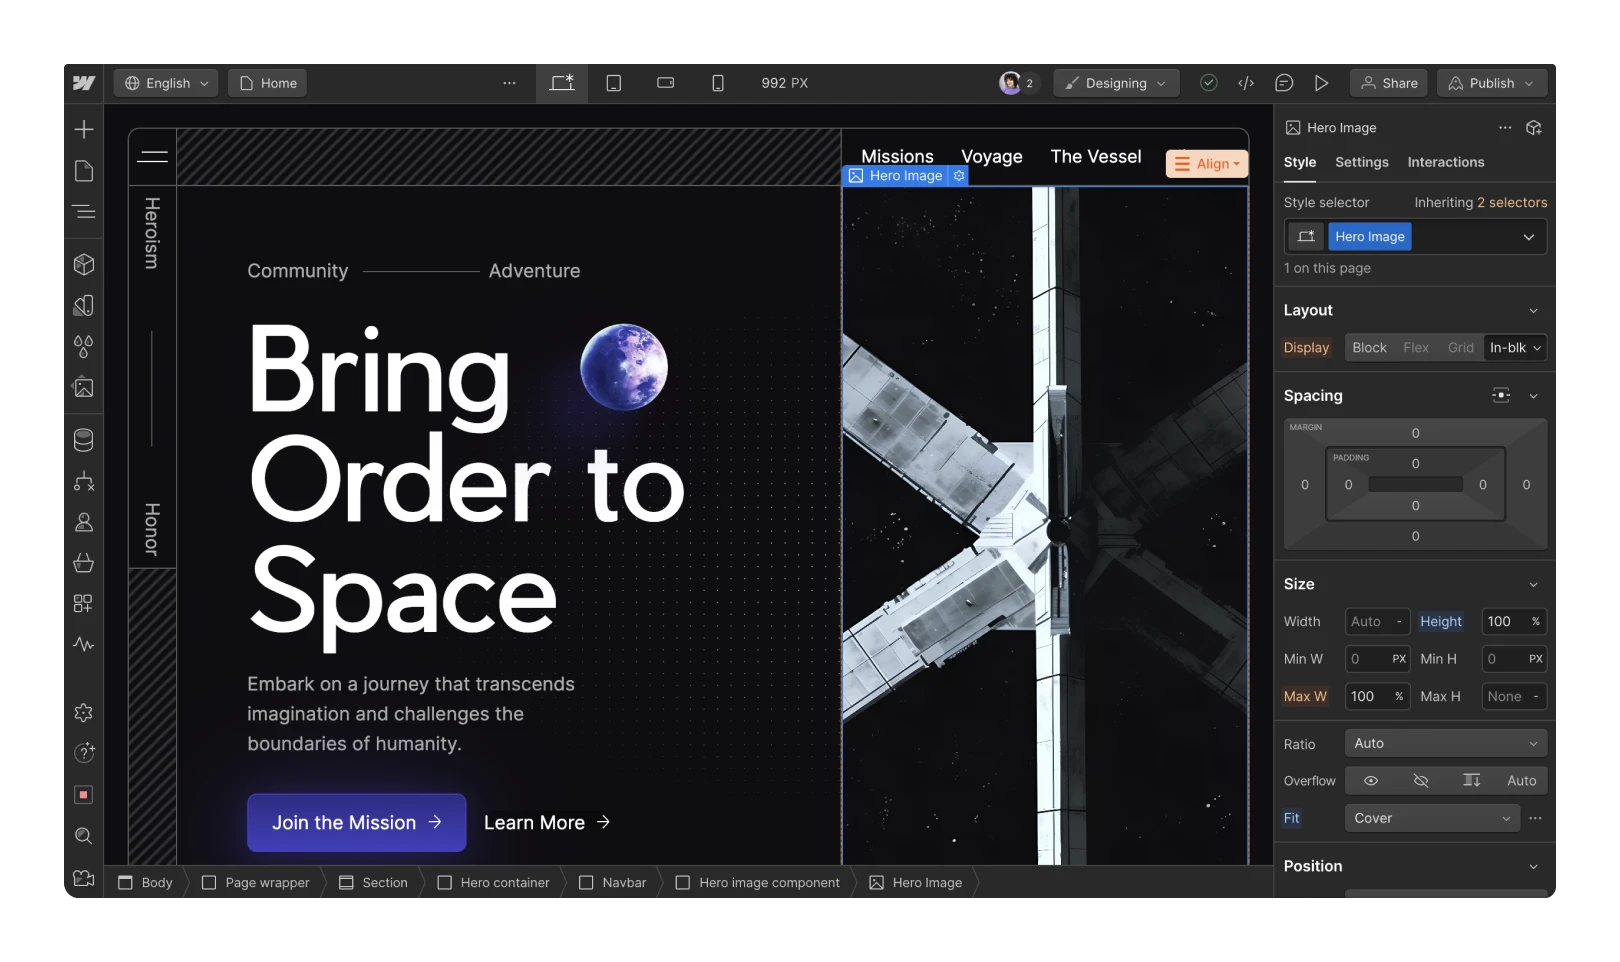
The Webflow Designer enables you to construct your site framework, conceptualize the appearance and ambiance of your site, and include content, interactions, animations, and customized code to fabricate fully operational websites, landing pages, prototypes, presentations, and more.
Within the Designer, you have the ability to handle HTML elements, define CSS styles, and establish interactions without requiring to write any code. While constructing your website, the Designer generates pristine, semantic, web-optimized code that web browsers will make use of to showcase your site. Furthermore, the code from the Designer can be exported to other applications.
This tutorial will cover:
- Guidance on accessing the Designer
- Overview of the Designer structure
- Collaboration among multiple users
- Reasons for the Designer being an online application

Getting to the Designer
To reach the Designer:
- by accessing the Dashboard and clicking on your site thumbnail
- via Site settings by selecting Designer from the top toolbar
- through the Editor by choosing the Designer after clicking the Menu button in the lower left corner
Designer prerequisites: compatible web browsers
Webflow officially supports the Designer on the latest three major versions of all contemporary browsers, including Chrome, Edge, Firefox, and Safari.
The extent of browser compatibility varies based on the features utilized (e.g., filter has partial support in Edge). For features with restricted support in specific browsers, more information can be found in their respective articles:
- CSS transforms 3d – Used in Interactions
- CSS transitions – Utilized in Interactions
- CSS flexbox – Employed in Style panel > Layout
- CSS filters – Applied in Interactions
- CSS grid – Utilized in Style panel > Layout
Webflow does not provide support for Internet Explorer. Although Webflow-created sites continue to back all standard features upheld in contemporary web browsers, compatibility with Internet Explorer is not guaranteed. Find out more about the abandonment of Internet Explorer support.
Insider tip: You can identify your browser and OS version by visiting What’s My Browser.
Designer prerequisites: compatible display resolutions
The Designer necessitates a device with a mouse and keyboard (e.g., desktop or laptop) possessing a screen width of at least 1268px. This width accounts for the left sidebar, the Designer canvas, and the right sidebar combined.
Structure of the Designer
The Designer includes the primary canvas and a collection of toolbars and panels. Keep reading for a summary of:
- The left toolbar and panels
- The canvas
- The top bar
- The bottom navigation breadcrumb bar
- The right panels
The left toolbar and panels
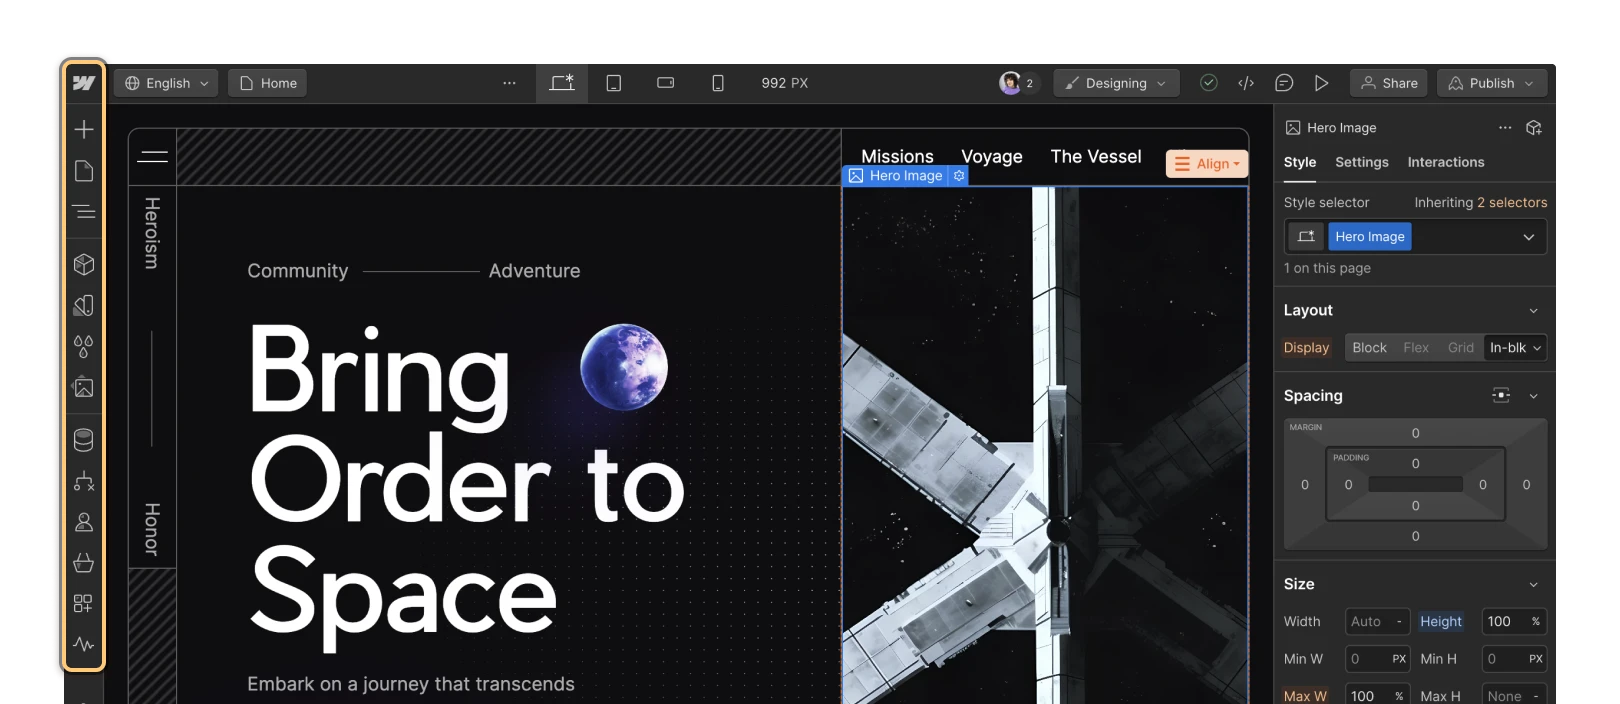
The left toolbar presents various links and tools allowing you to organize your website. The icons positioned at the top of the left toolbar can hide the majority of the Designer panels, which expand once clicked upon:
- Main menu
- Add panel
- Pages panel
- Navigator panel
- Components panel
- Variables panel
- Style selectors panel
- Assets panel
- CMS panel
- Logic panel
- Users panel
- Ecommerce panel
- Apps panel
- Site activity log
- Settings panel
- Help settings
- Audit panel
- Quick find
- Video tutorials panel
Main menu — Webflow logo
By selecting the Webflow icon, a dropdown menu emerges, allowing navigation to the Dashboard, Site settings for the currently viewed site, or the Editor. Additionally, the main menu offers:
- access to Quick find
- undoing your last action
- redoing your last action
- exporting code
- viewing keyboard shortcuts
- activating CSS preview
- getting assistance or providing feedback
Add panel — shortcut: A
The Add panel enables the incorporation of elements from the Elements tab or prebuilt layouts from the Layouts tab.


