The Resources section enables you to upload and organize all your website’s resources. This section is located in the left toolbar of the Designer. Within this area, you can upload resources, categorize them into folders, filter them by type (Images, Documents, or Lottie), and seamlessly drag and drop them onto your Webflow canvas.
Throughout this tutorial, you will gain insight into the following:
- Adding resources
- Compatible file formats
- Naming resources
- Utilizing resources
- Removing resources
- Filtering and organizing resources
Adding resources
Note: Files uploaded to the Resources section are not restricted — meaning they are publicly accessible and searchable, though not automatically indexed by search engines unless the file is linked on a publicly viewable webpage. Further details on resource privacy can be found in Webflow.
There are three methods to include images or files on your site:
- Clicking the “cloud” upload icon in the Resources section
- Directly dragging and dropping resources into the Resources section
- Dragging and dropping resources directly onto the canvas
Note: Only upload files that you have the necessary usage and distribution rights for.
Upload a resource to the Resources section
To add a resource to the Resources section:
- Access the “Resources” icon in the left toolbar
- Click the “cloud” upload icon
- Choose one or multiple images or files from your device
Reminder: If uploading a file that already exists in the Resources section with a different name, the original name will be kept if the file hasn’t been altered (i.e., size or dimensions remain unchanged). To upload an identical resource with a different name, a modification must be made to the file.
Directly add a resource to the canvas
You can also drag one or more image(s) or file(s) from your device directly onto the canvas without opening the Resources section. This action will automatically generate an image element or create a link to the file. The image or file will also be added to the Resources section for future use.
Note: It’s not feasible to directly drag a dotLottie file onto the canvas due to browser constraints. Nevertheless, the dotLottie file can be uploaded to the Resources section.
Compatible file formats
The Resources section is compatible with various image file types, the document categories listed below, as well as Lottie JSON and dotLottie animation files.
Reminder: Image files must not exceed 4MB in size and documents should not surpass 10MB.
Supported image file extensions
- PNG
- JPEG and JPG
- GIF
- SVG
- WebP
Supported document file types
- DOC and DOCX
- XLS and XLSX
- PPT and PPTX
- TXT
- CSV
- ODT
- ODS
- ODP
Supported Lottie file types
- JSON (Lottie only)
- dotLottie
Additional tip: There are three ways to obtain a dotLottie file. You can transform your existing Lottie JSON file to dotLottie using the JSON to dotLottie conversion tool, generate a dotLottie file directly from After Effects using the LottieFiles plugin, or download a predesigned dotLottie file from LottieFiles.com.
Naming resources
To prevent issues during resource uploads to the Resources section or the canvas, consider the following when naming your resources:
- You are allowed to utilize letters, numbers, hyphens, and underscores (characters permissible in URLs for linking to resources)
- Avoid special characters in filenames (e.g., `#, (), ‘ ,`)
- Keep filenames concise (100 characters or fewer, including the file extension)
Reminder: To enhance loading speed, ensure images are below 4MB — resize, optimize, and/or compress large files. Utilize a free third-party tool like CompressJPEG or CompressPNG. You can also compress resources by converting them to WebP format using the Webflow conversion tool.
Reminder: If a file is uploaded to the Resources section with a different name but remains unaltered (i.e., size or dimensions intact), the original name will be preserved. To upload the same resource with a new name, modification of the file is necessary.
Utilizing resources
Once resources are accessible in the Resources section, you can incorporate them into your site. Images will display as image elements when added, and files will appear as text links.
Attaching resources to link elements
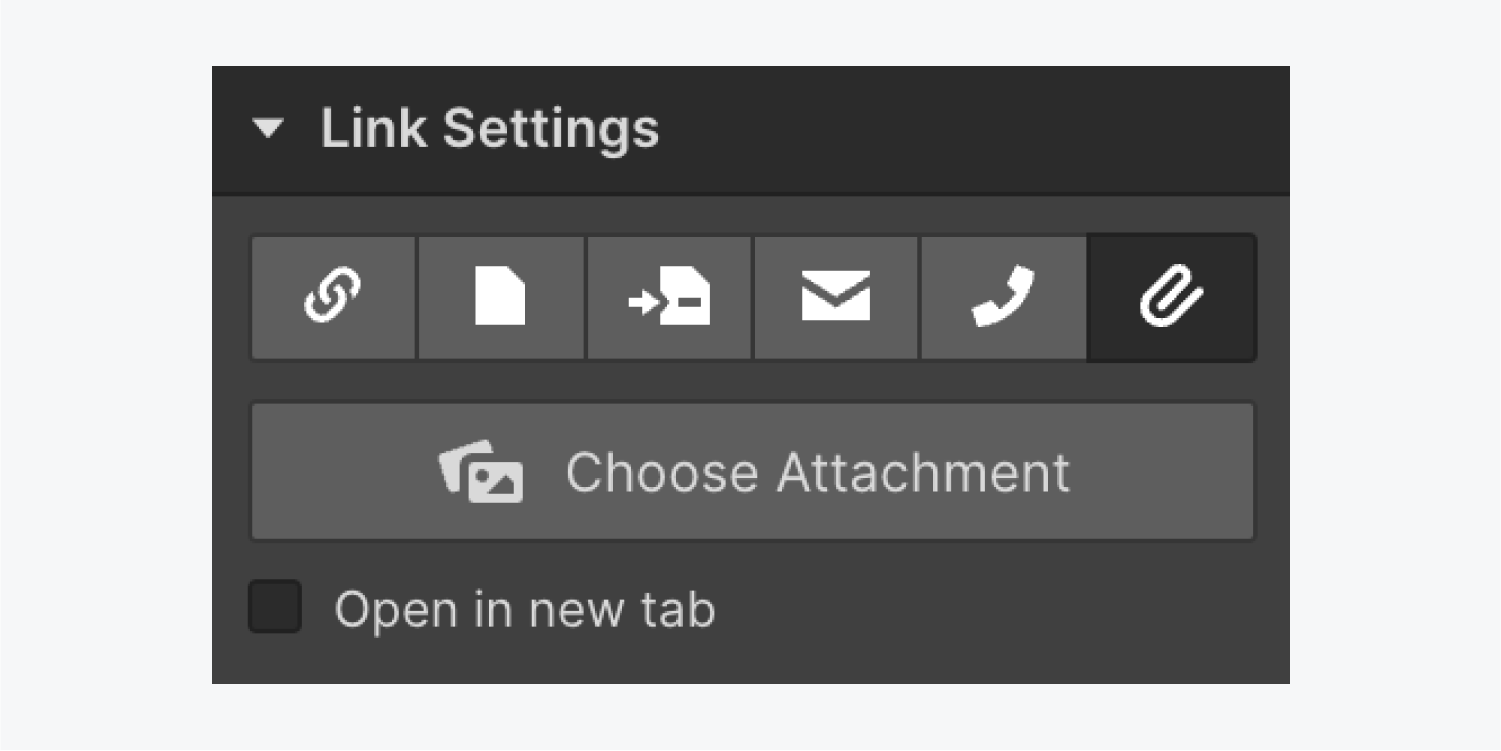
You can link resources to link elements via link settings. To link a resource to a link element:
- Select the link element (link block, text link, or button) on the canvas
- Navigate to Settings panel > Link settings
- Click the “paperclip” file icon
- opt for Choose attachment
When a visitor clicks the link, image or document files will open in the same tab. Other file types will download to the visitor’s device.
If you wish to modify the linked attachment, you can substitute an attachment in link settings. You can also adjust settings to have the image or document file open in a new tab upon clicking.
Utilizing image resources as background images
To employ uploaded image resources as background images:
- Select the element on the canvas for the background image
- Access Style panel > Backgrounds
- Click the “plus” icon beside Image & gradient
- Choose Choose image
- Select the image in the Resources section
For further information on styling background images, explore additional resources.
Reminder: Upload an optimized background image with correct resolution as Webflow does not generate responsive variants for background images. Learn more about background image resolution.
Searching for resources
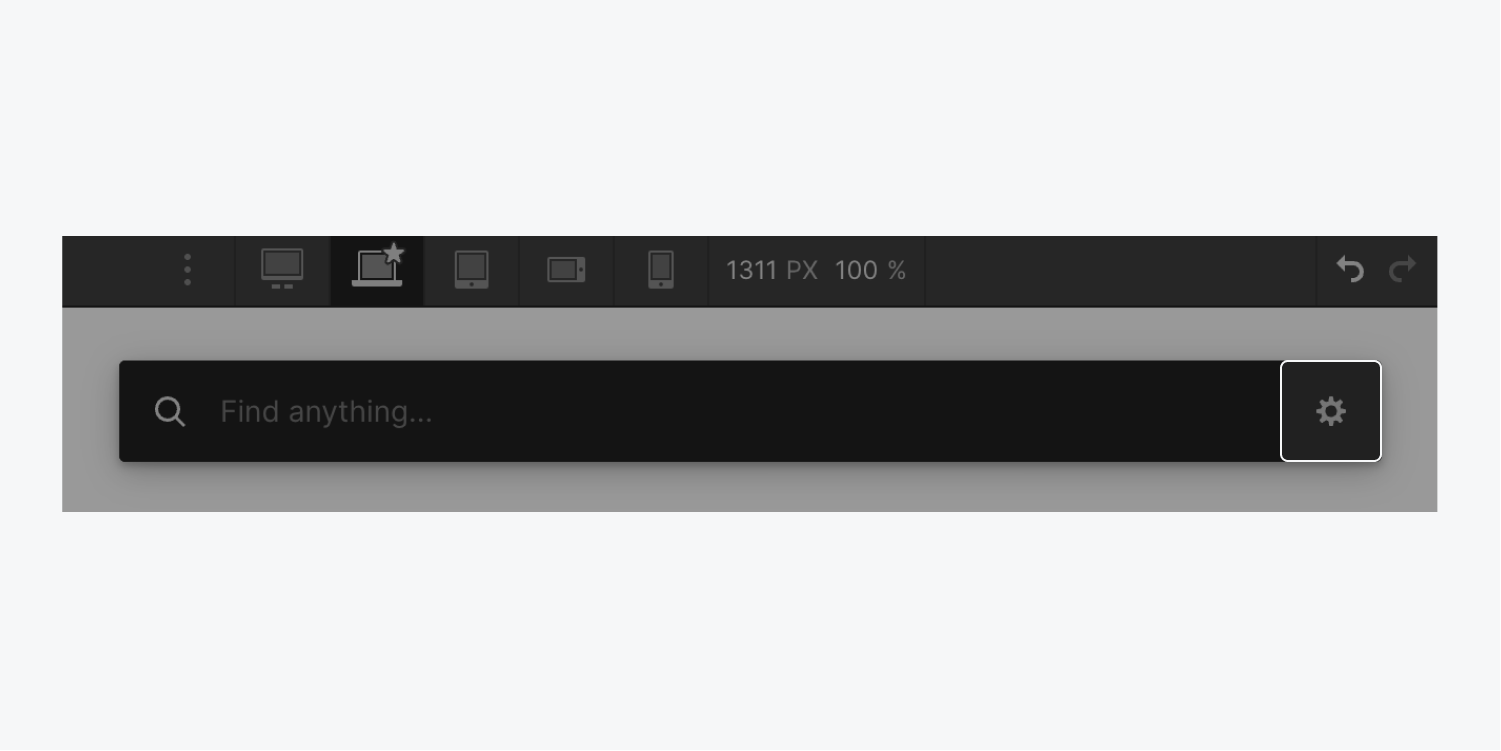
You can locate a resource using the search bar within the Resources section or by utilizing Quick find. Quick find can be accessed through shortcut Command + E (on Mac) or Control + E (on Windows). When using Quick find, ensure to enable the feature.resource discovery.
If you wish to activate resource discovery in the Quick find feature:
- Enter Command + E (on Mac) or Control + E (on Windows) to launch the Quick find
- Press the gear icon
- Select Include resources
Steps to eradicate resources
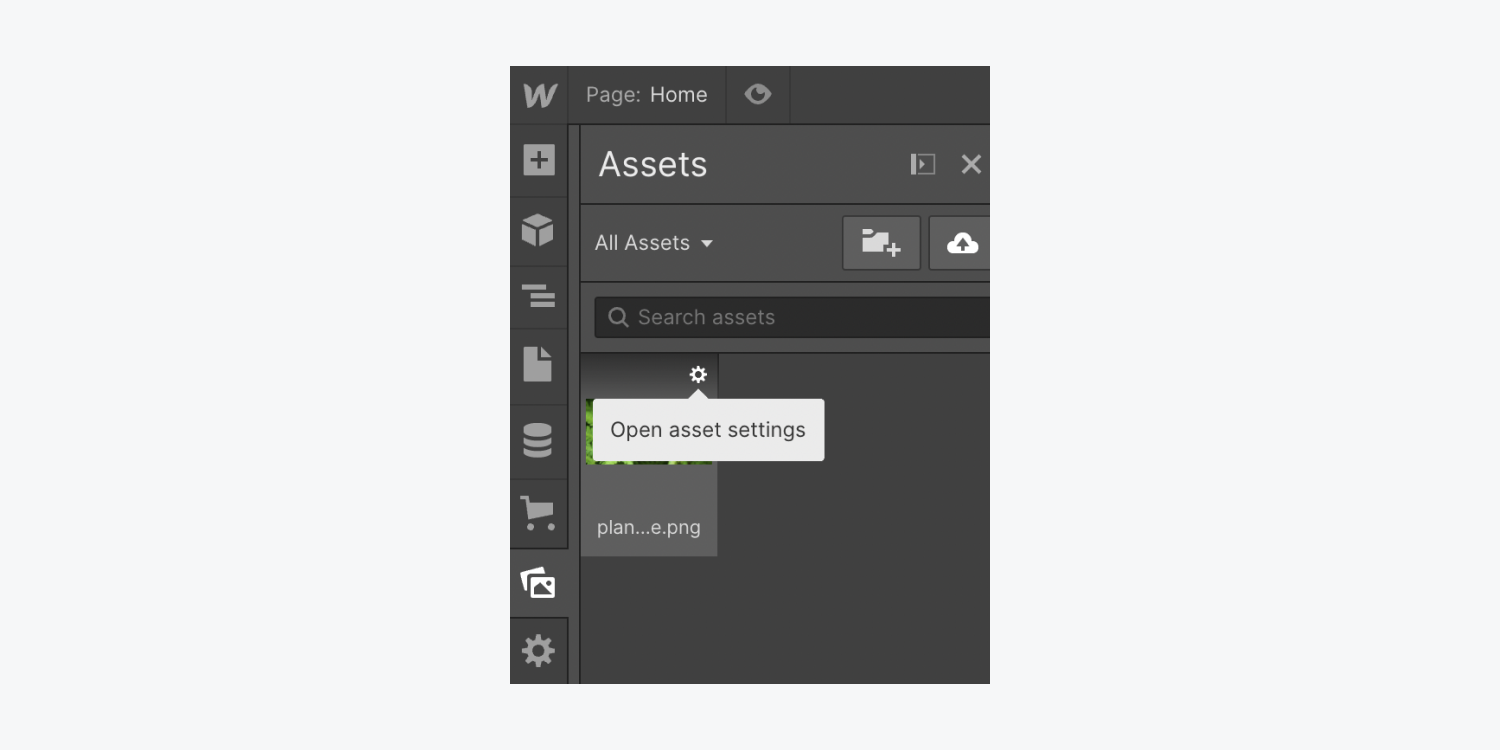
When you delete a version of a resource on the canvas, it does not delete the resource in the Resources panel. To eliminate a resource from the Resources panel:
- Access the Resources panel
- Hover over the resource you aim to eliminate
- Click the gear icon visible at the top right of the resource
- Press Delete
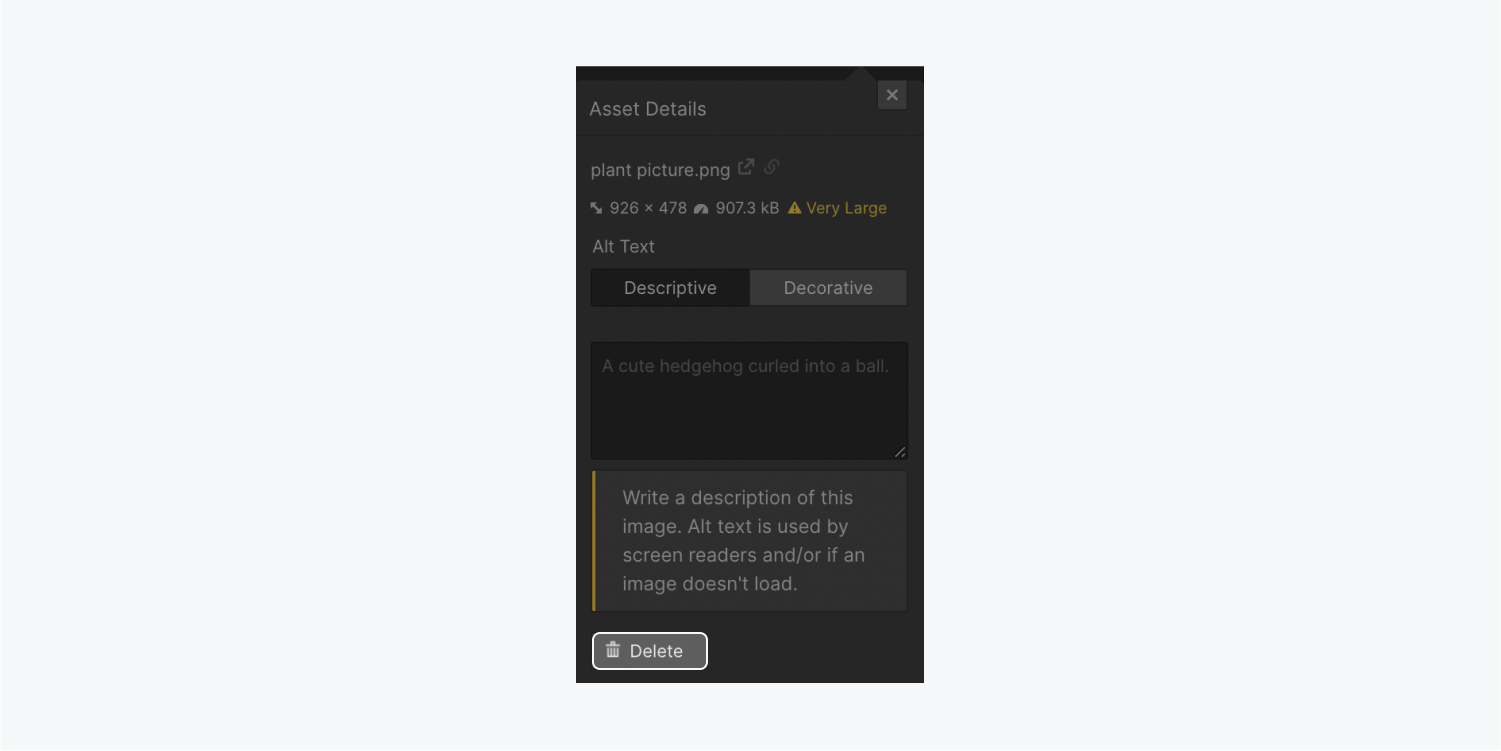
Remember that deleting a resource from the Resources panel while it is still in use somewhere on your site will result in the resource reappearing in the Resources panel once you publish the site and refresh the Designer. All occurrences of the resource must be erased from your site, then from the Resources panel, to completely remove it.
Key information: By selecting a resource’s gear icon to unveil the Resource details modal, you can view its dimensions, size, and/or frames.
Method to categorize and arrange resources
To locate specific resources more conveniently, you have a variety of filtering and sorting choices within the Resources panel.
Process to filter resources
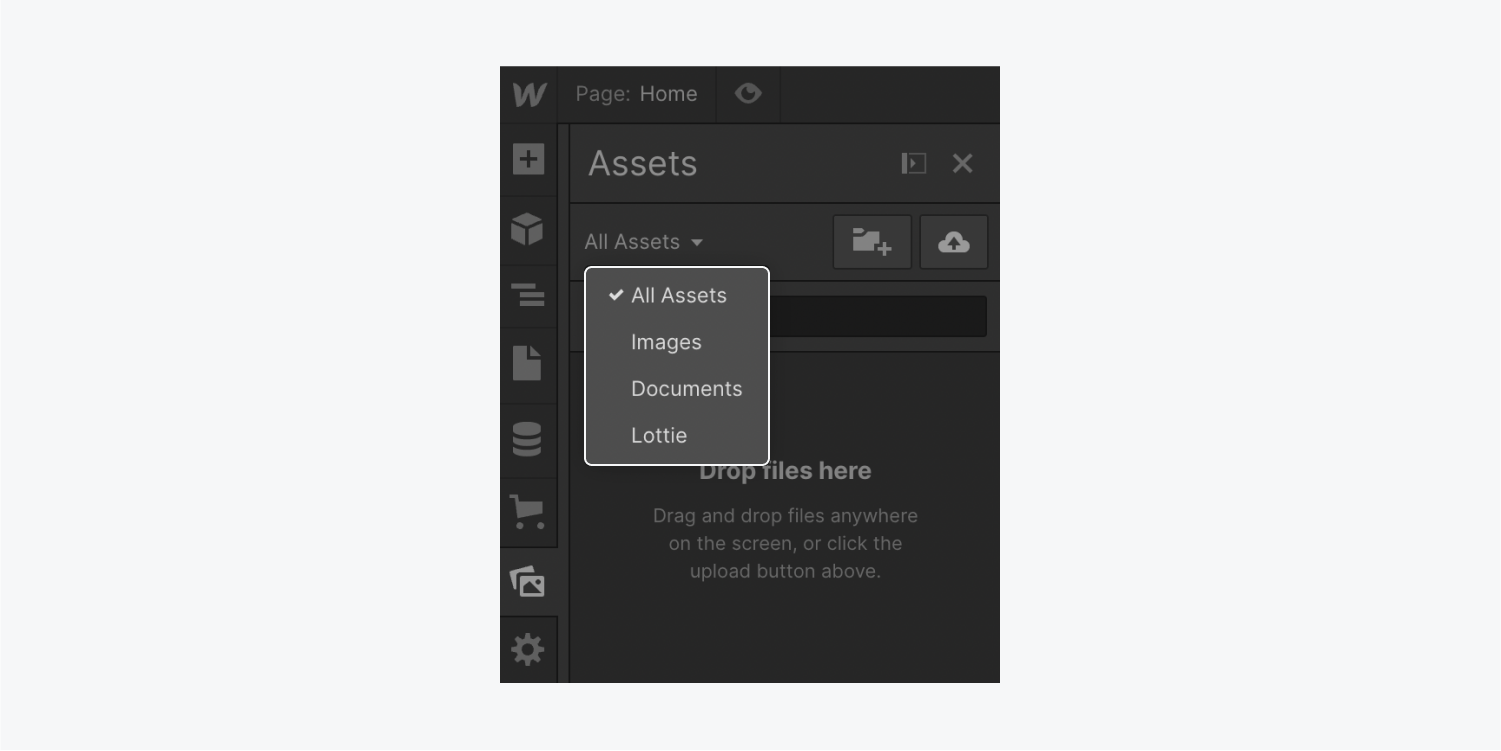
Initially, all types of resources are shown in the Resources panel. To filter resources by file type:
- Launch the Resources panel
- Press the dropdown at the top left corner of the panel
- Select the category of resources to exhibit (All resources, Images, Documents, or Lottie)
Process to sort resources
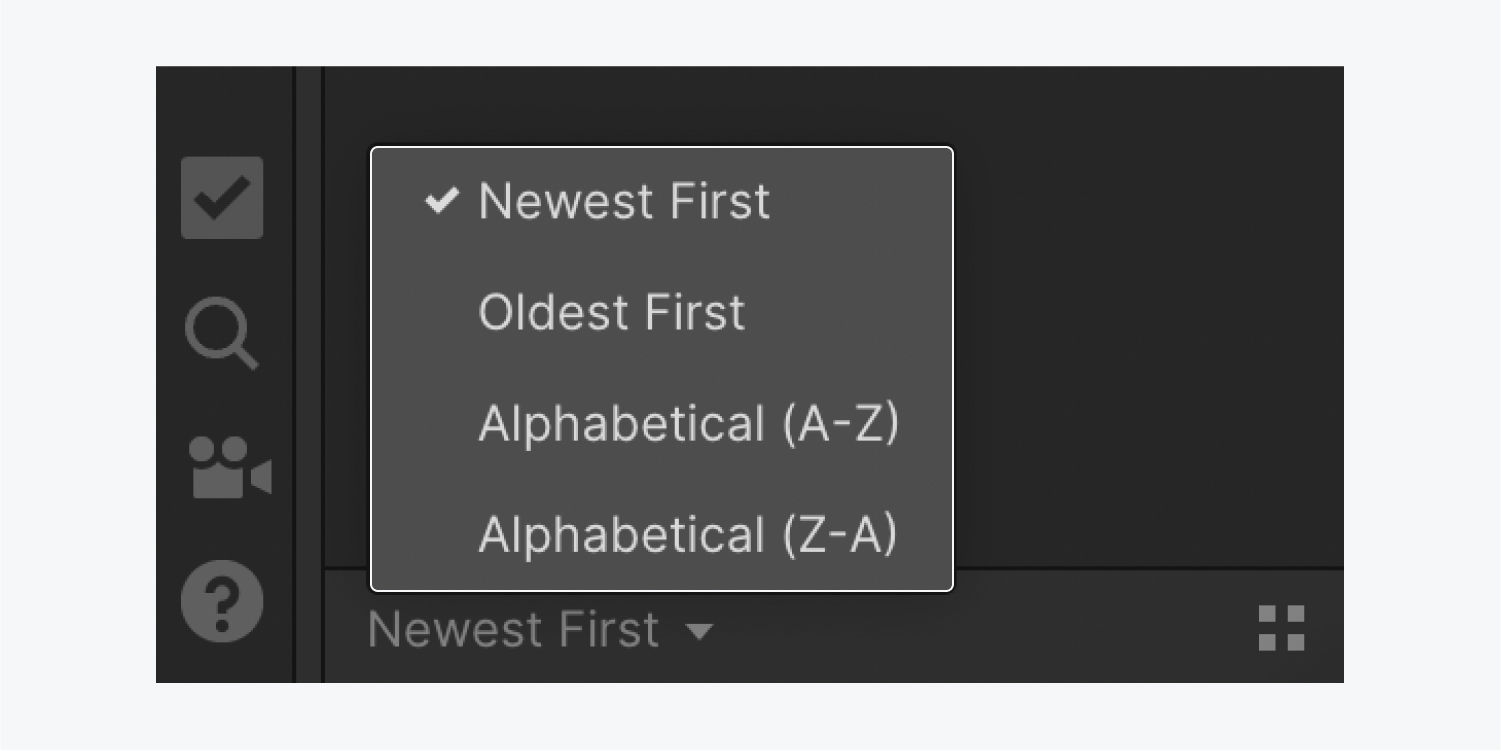
Initially, resources in the Resources panel are arranged from newest to oldest. You can sort resources by Newest first, Oldest first, or Alphabetical (A-Z or Z-A). To sort resources:
- Access the Resources panel
- Press the dropdown at the bottom left corner of the panel
- Select a sorting preference (e.g., Newest first, Oldest first, Alphabetical (A-Z), or Alphabetical (Z-A))
Process to modify the Resources panel presentation option
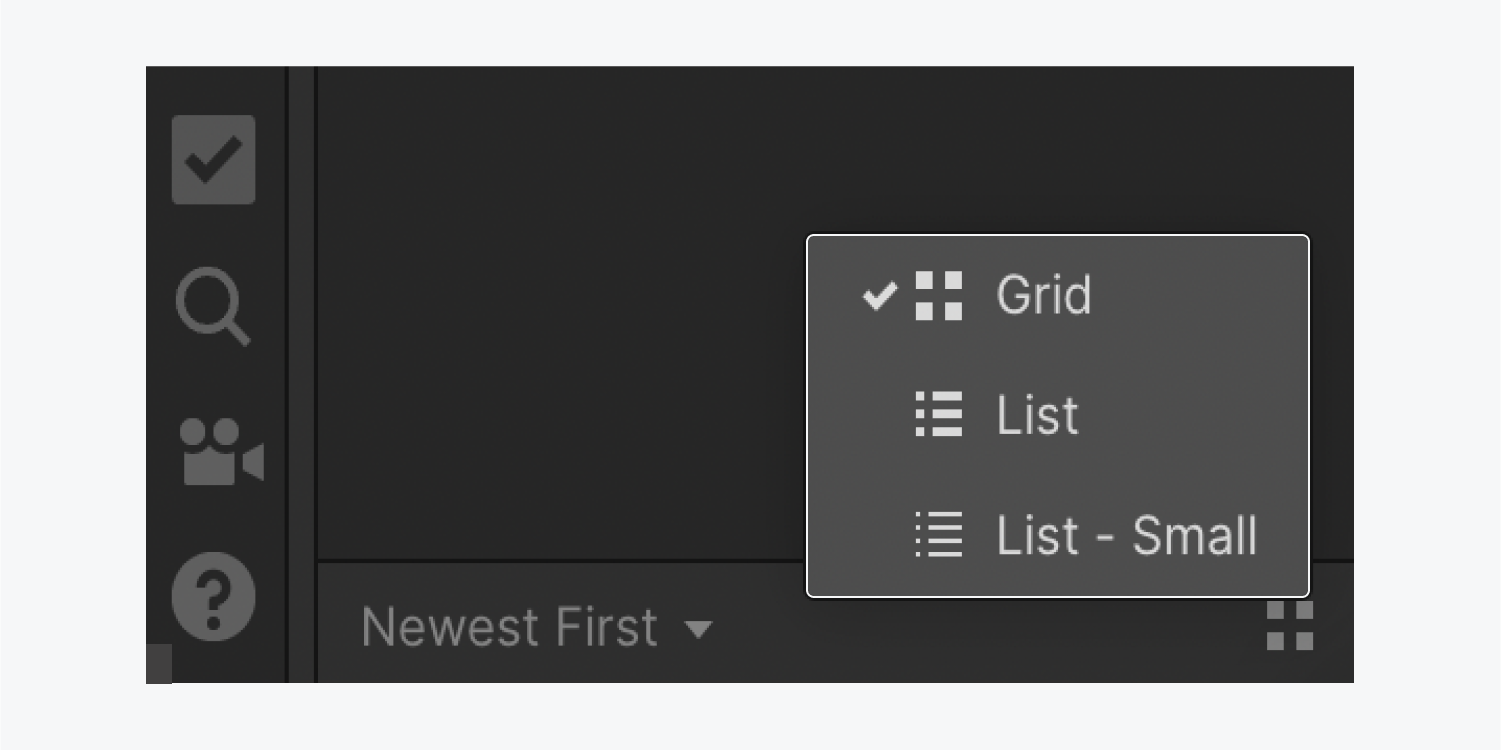
Initially, resources in the Assets panel are exhibited using the grid view. You can view resources in a Grid, List, or List – small option. To alter the view option:
- Launch the Resources panel
- Press the “grid” icon at the bottom left corner of the panel
- Select a viewing option (e.g., Grid, List, or List – small)
- Include or eliminate Workspace spots and members - April 15, 2024
- Centering box summary - April 15, 2024
- Store a site for future reference - April 15, 2024
