Similar to a catalog, a sitemap is a page that contains connections to different pages of your site that search engines and site visitors use to reach your site’s content. Search engine web crawlers follow the routes provided in the sitemap to index site pages and make them accessible in search engine results.
When you configure custom domain hosting with Webflow, you can automatically create an XML sitemap or include your own.
To gain more insights, explore SEO and Webflow: the essential guide.
In this module, you will understand:
- Techniques to automatically produce a sitemap
- Strategies for adding a personalized sitemap
- Methods to alter the root domain in your sitemap.xml address
- Instructions to present your sitemap to Google
Generating an auto-sitemap
Webflow’s automatic sitemap tool generates a sitemap.xml for your site and refreshes it every time you make your site public.
For websites with Localization activated, the auto-generated sitemap incorporates hreflang tags for all static and dynamic pages on your site to aid search engines in comprehending the accessible language and region versions of your site content. Delve deeper into sitemap hreflang tags.
To activate the automatic sitemap feature:
- Access Site settings > SEO tab > Sitemap section
- Switch Auto-generate sitemap to “Yes” to facilitate the automatic sitemap creation
- Click Save changes
- Launch your site
Crucial: Ensure you set a default domain, as the sitemap will represent the domain you’ve set as the default. Otherwise, Google’s crawlers will encounter a 301 Redirect status when attempting to examine the URLs in your sitemap, which signals to them that the initial pages do not exist.
Remark: Once you’ve formulated your sitemap and made your site public, you cannot delete the /sitemap.xml page.
Incorporating a personalized sitemap
If you prefer, you can craft your custom sitemap.xml and append it to your Webflow site.
Note that if you utilize a custom sitemap for websites with Localization enabled, you will need to manually attach hreflang tags for each page, or examine custom code alternatives. Dig into sitemap hreflang tags.
To attach your custom sitemap to your site:
- Visit Site settings > SEO tab > Sitemap section
- Switch Auto-generate sitemap to “No” to disable the auto-generated sitemap
- Paste your custom sitemap in the Custom sitemap.xml field
- Click Save changes
- Launch your site
Note: Once you’ve created your sitemap and published your site, the /sitemap.xml page cannot be removed.
Customizing the primary domain in your sitemap.xml address
Remark: Exclusive to Webflow Enterprise clients. For more information, reach out to our Enterprise sales team.
If you are using a reverse proxy to link multiple Webflow sites to a single domain, you may have faced SEO issues with the automatically produced sitemap.xml address Webflow inserts within your robots.txt file. You can erase the default sitemap.xml address and input your version to ensure search engines realize your sites are under the same domain.
To remove the default sitemap.xml address and input yours:
- Proceed to Site settings > SEO tab > Indexing section
- Toggle Remove sitemap.xml from robots.txt to “Yes” to exclude the auto-generated sitemap from your robots.txt file
- Input the sitemap for your root domain in the robots.txt field
- Click Save changes
- Launch your site
Presenting your sitemap to Google
After creating your sitemap, inform Google about it through one of the subsequent methods:
- Integrate your sitemap into your site’s robots.txt file (only if you have deactivated Webflow’s auto-generated sitemap)
- Submit your sitemap to Google Search Console
Useful tip: While Google may stumble upon and index your site via a link on another site, verifying your site’s ownership, submitting a sitemap, and manually requesting Google to index your site can expedite the process.
Incorporating your sitemap into your site’s robots.txt file
If you have disabled Webflow’s auto-generated sitemap and are utilizing a custom one, you can notify Google about your sitemap from your Webflow dashboard.
To append your sitemap to your site’s robots.txt file:
- Access Site settings > SEO tab > Indexing section
- Insert “Sitemap: https://{your-site.com}/sitemap.xml” in the robots.txt field, substituting {your-site.com} with your default domain
Crucial: Refrain from inputting your sitemap link in the robots.txt field if you are utilizing Webflow’s auto-generated sitemap. Otherwise, your robots.txt file will incorporate 2 sitemaps for search engines to traverse.
Submitting your sitemap to Google Search Console
Whether you’ve devised a custom sitemap or are utilizing Webflow’s auto-generated one, you can submit your sitemap through Google Search Console.
To submit your sitemap:
- Access Google Search Console
- Select the property (website) for which you wish to submit the sitemap
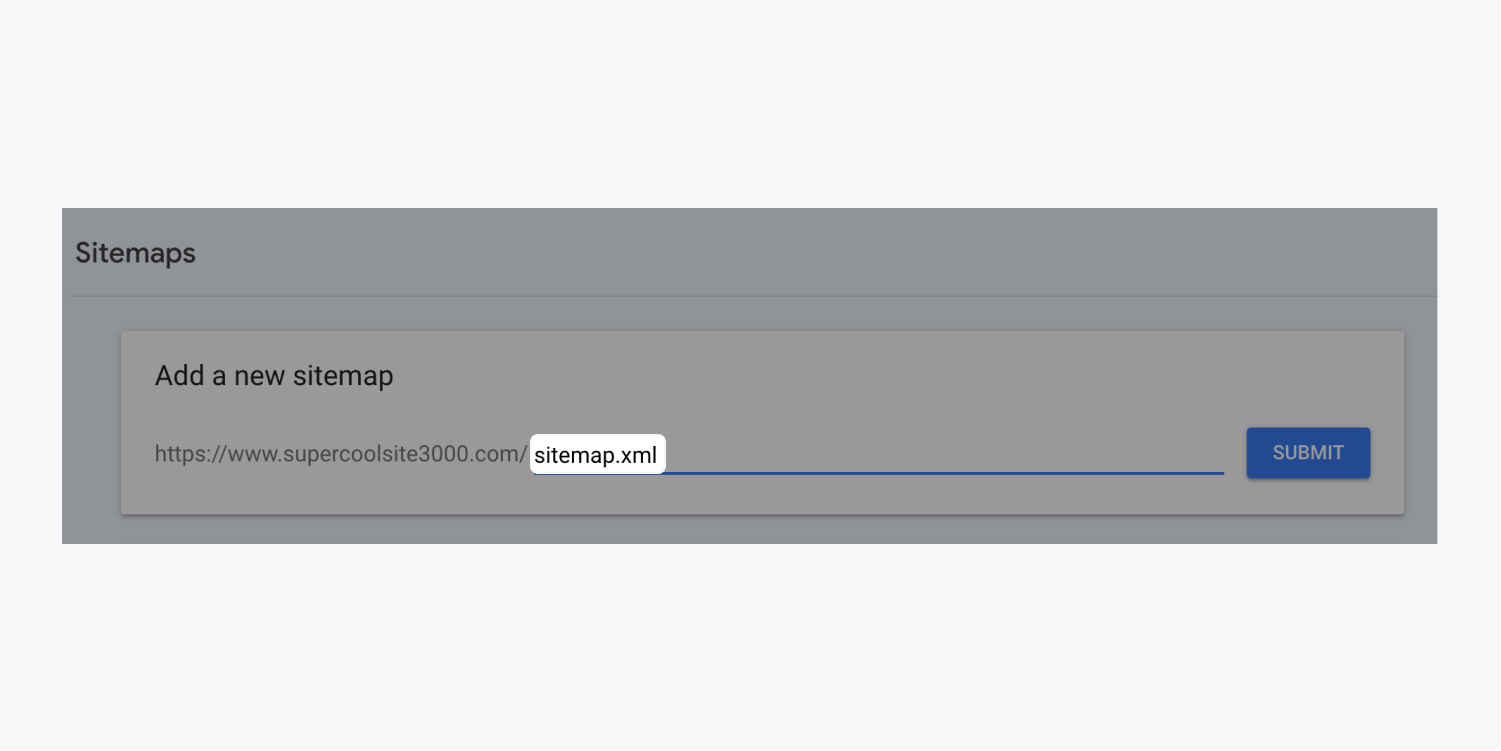
- Key in “sitemap.xml” into the input box
- Hit Submit

- Include or eliminate Workspace spots and members - April 15, 2024
- Centering box summary - April 15, 2024
- Store a site for future reference - April 15, 2024

