Discover the process to insert a WhatsApp chat widget in your Webflow website using Elfsight in 4 simple steps:
- Generate widget in Elfsight
- Duplicate the code
- Embed the code into Webflow
- Finalize and Test
If you haven’t set up an Elfsight account yet, establish one to explore various widgets. Specifically, for this guide, you’ll require the WhatsApp chat widget.
Upon logging into Elfsight, navigate to the Application page and search for WhatsApp. From there, select the WhatsApp chat option to create the widget.
Generate a widget in Elfsight
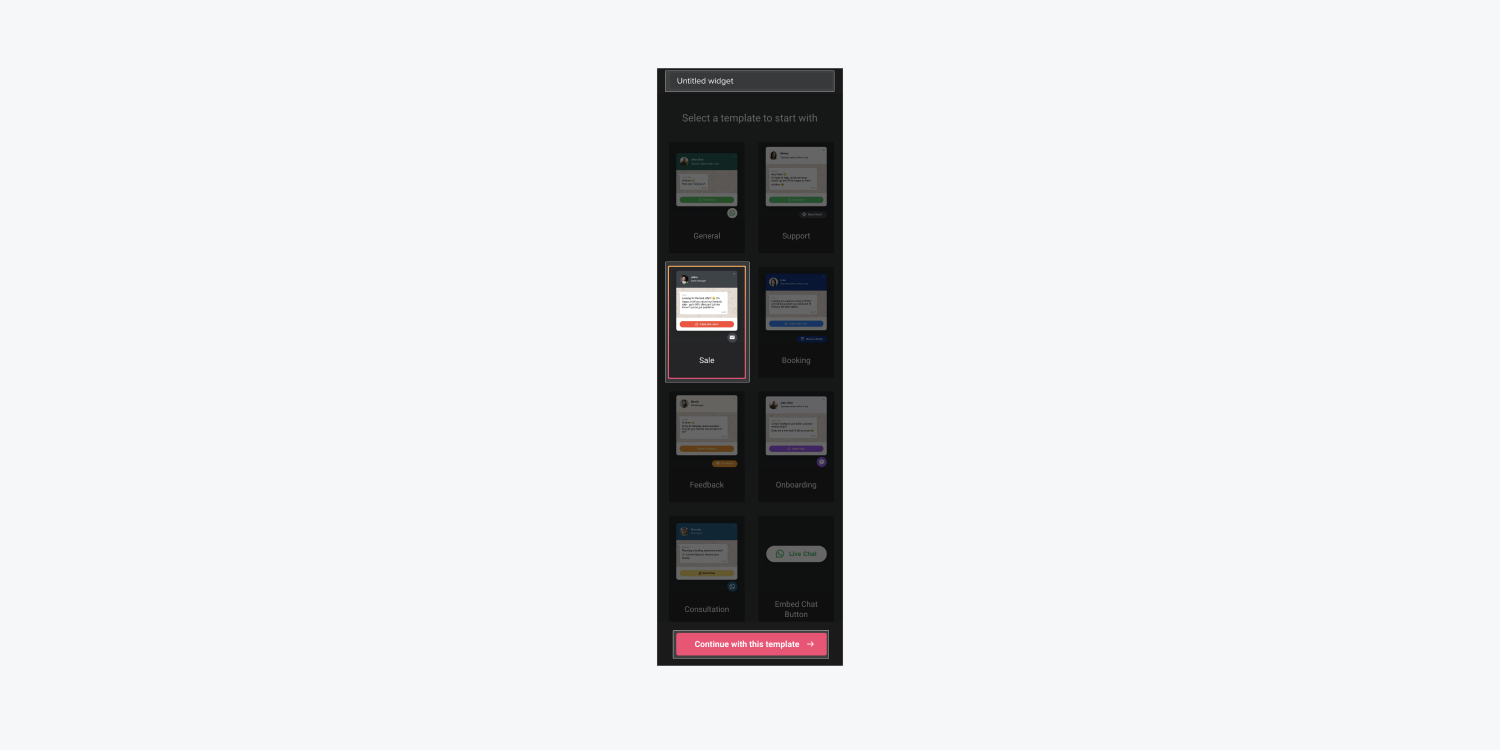
Once you’ve acquired the WhatsApp widget, opt for a template:
- Name your widget (e.g., WhatsApp embed)
- Select a widget layout template
- Tap Continue with the template
Next, proceed with customization:
- Content
- Settings
- Design
Commence by entering your WhatsApp phone number under the Content section and then tailor your widget to match your Webflow project.
Content
The Content feature enables you to modify the:
- Chat Bubble
- Chat Header
- Welcome Message
- Start Chat button
Chat bubble
Tapping the Chat Bubble option enables you to pick a chat bubble icon and input custom Bubble Text to display beside your icon (remains empty if no text is added).
Chat header
Select the Chat Header option to explore header customizations like:
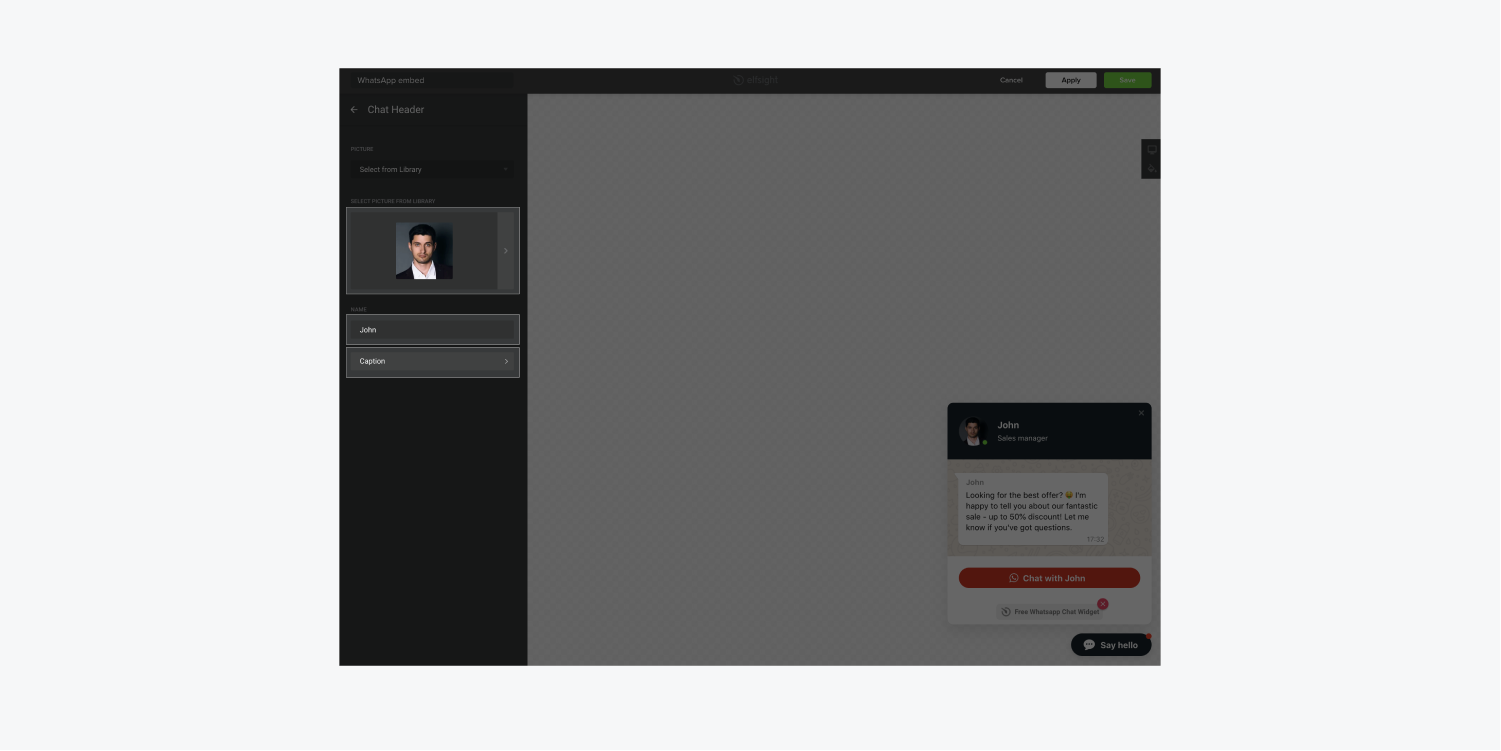
- The profile picture displayed when the chat opens
- The name next to the profile picture
- A caption below the name
Welcome message
Access the Welcome message feature to input the opening message for your chat.
Start chat button
Using the Start chat option lets you define the text that initiates WhatsApp. You can also switch to reveal or conceal the WhatsApp icon in the button.
Settings
The Settings feature allows you to modify:
- Position
- Chat Display Settings
- Open Chat Triggers
- Notifications
Position
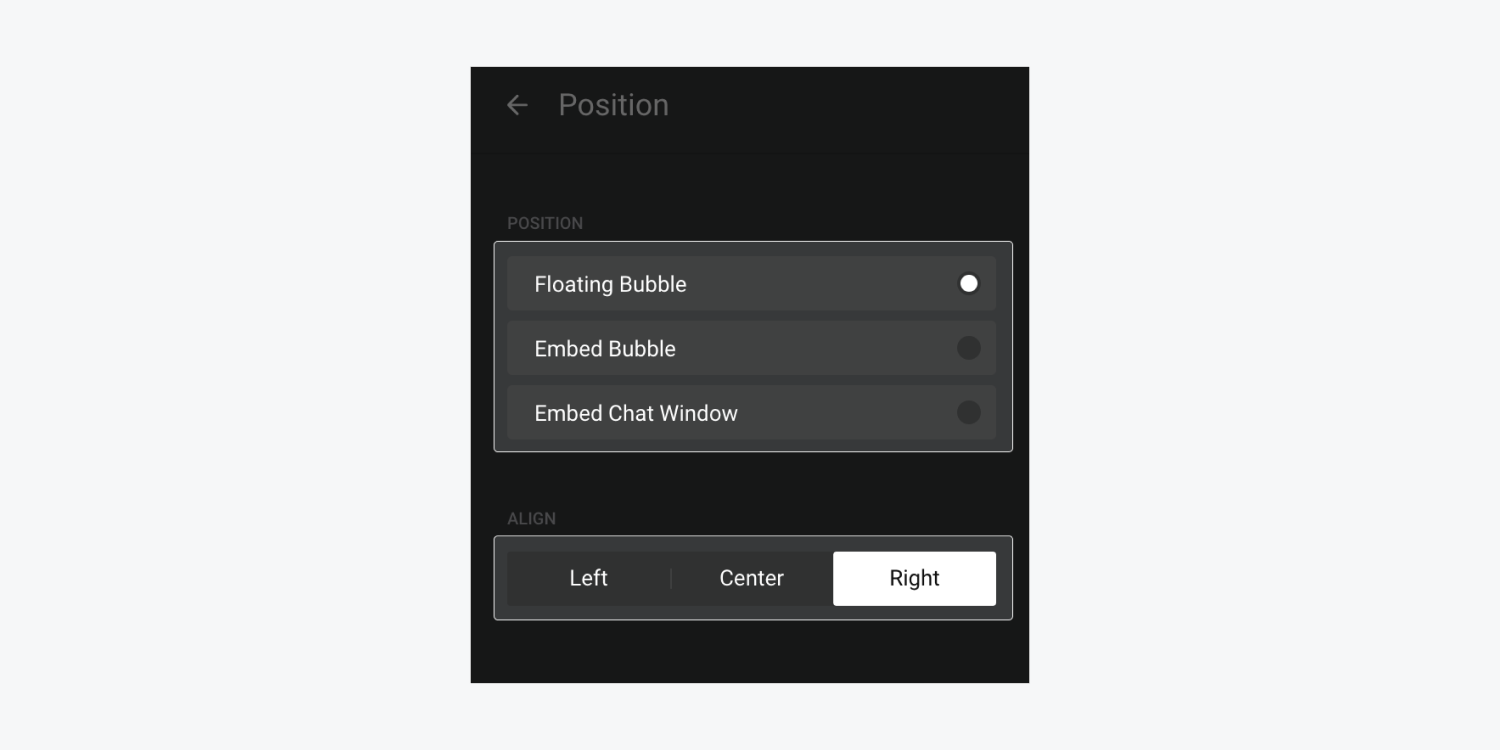
Click on the Position option to access the sidebar where you can set the position of your widget to:
- Floating Bubble
- Embed Bubble
- Embed Chat Window
You can also align your widget to the center or left/right.
Chat display settings
The available conditions include:
- Pages (where to showcase the chat widget)
- Devices (display the widget on mobile/desktop)
- Visitors (display chat for all visitors, new visitors, or returning visitors)
- Date & Time (when to display the widget)
Open chat triggers
- Time on page
- Time on site
- Scroll position
- Exit intent
Design
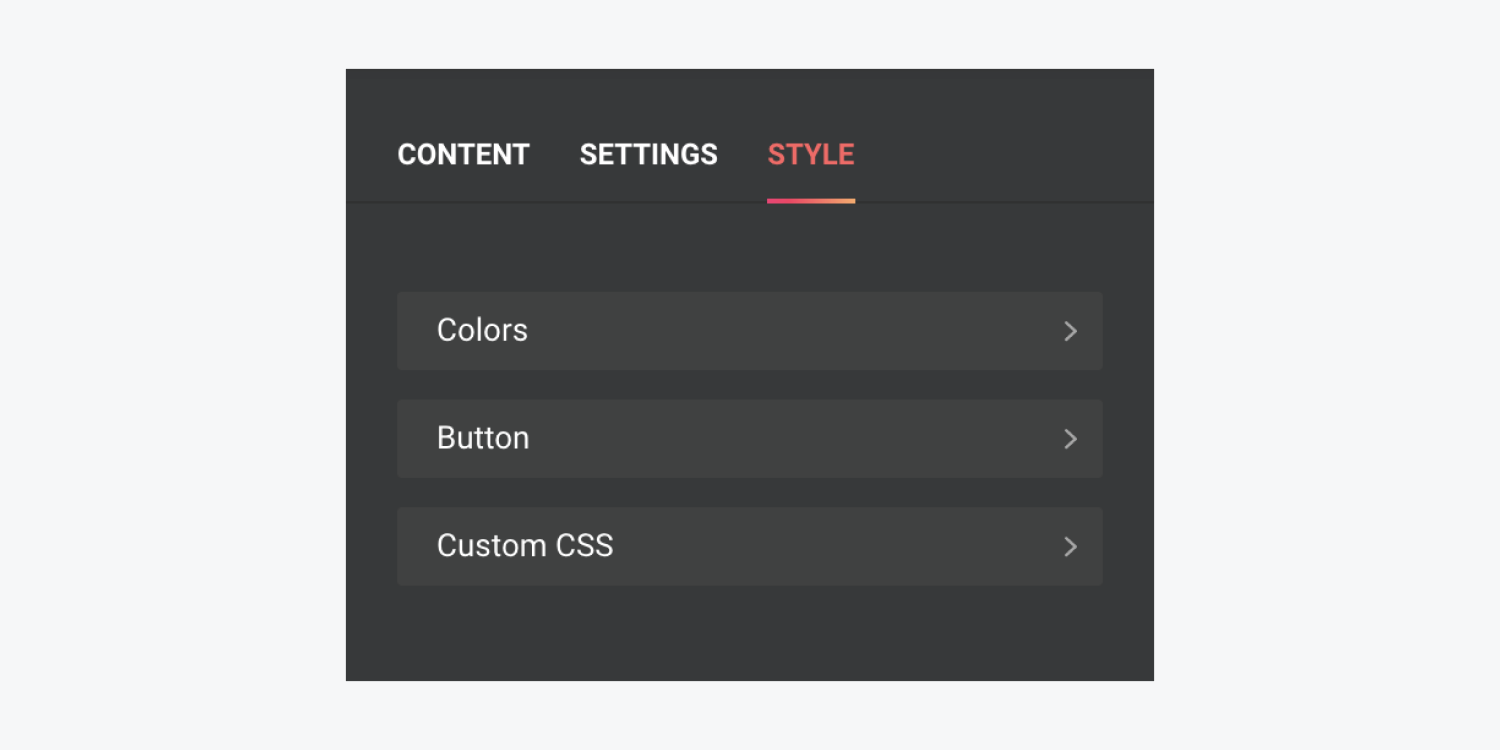
Once modifications are completed, make sure to Store.
Duplicate the embed script
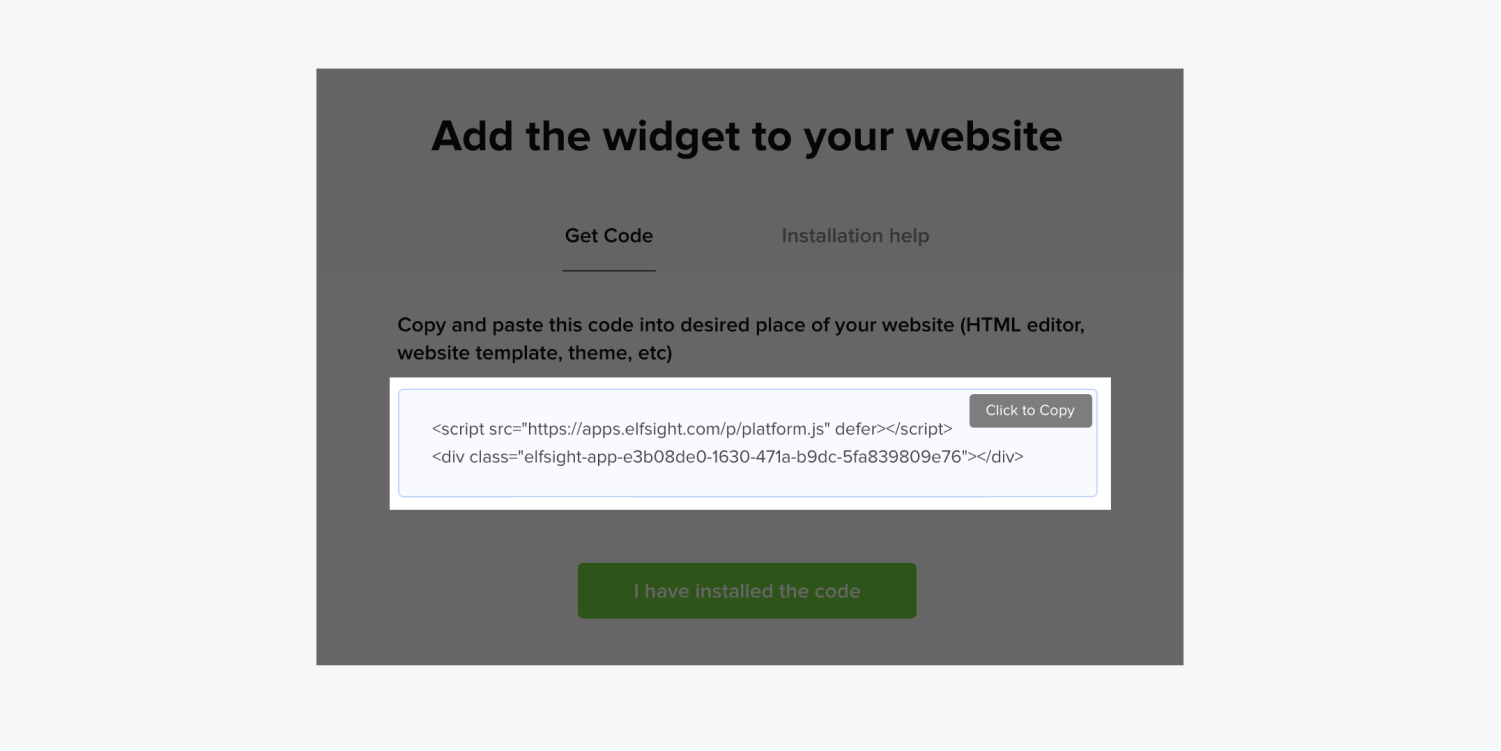
To incorporate your gadget into your Webflow plan, the embed script from Elfsight is required.
Following the preservation of adjustments during the former stage, a pop-up window with the embed script will appear — click on the script to automatically copy it to the clipboard.
Insert the script into Webflow
There are two methods to include the gadget in your Webflow project — project-wide, on every page, or on individual pages.
Project-wide
To insert the gadget on every page:
- Select the Custom Code tab within your project settings
- Paste the copied embed script into the Head Code section of your project
- Save Adjustments
- Release
- Release to Chosen Domains
Remark: Custom scripts will only be visible on the finalized site.
Publish and verify
Now it’s time to publish and validate the new gadget:
- Press Release
- Opt for the domain(s) where you want to publish
- Release to selected domains
- Include or eliminate Workspace spots and members - April 15, 2024
- Centering box summary - April 15, 2024
- Store a site for future reference - April 15, 2024
