The gallery component displays images (with or without descriptions) or videos within a fullscreen slideshow modal window. Galleries are also adaptable across different screen sizes, making them convenient for showcasing media on computers, tablets, and smartphones.
This tutorial will cover:
- Guidelines for setting up a gallery
- Adding media to a gallery
- Creating connections between galleries using gallery groups
Building a Gallery

A gallery comprises a clickable thumbnail enclosed within a link block. When visitors click inside the link’s boundary on the live site, the gallery opens to reveal the associated media.
To set up a gallery:
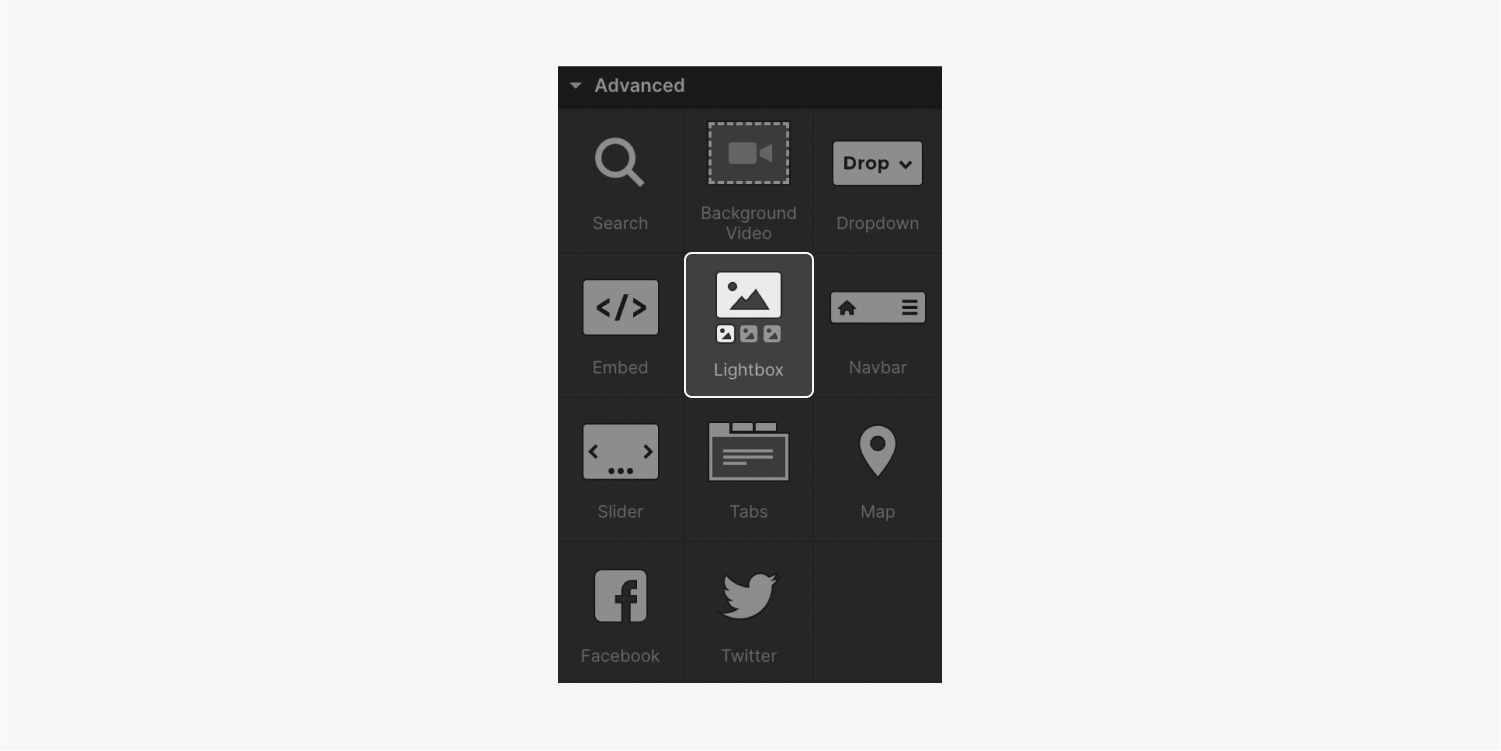
- Navigate to Insert panel > Advanced
- Select the gallery component or drag it onto the Webflow canvas
Functionality of the Gallery Thumbnail Image
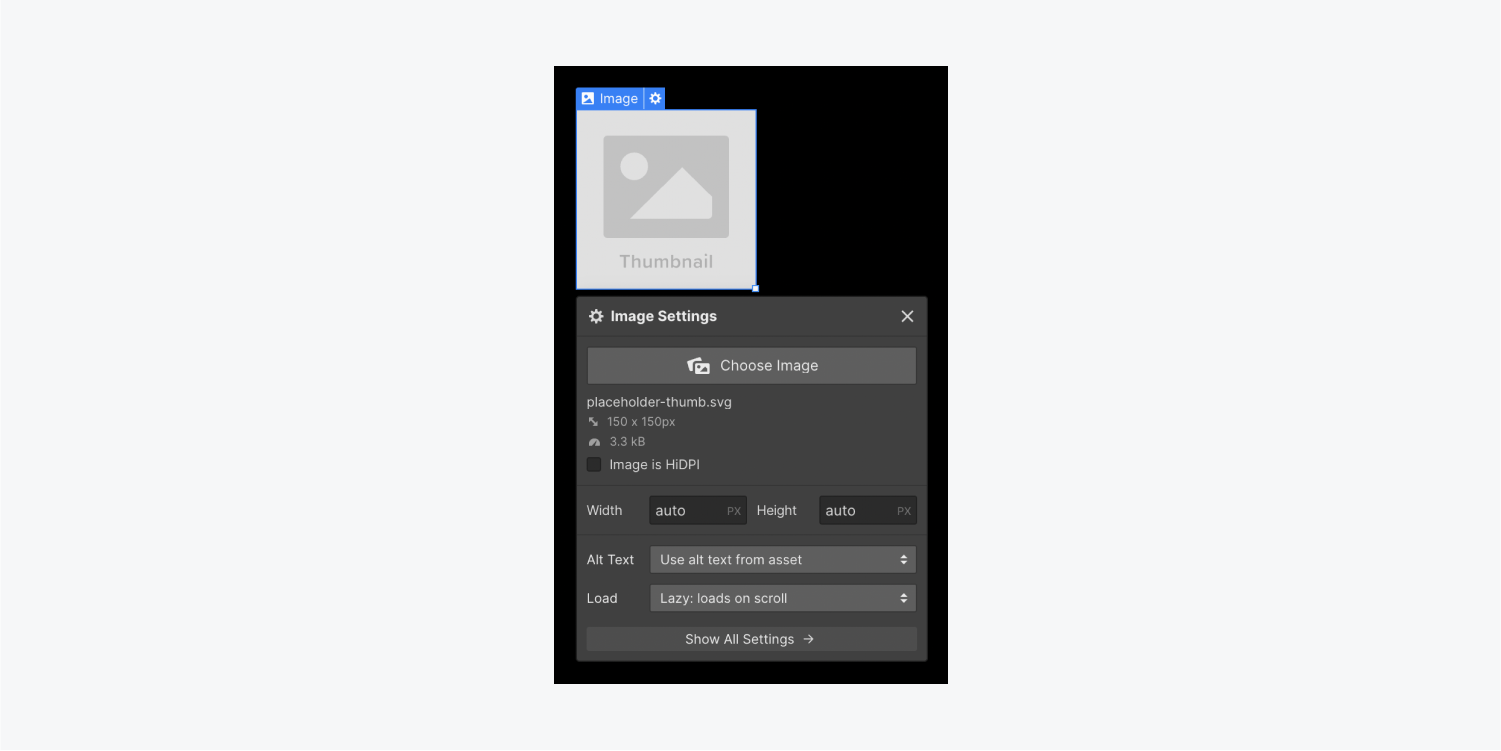
The gallery contains an image element that operates like any other image element. You can adjust its size, replace the placeholder thumbnail image by double-clicking, and include alternative text. Read more about image elements to explore further.
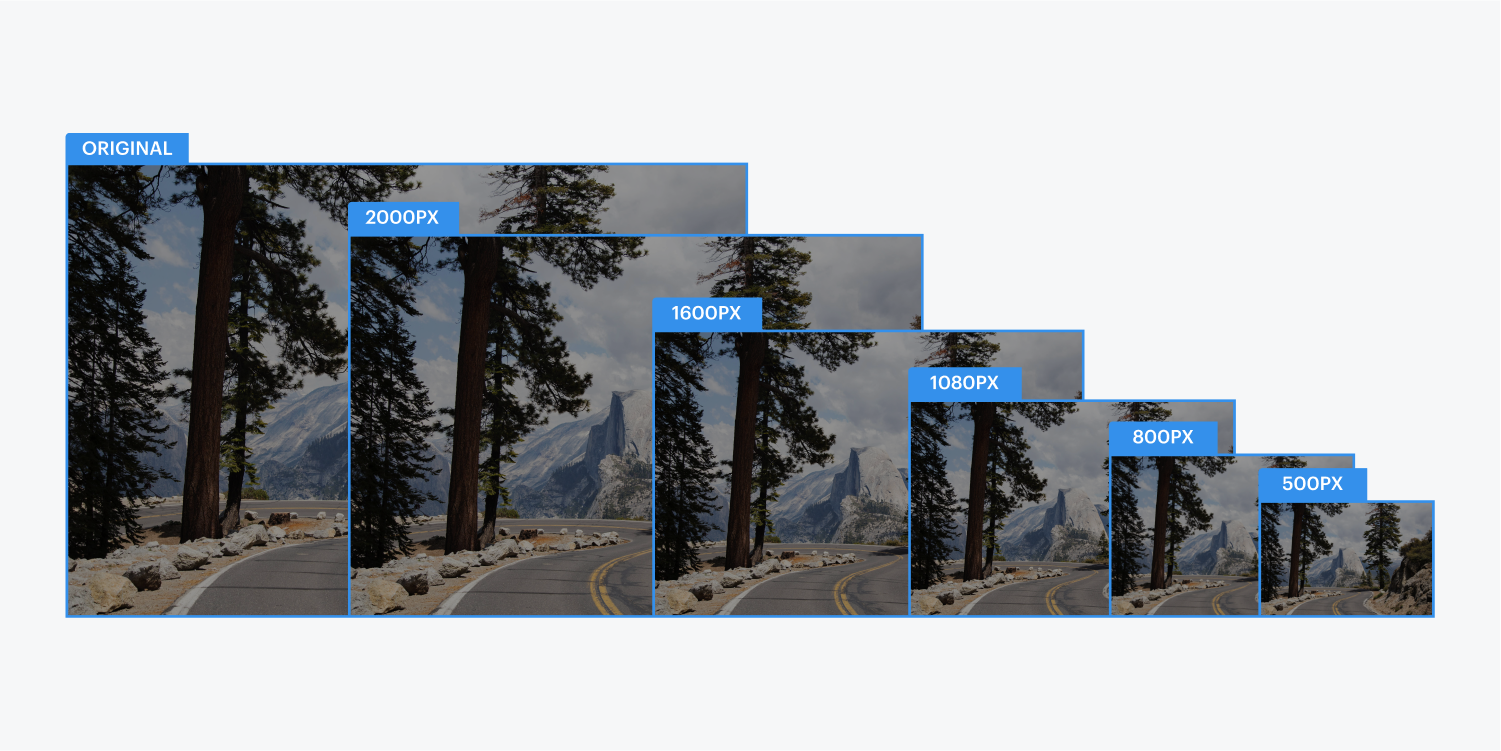
You can utilize the same image for the gallery thumbnail and the larger gallery modal window. Webflow automatically generates adaptable versions for all in-line images. Explore more about responsive images for additional details.
Changing the Gallery Thumbnail with Alternate Content
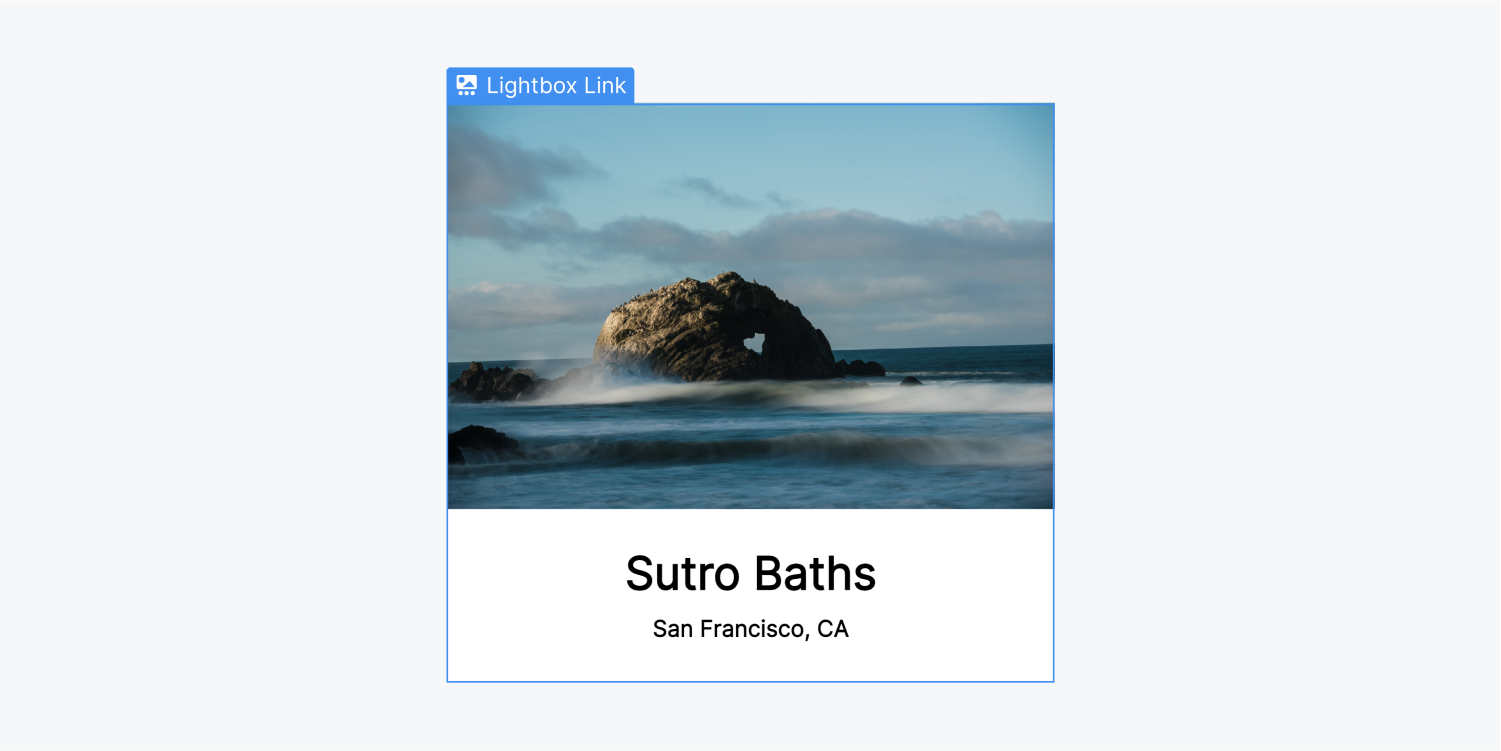
You can replace the placeholder image element, and insert various content (e.g., a title, or any non-link components) within the gallery link.
Alternatively, you can use a division block and employ a background image to establish equivalently-sized image thumbnails.
Enhancing the Gallery Appearance
You have the capability to design both the gallery link and its content. For instance, if you nest text elements within your gallery link, you can customize the typography of the gallery link component.
Although customization of the background overlay in the modal window that opens upon clicking the gallery link isn’t possible, you can insert an image or video, along with an image description if desired.
Adding Media to the Gallery
To include an image and description in the gallery modal window:
- Choose the gallery link on the canvas
- Access the Element settings panel > Gallery settings > Media
- Click the “Add image” button
- Select Choose image
- Pick an image from the Assets panel
- Enter a description in the Caption field
- Select Save
You can insert numerous images into a gallery link as needed. These images will be showcased as a slideshow within the gallery modal window.
Please Note: Presently, gallery elements do not facilitate alternative text for images within the gallery.
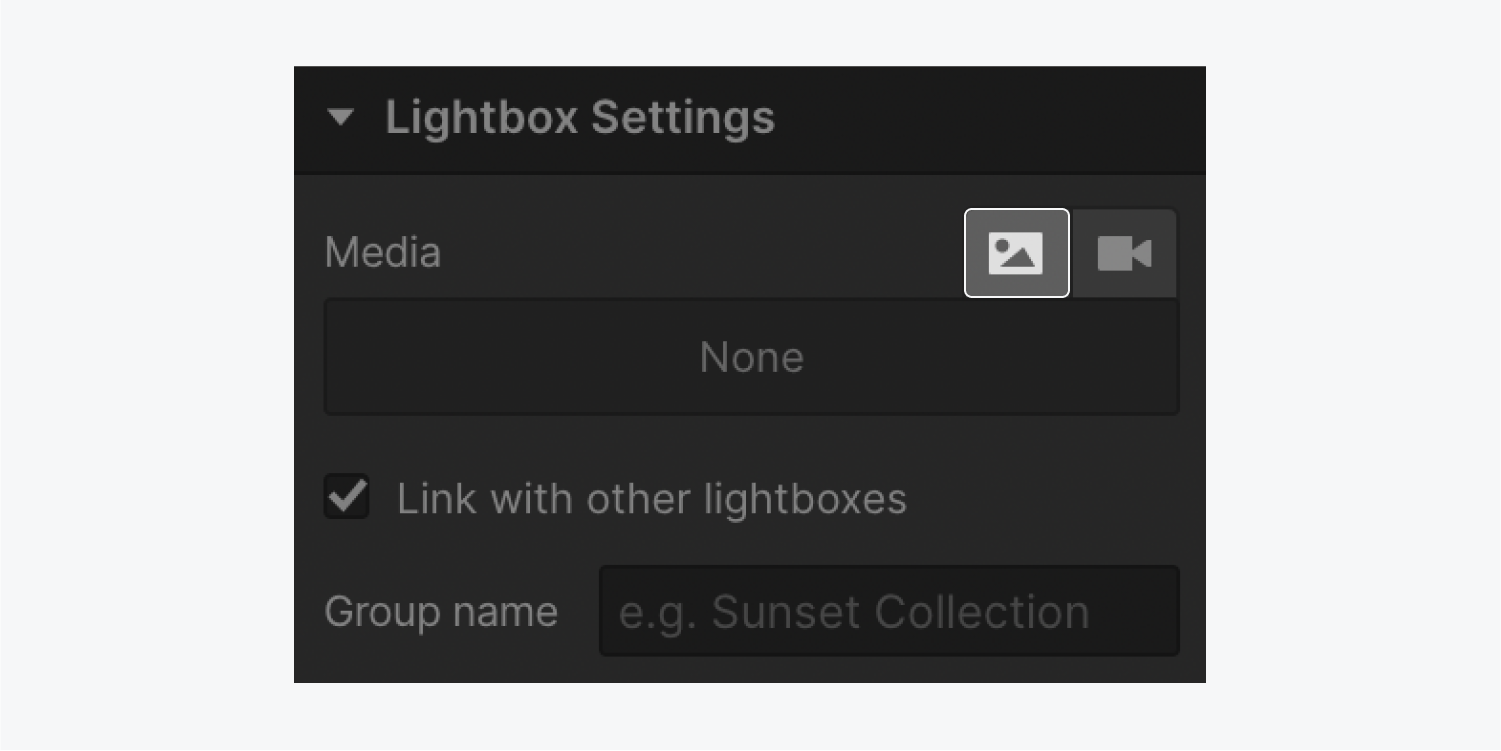
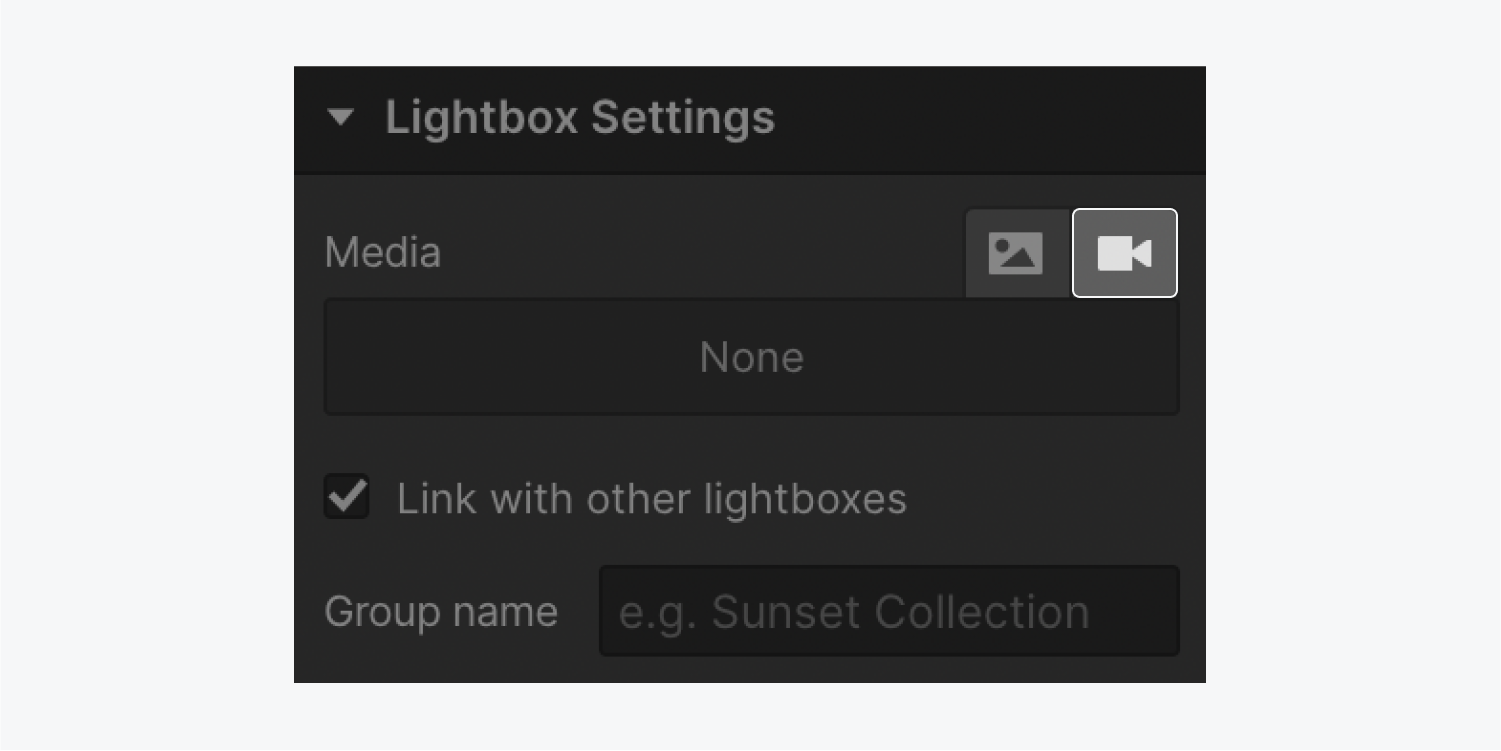
In order to insert a video into the lightbox modal window:
- Choose the lightbox link on the canvas
- Navigate to Element settings panel > Lightbox settings > Media
- Press the “Add video” icon
- Include the URL of the video in the URL field
- Click Save
How to form dynamic lightboxes from Collection field media
It is possible to generate dynamic lightboxes by fetching the thumbnail image and/or lightbox media from media Collection fields (such as an image field, multi-image field, or video field) in your CMS or Ecommerce Collections.
To link a dynamic Collection field to the lightbox thumbnail:
- Integrate a lightbox into a dynamically-linked Collection list or a CMS Collection page
- Choose the placeholder thumbnail image
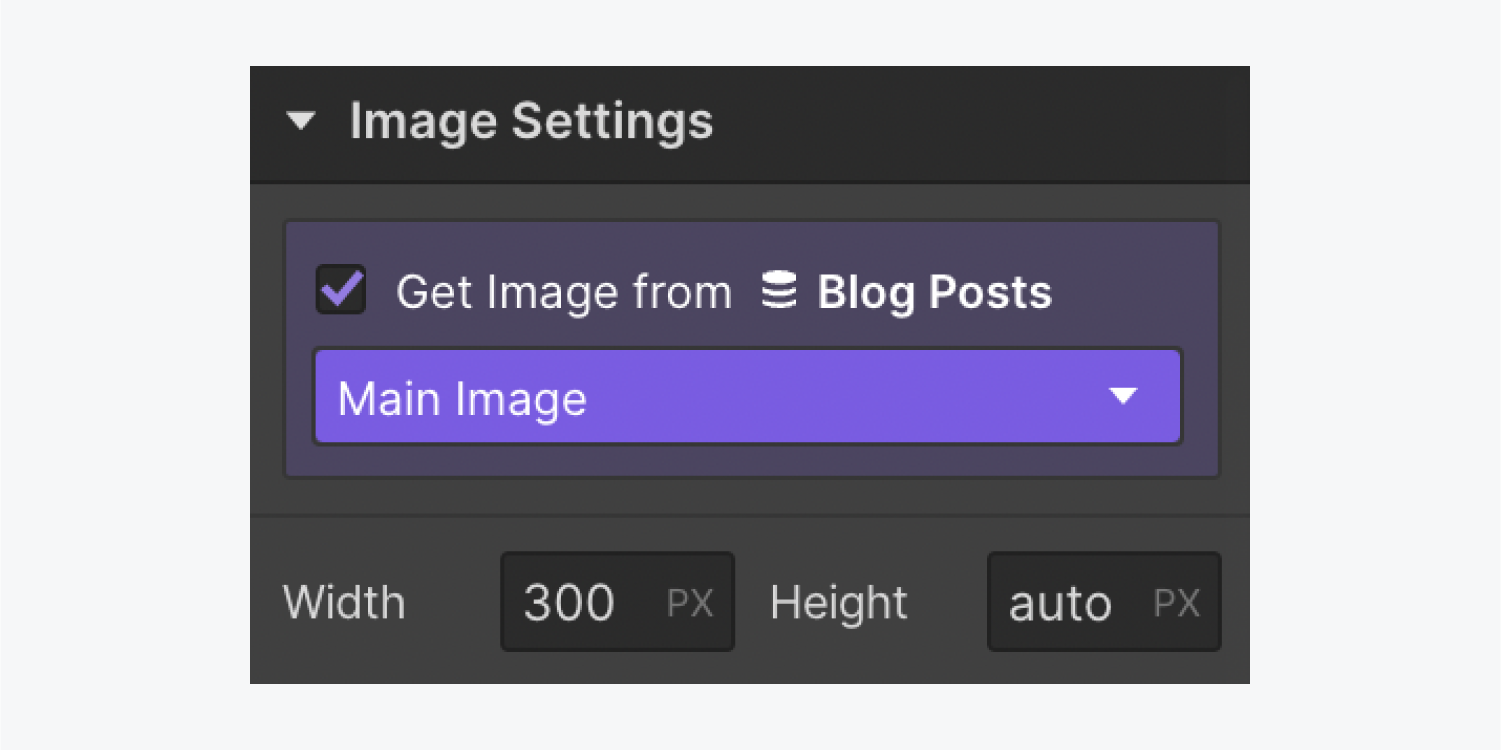
- Access Element settings > Image settings
- Tick the box marked “Get Image from Blog posts” (the Collection name might vary based on the Collection you’ve chosen)
- Pick an image Collection field from the Select field dropdown
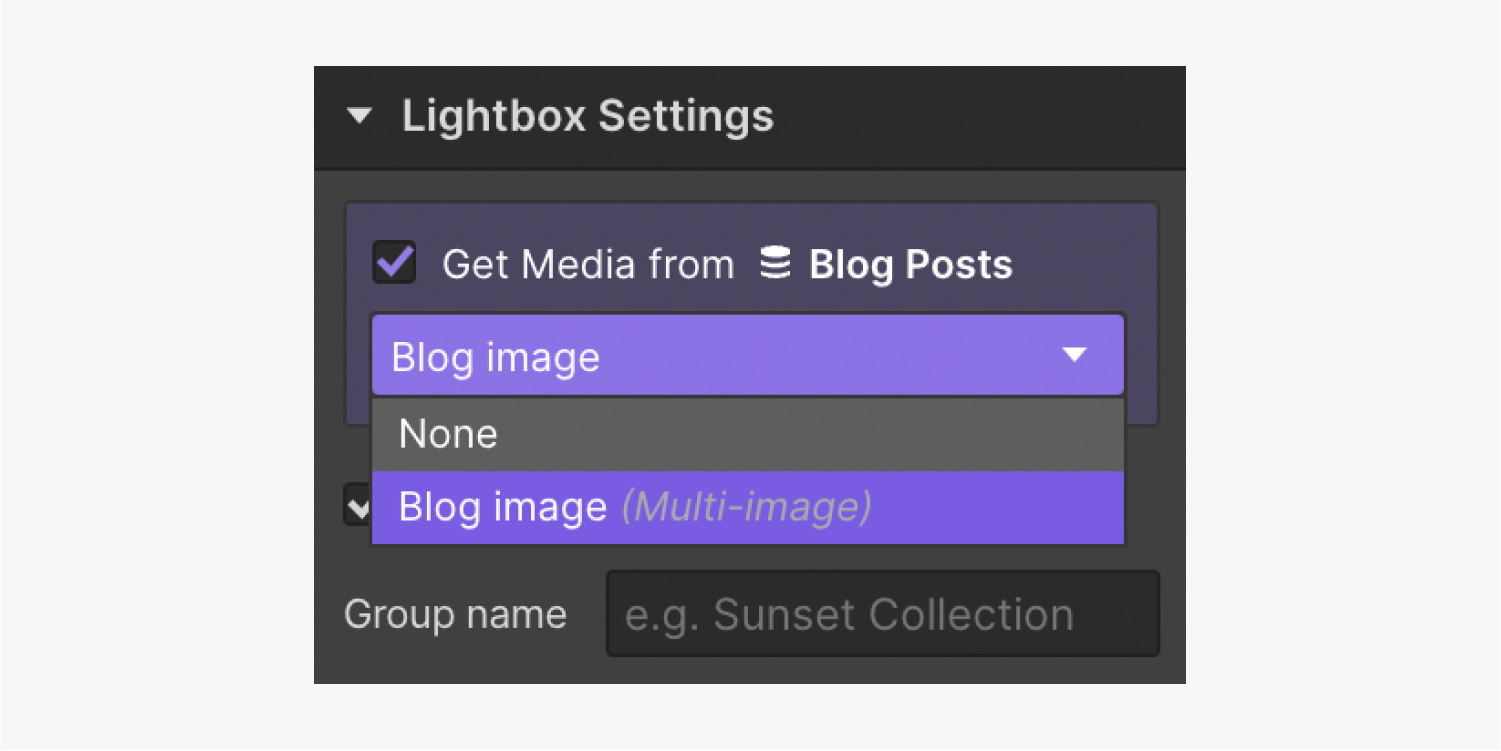
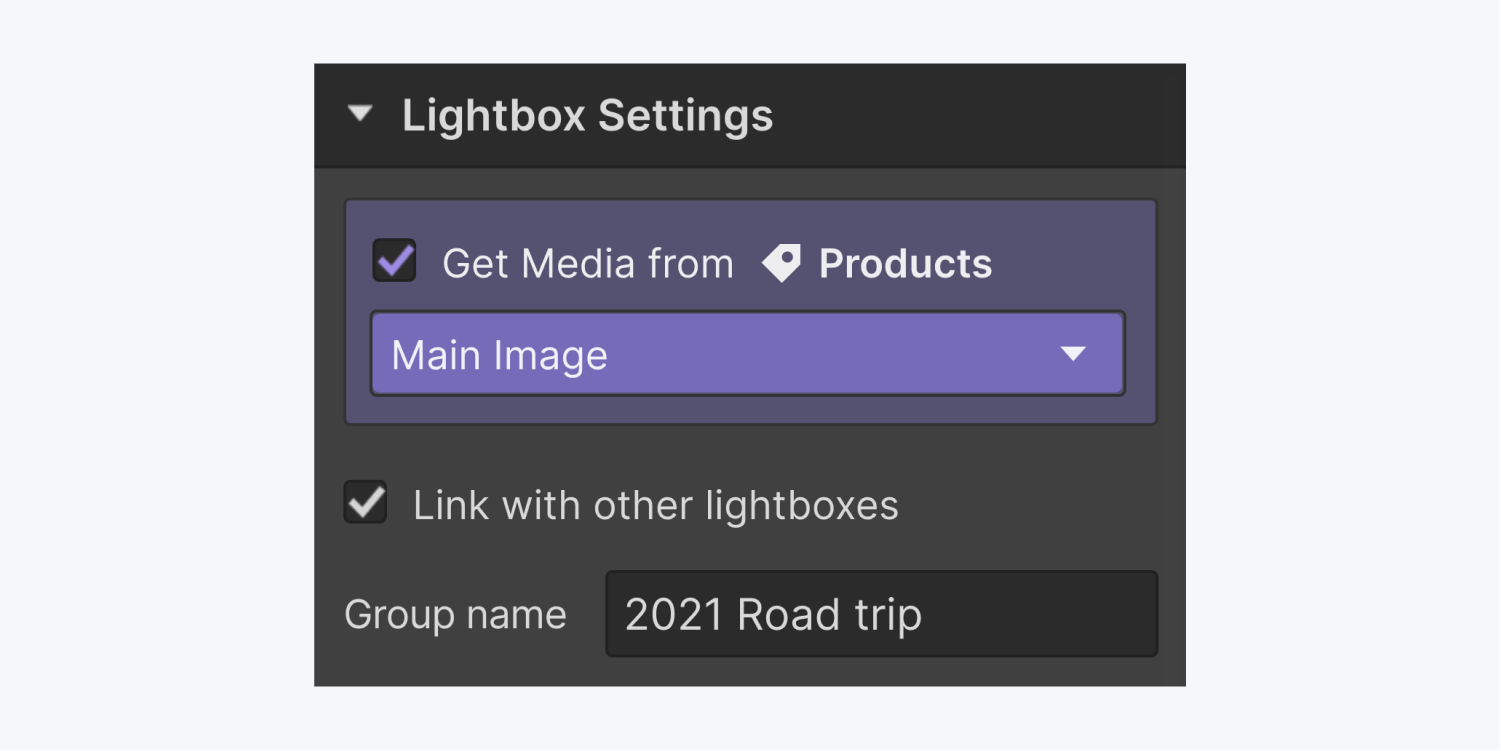
Next, you can establish the connection between the lightbox and the Collection field to make your dynamic Collection images accessible in the lightbox. To attach a dynamic Collection field to the lightbox media:
- Choose the lightbox link
- Access Element settings > Lightbox settings > Media
- Tick the box labeled “Get Media from Blog posts” (the Collection name might differ depending on the Collection you’ve selected)
- Select a media Collection field from the Select field dropdown
Steps for connecting lightbox units using lightbox clusters
You have the option to interconnect multiple lightboxes to establish a slideshow gallery. Once a visitor clicks on a linked lightbox, all the media related to the associated group of lightboxes will be displayed.
Process to formulate a lightbox cluster
- Pick any element within a lightbox
- Proceed to Element settings > Lightbox settings
- Tick the box labeled as “Interlink with other lightboxes”
- Enter a designation for the Cluster
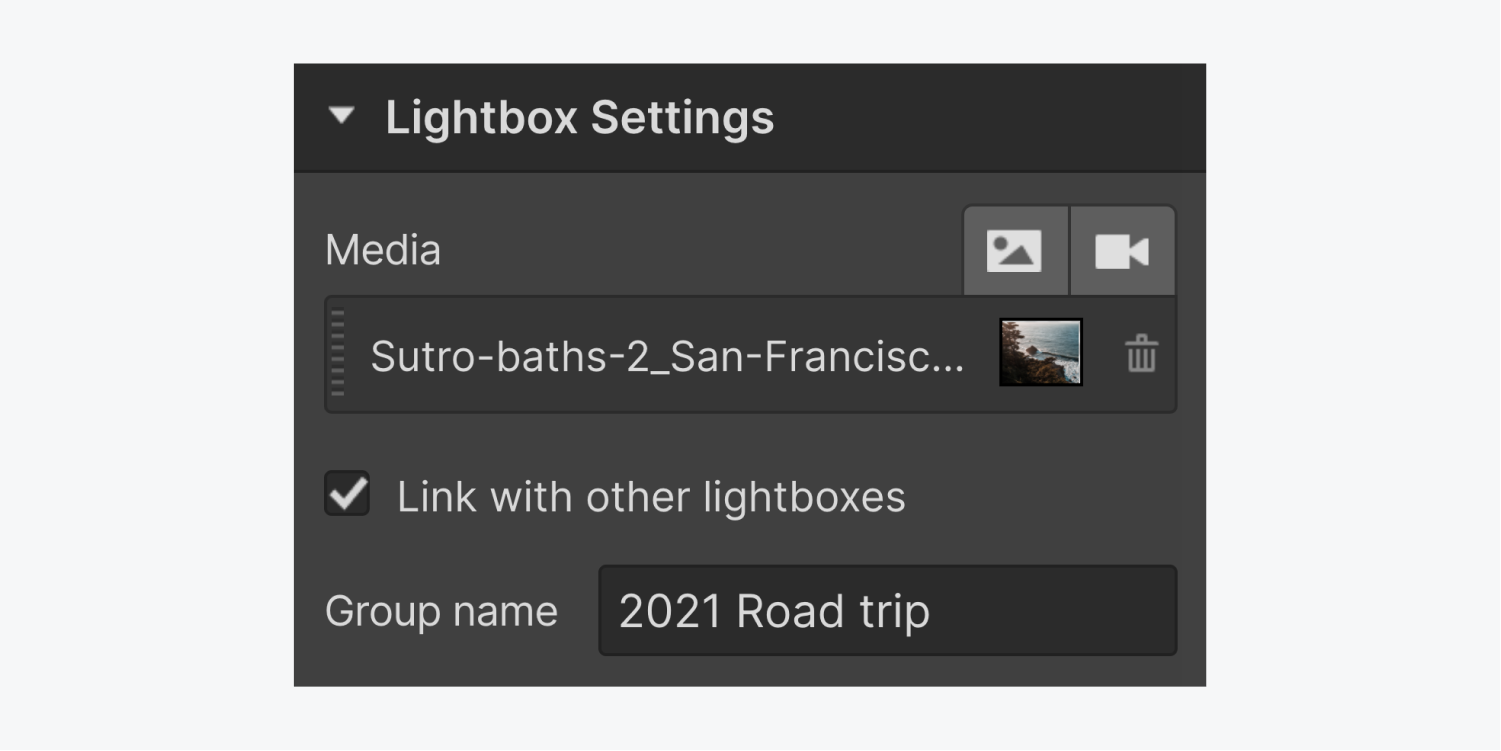
Linking additional lightboxes to the same cluster
To connect other lightboxes to the cluster, follow these steps independently for each lightbox:
- Choose any element within the lightbox
- Navigate to Element settings > Lightbox settings
- Mark the box titled as “Interlink with other lightboxes”
- Input the identical Cluster name
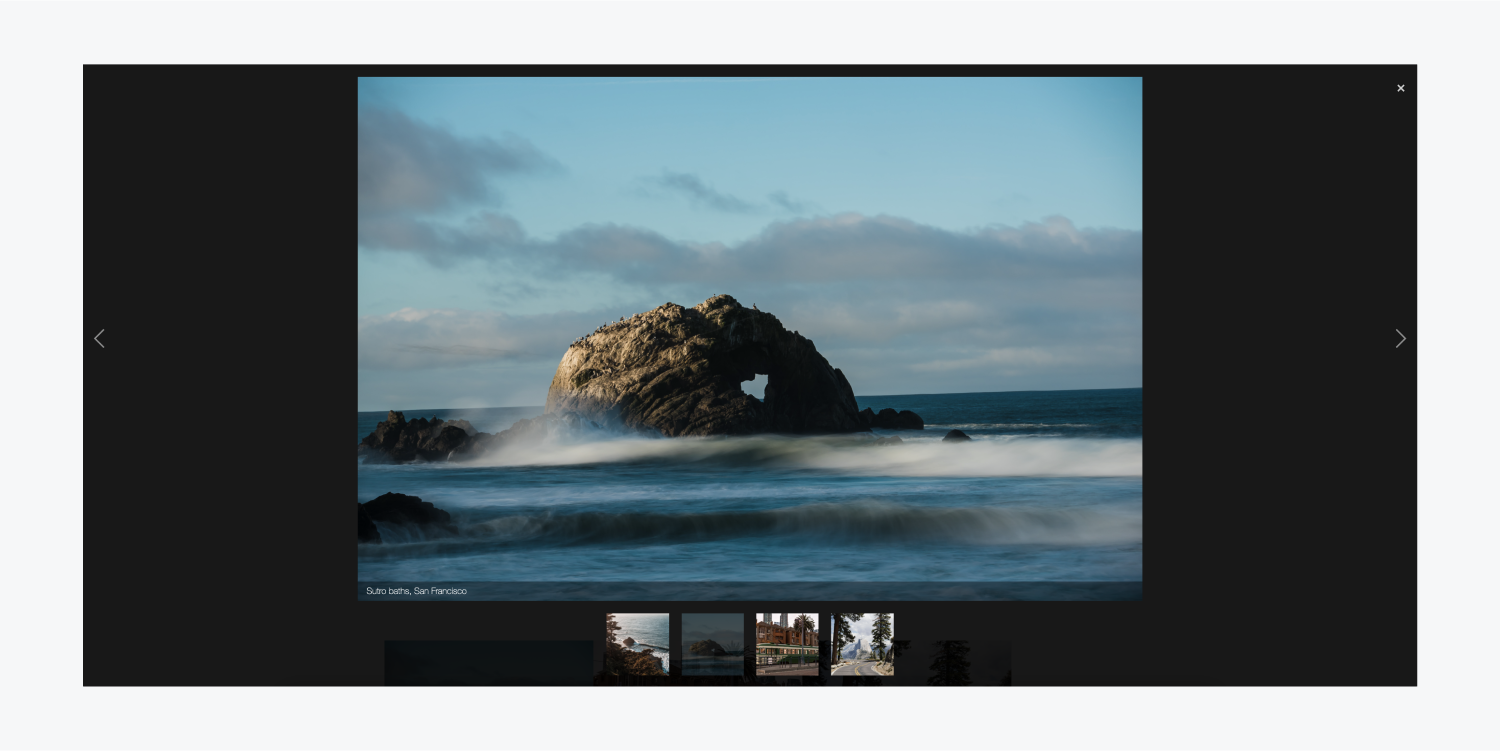
When dealing with lightboxes in Collection lists, the act of creating and connecting one lightbox within a Collection item will automatically link all lightboxes present in the Collection list.
Establish multiple lightbox clusters across a single page
When multiple lightboxes are displayed on the same page, you can segregate them by assigning distinct Cluster names.
- Include or eliminate Workspace spots and members - April 15, 2024
- Centering box summary - April 15, 2024
- Store a site for future reference - April 15, 2024
