After successfully launching your online shop, customers can explore your merchandise, add chosen items to their cart, proceed to checkout, and confirm their purchase. Subsequently, they will receive an email, and you — or the store manager(s) — will be notified via email that the purchase has been made/received. What comes next? Managing the transaction and completing it.
Contained in this tutorial
Here, we will discuss how to receive purchases, where you can obtain all necessary information for processing your transactions, and how to complete them.
Receiving purchases
Upon each successful purchase, a confirmation email is dispatched to the customer, and an “order received” email is dispatched to the store manager(s). You have the option to personalize the appearance and content of these emails in the Email settings within the Designer.
Find out more: Customizing Ecommerce emails
If you prefer to receive “new order” notifications through other applications, you can employ tools like Zapier to relay the “order received” email data to those applications.
Accessing purchases
Purchases are accessible both within the Designer and Webflow Editor. You can access your purchases directly from the “new order” email or, if you are active in the Designer or Editor, you will notice new order prompts that will lead you to the appropriate section.
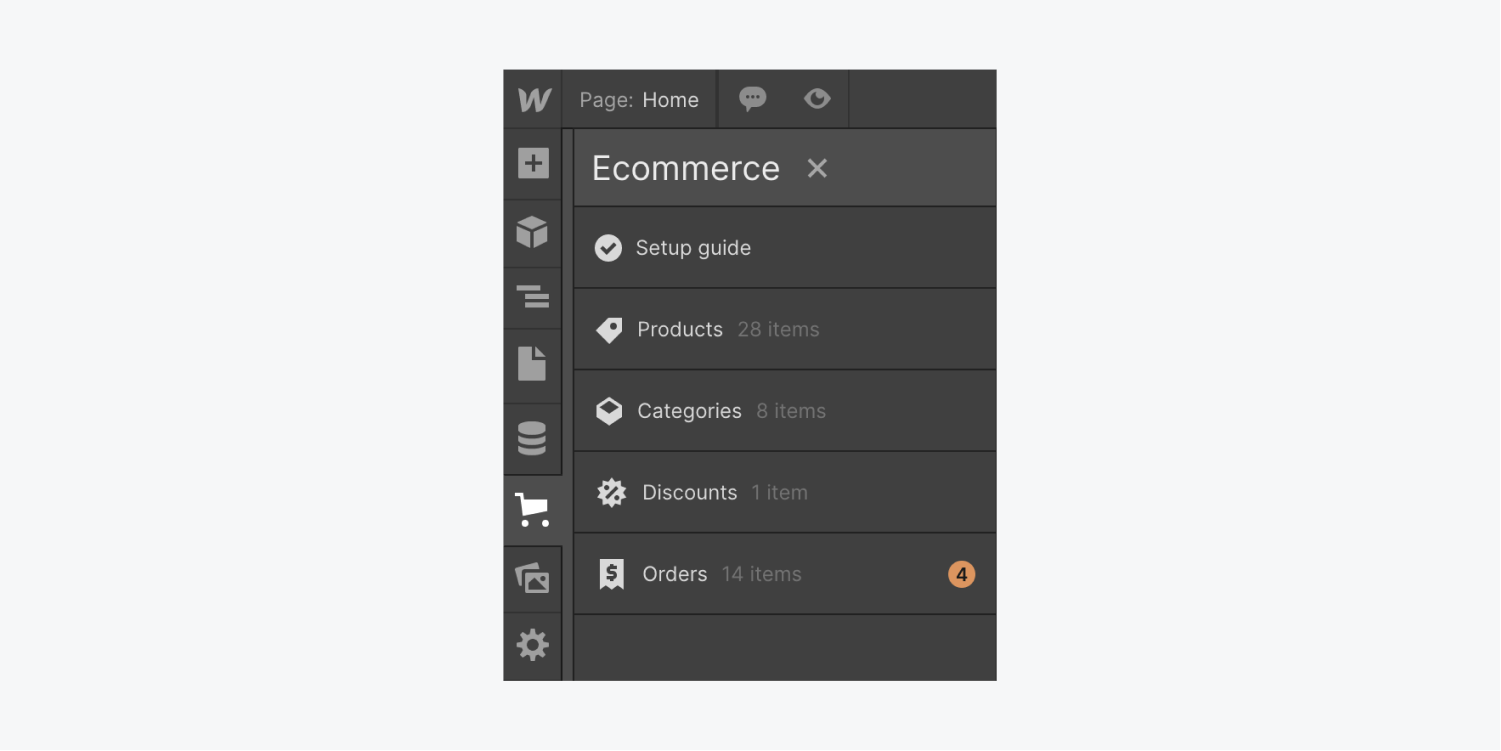

Find out more: Orders tab
Managing purchases
Managing the purchase involves preparing and dispatching the ordered items. Once you have sent out an order, you can fulfill it, enter shipping and tracking specifics, and automatically inform the customer via email that their order has been dispatched.
Packaging and dispatching purchases
The purchase list offers a general view of all your transactions, but when it comes to packaging and sending out a purchase, you will need to delve into the purchase details. To accomplish this, click on the transaction to access the detailed page.
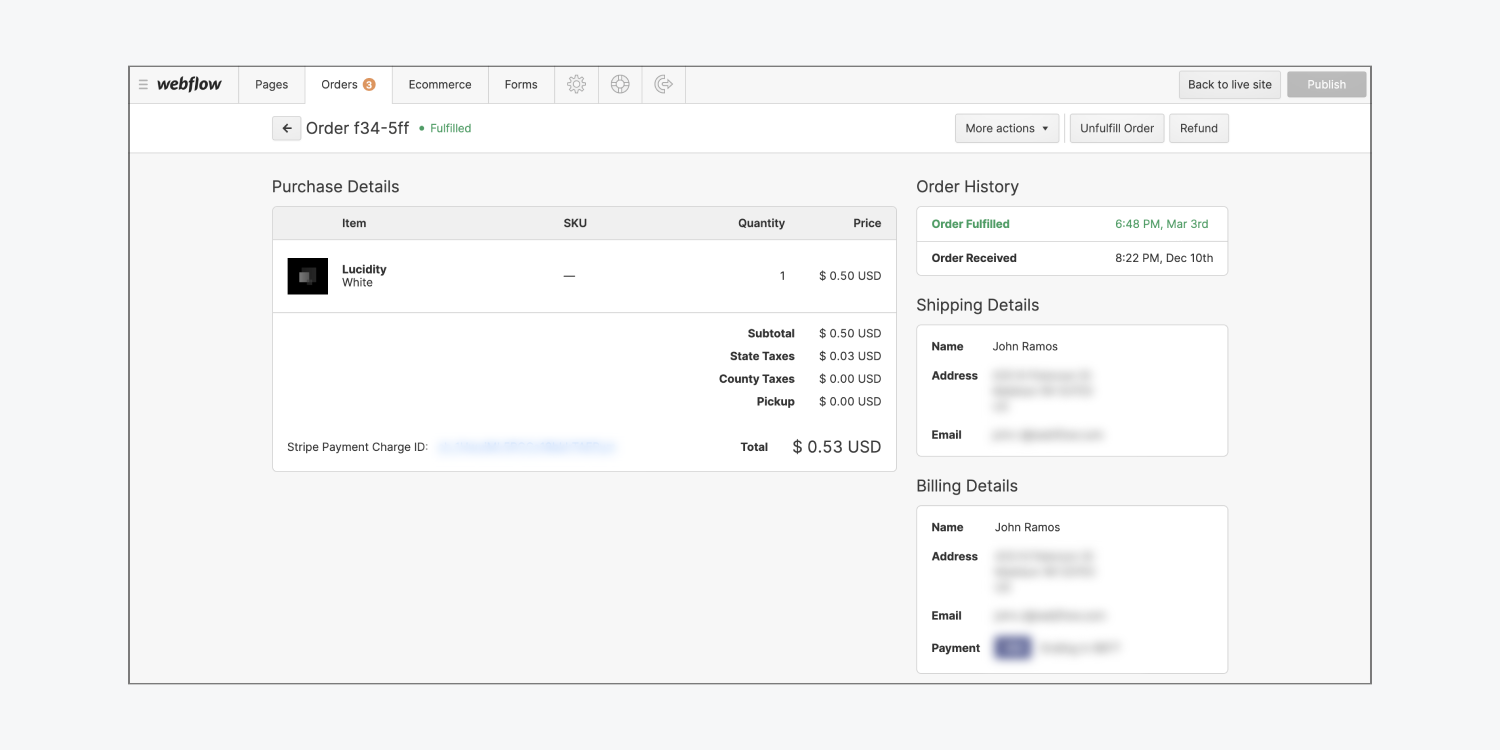
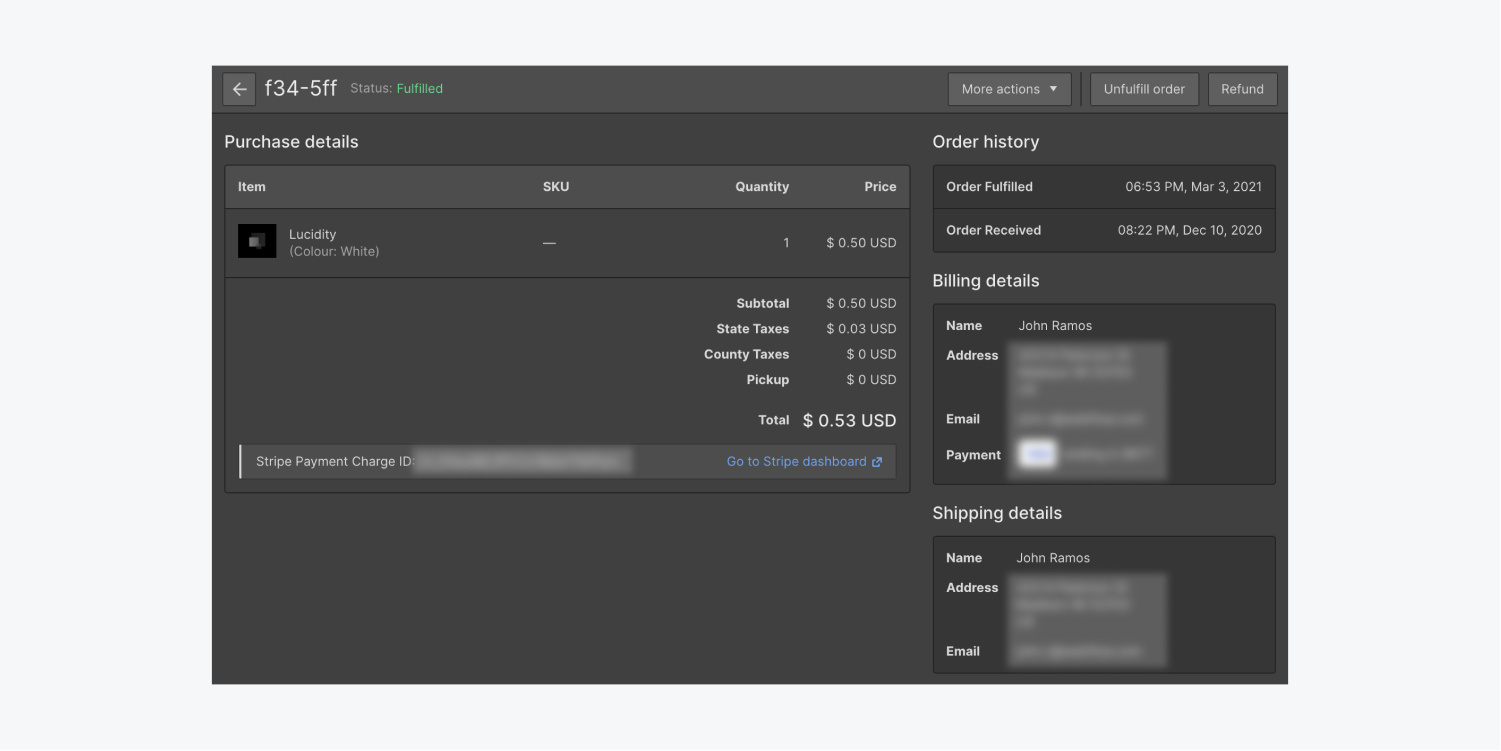
Here, you will view the purchase specifics, which include a list of the products ordered by the customer. You will need to prepare these items in the quantities specified. Then, utilize the shipping information to print your shipping label.
Once your parcel is prepared, you can dispatch it!
Fulfilling transactions
Returning to your list of transactions, having dispatched an order, you can now complete it. Revisit the transaction details page and Complete your purchase. Alternatively, you can fulfill multiple transactions in bulk from the transactions list using the select function.
Find out more: Orders tab
Adding shipping and tracking specifics to a transaction
You will need to input the delivery service provider and tracking ID before finalizing the process.
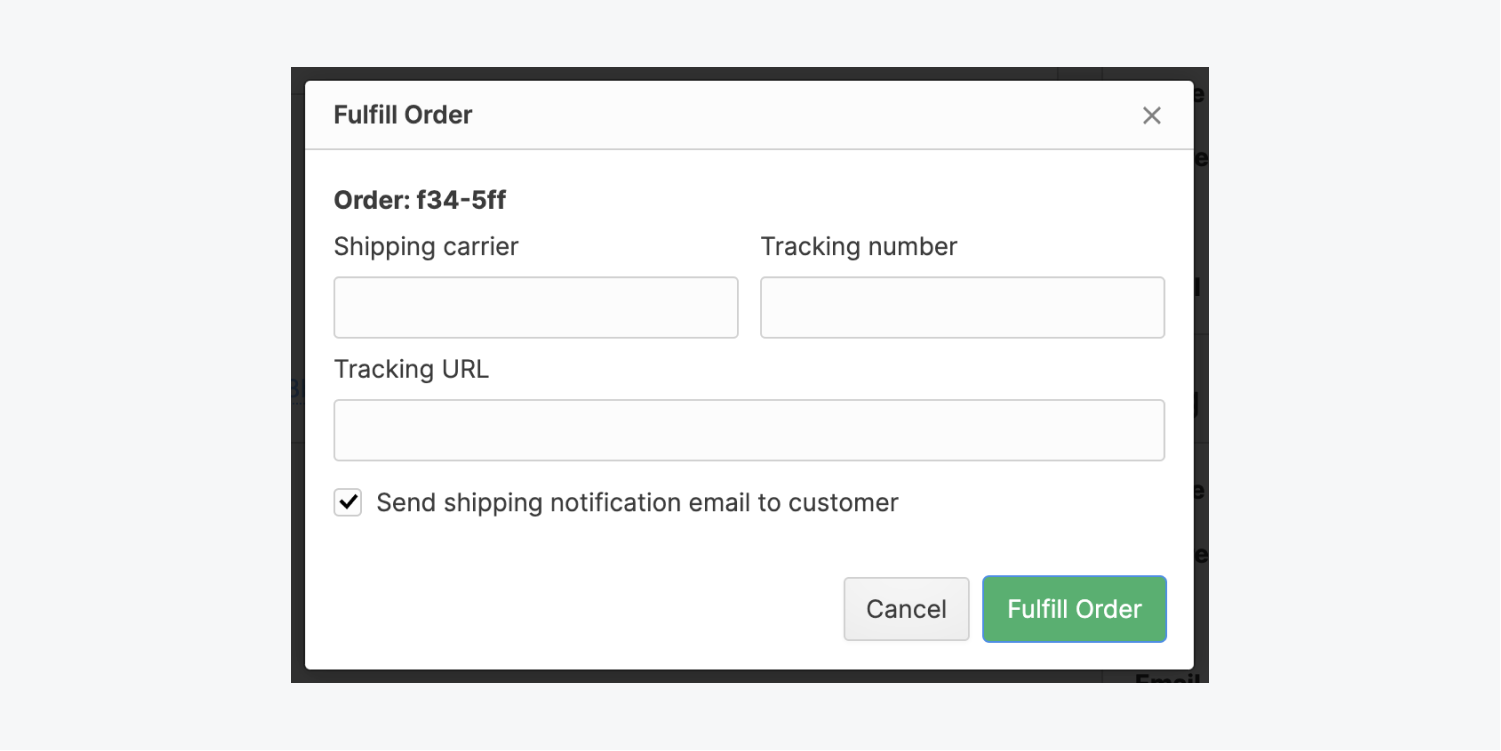
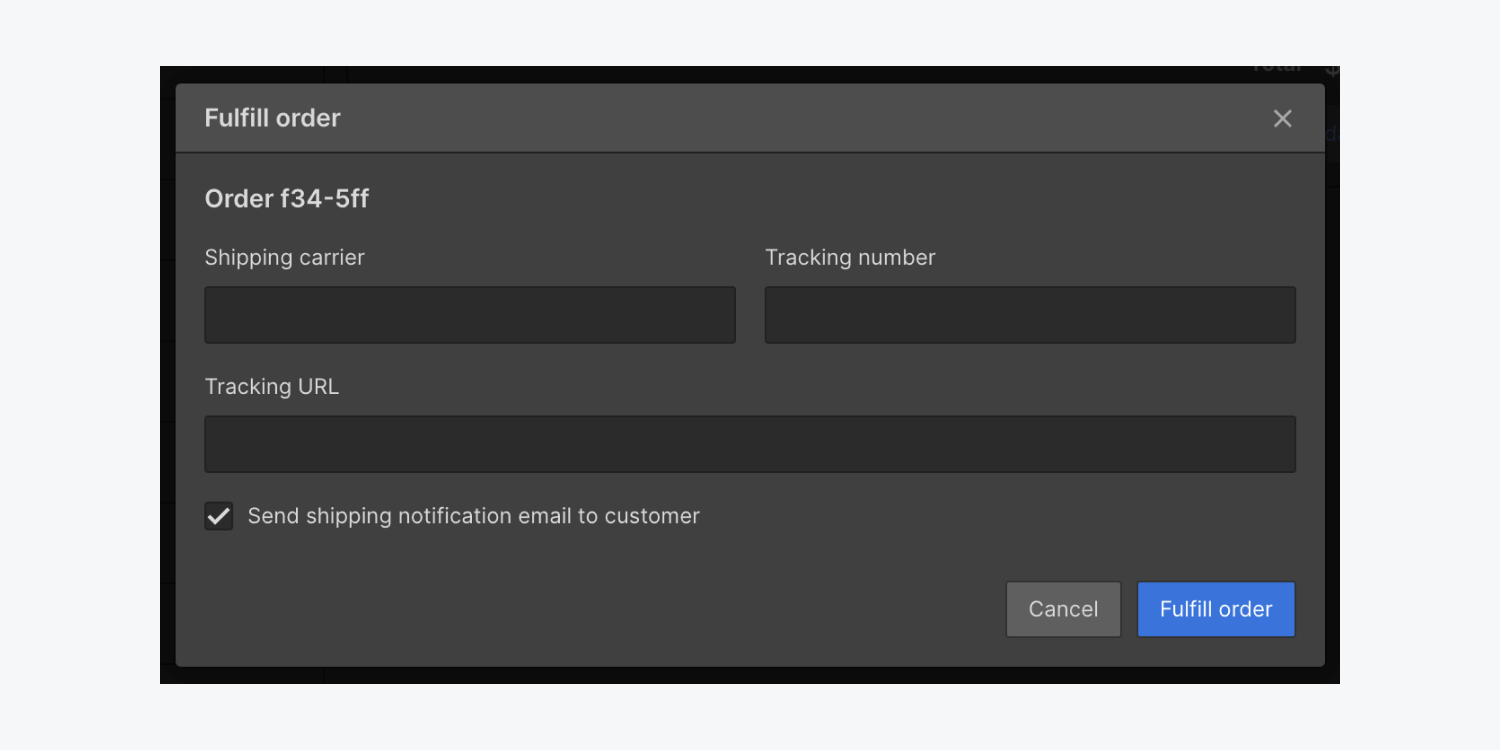
You have the option to leave these fields blank, but it is advisable to include this information, both for your monitoring purposes and to ensure that your customer receives these details via email.
Shipping confirmation email
Immediately upon confirming the completion of the order, an email containing the shipping and tracking details is dispatched to notify the customer that their order has been dispatched.
You have the ability to customize the appearance and content of these emails in the Email settings within the Designer.
Find out more: Customizing Ecommerce emails
Reverting transactions
You might need to reverse a completed transaction for various reasons, but be aware that your customer has already been informed via email that their order has been dispatched. Additionally, note that if you re-complete the transaction, a “order shipped” email will be resent to your customer.
Reimbursing transactions
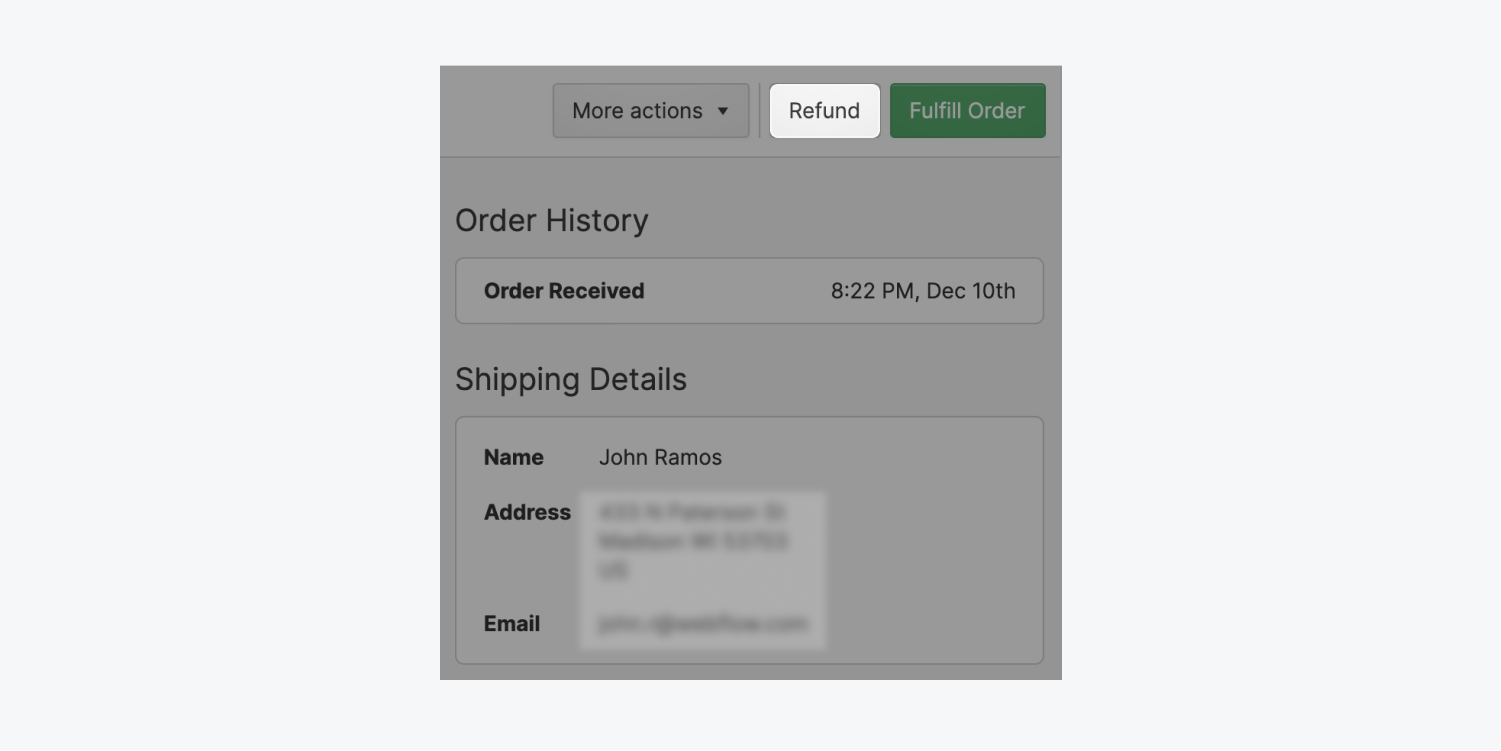
If there is a need to annul or refund a transaction for any reason, you can effortlessly issue a refund directly from the Designer or Editor’s Transactions section.
Generally, refunds take 5 – 7 business days to process. Once a refund has been processed, it cannot be revoked. Refunded transactions cannot have their status altered.
Find out more:Issuing refunds at Stripe [↗]
Contested payments also incur a cost. If the recipient’s bank resolves the conflict in your favor, this charge is completely reimbursed.
- Include or eliminate Workspace spots and members - April 15, 2024
- Centering box summary - April 15, 2024
- Store a site for future reference - April 15, 2024

