You may have images in your website that are rich in intricate details — such as product photos or artwork. By using some custom code, you can enable your visitors to hover over and amplify specific parts of these images — all without having to move a muscle.
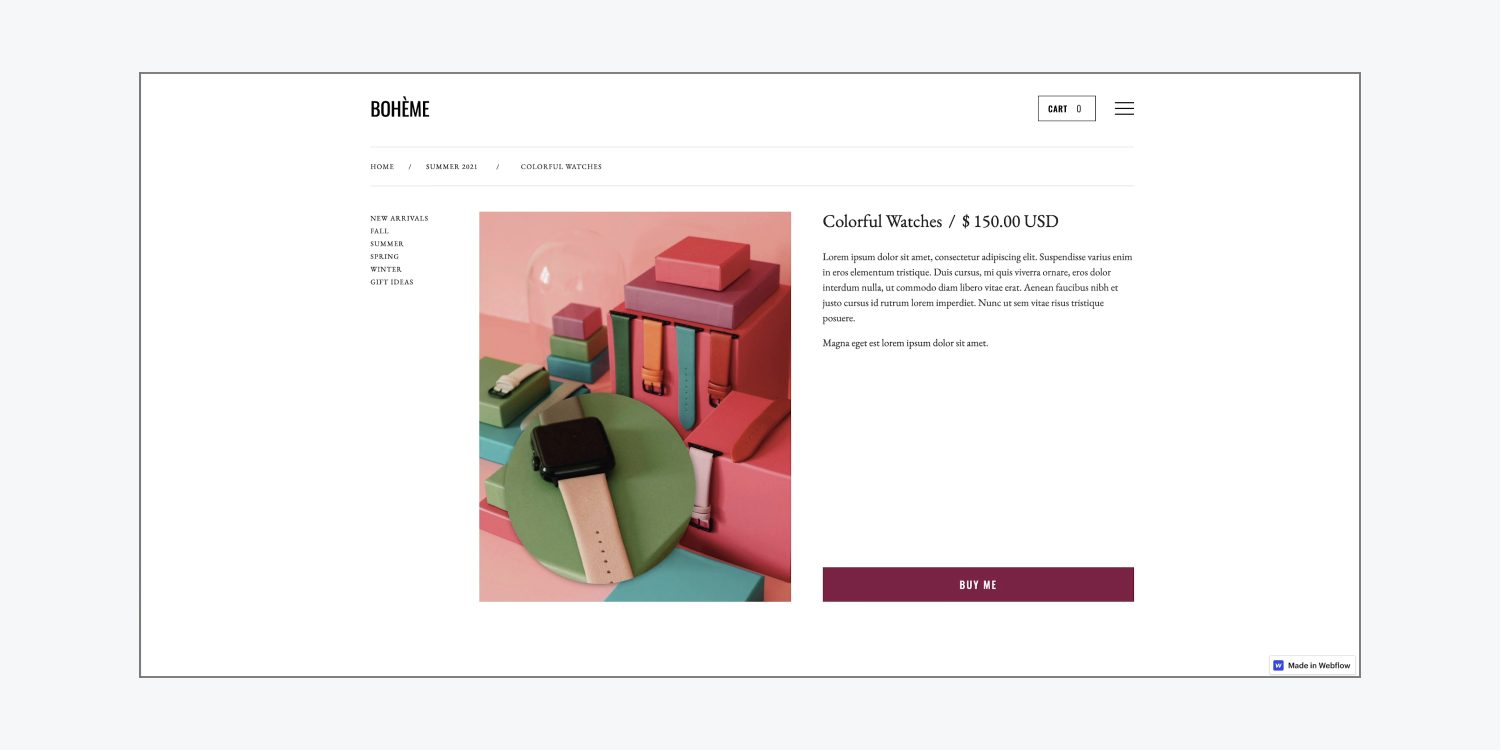
This tutorial will guide you through the process of enlarging your images by inserting custom code into a page or a project by following these steps:
- Insert the custom code
- Assign a class name
- Customize the magnifier
Insert the custom code
There are two methods to insert the custom code into your project:
- Include the code in the entire project
- Integrate the code in an individual page
To insert the code into your entire project:
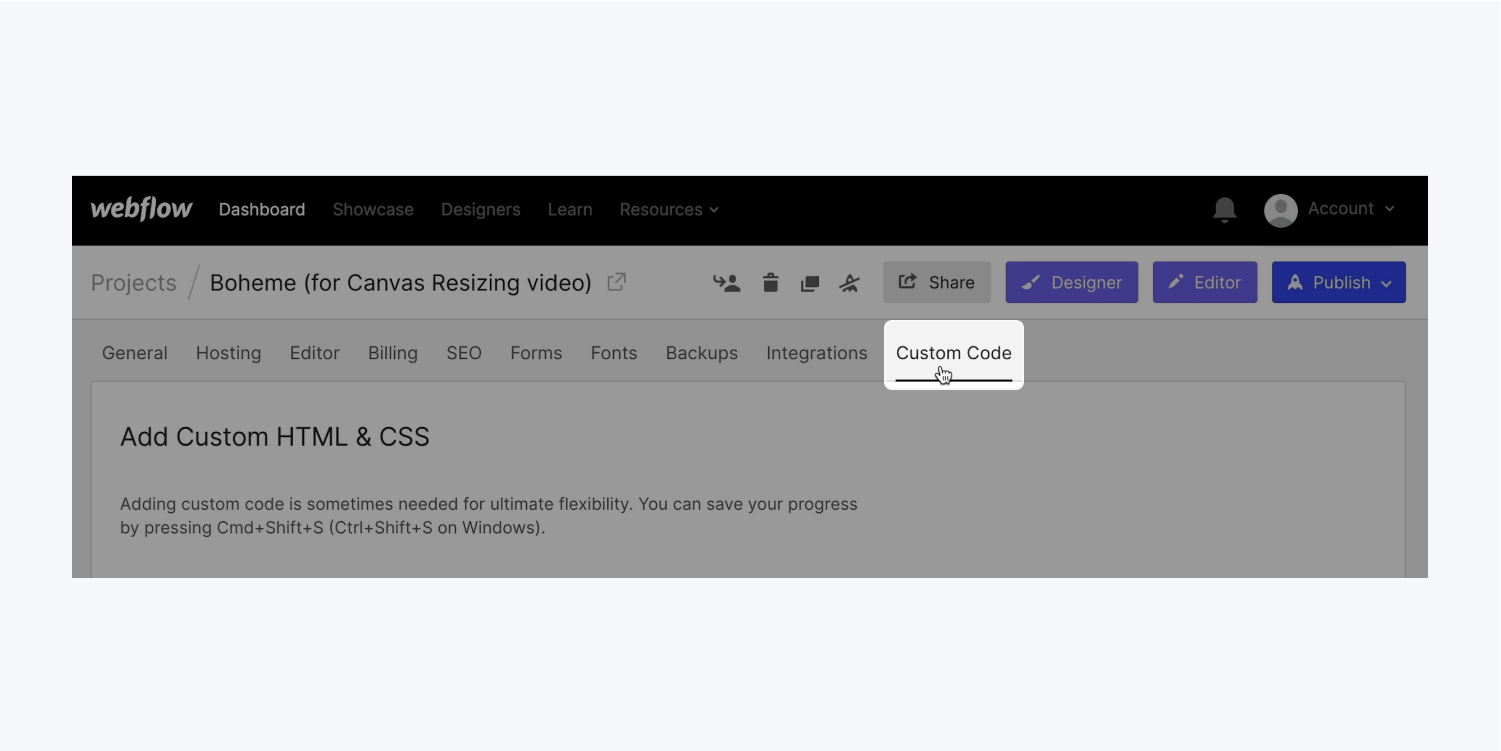
- Access your project’s Settings
- Select the Custom code tab
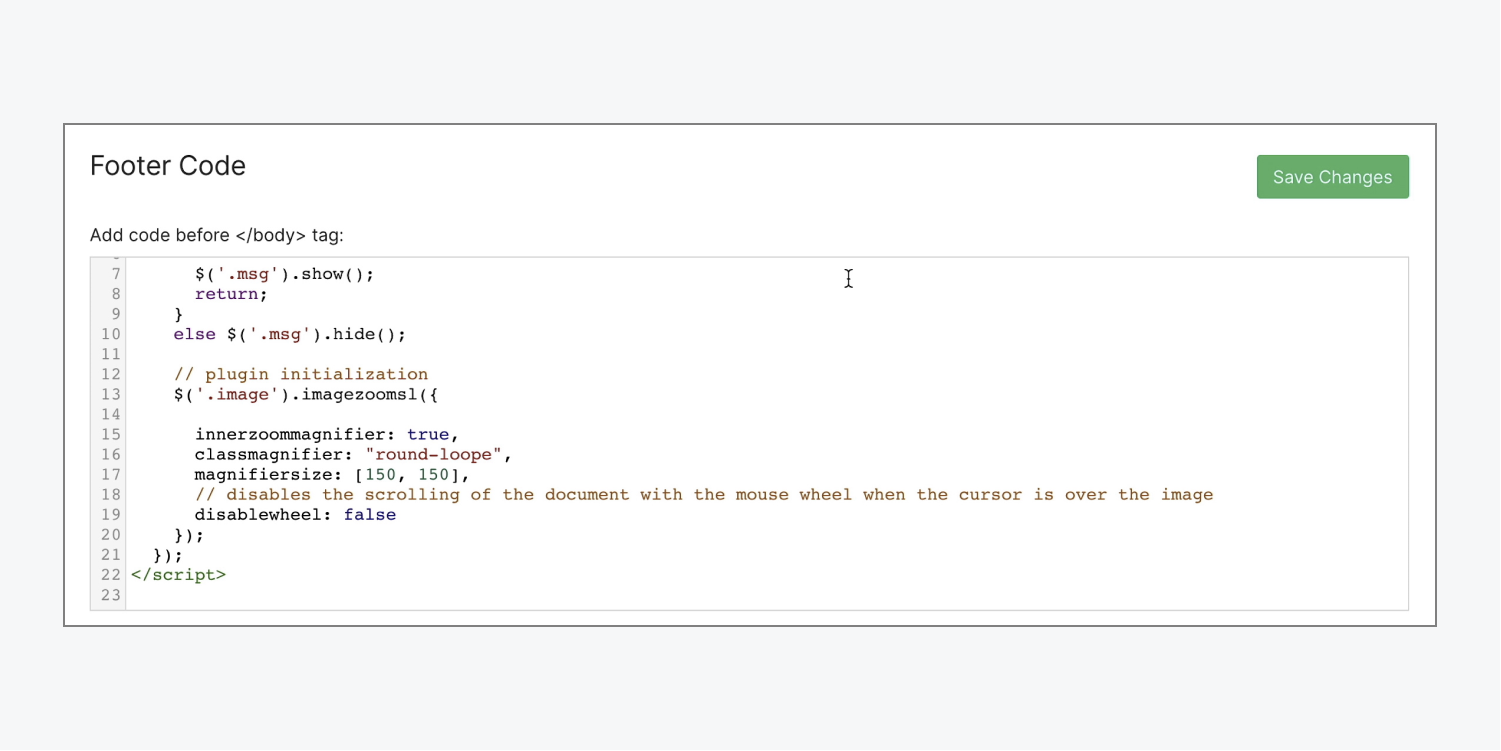
- Insert the code into the Footer code section (e.g., “Before </body> tag”)
- Click Save changes
Note: You can insert the code into your project using hotkeys Command + V (on Mac) or Control + V (on Windows).
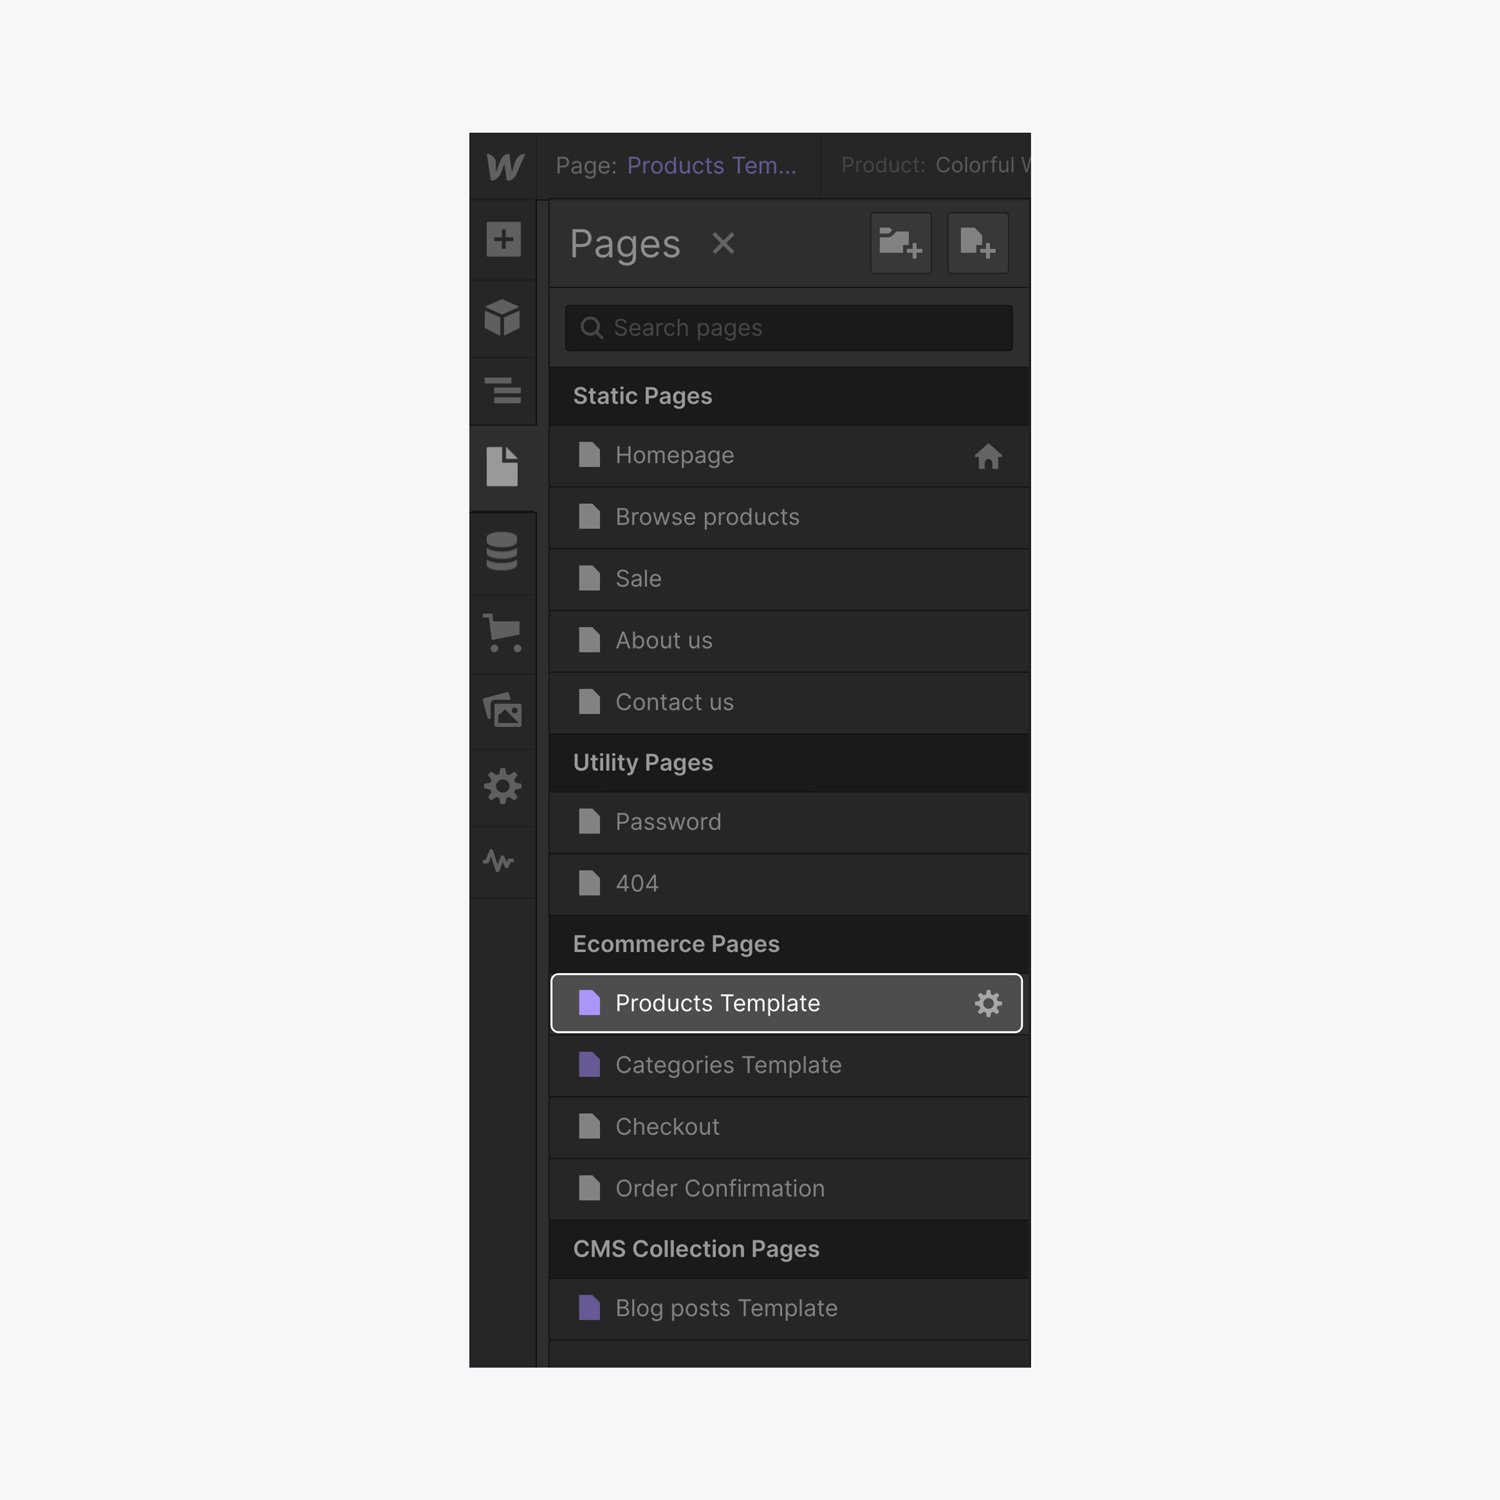
To insert the code into an individual page:
- Launch the Designer
- Access the Pages panel and select the page settings cog icon of the desired page
- Scroll to the Custom code section within the page settings
- Insert the code into the Before </body> tag section
- Click Save
Note: You can paste the code into your project using hotkeys Command + V (on Mac) or Control + V (on Windows).
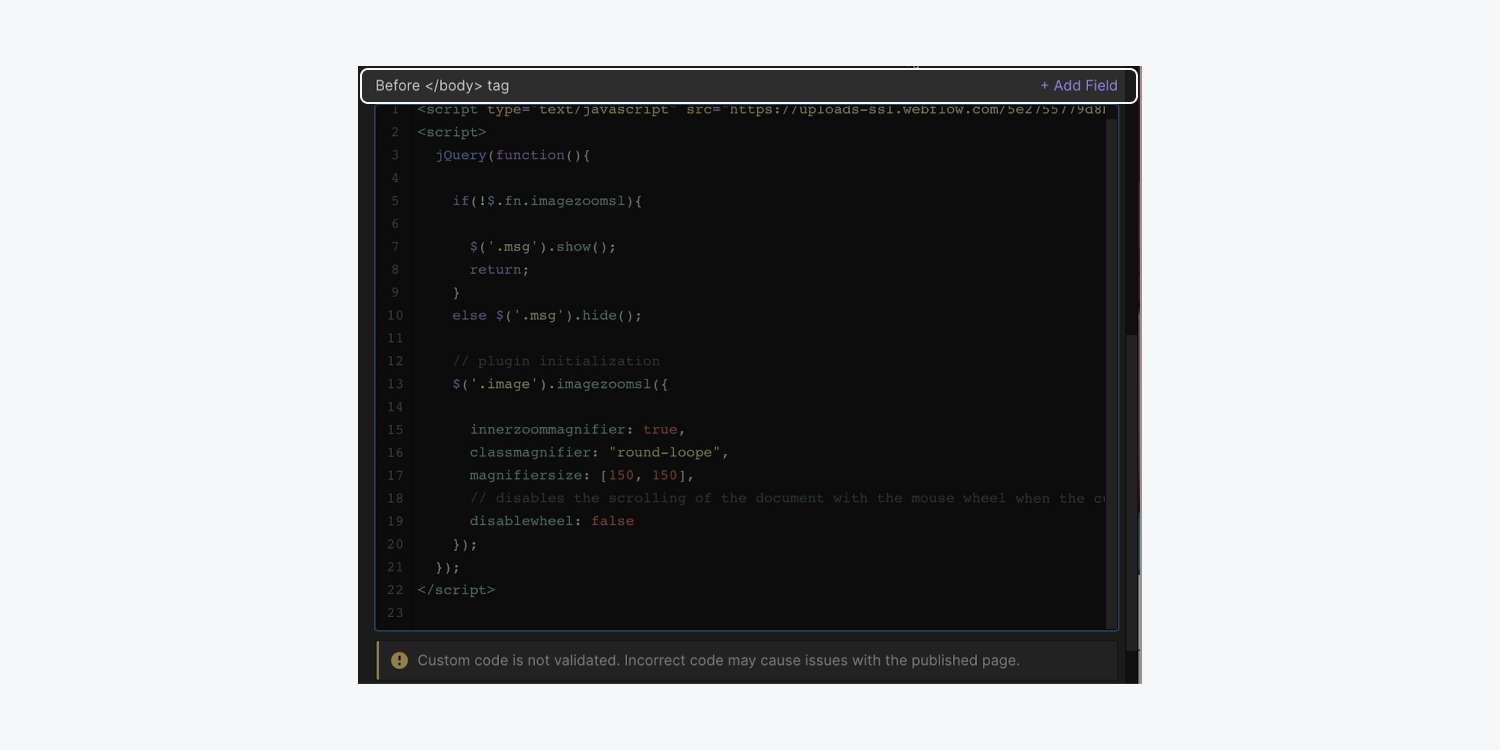
You have successfully integrated the custom code into your project!
Assign a class name
Let’s assign a unique class name to the images that we want to apply the magnification effect to:
- Select the Image you wish to magnify
- Access the Style panel and click on the Selector field
- Give it a class (e.g., “Magnify”)
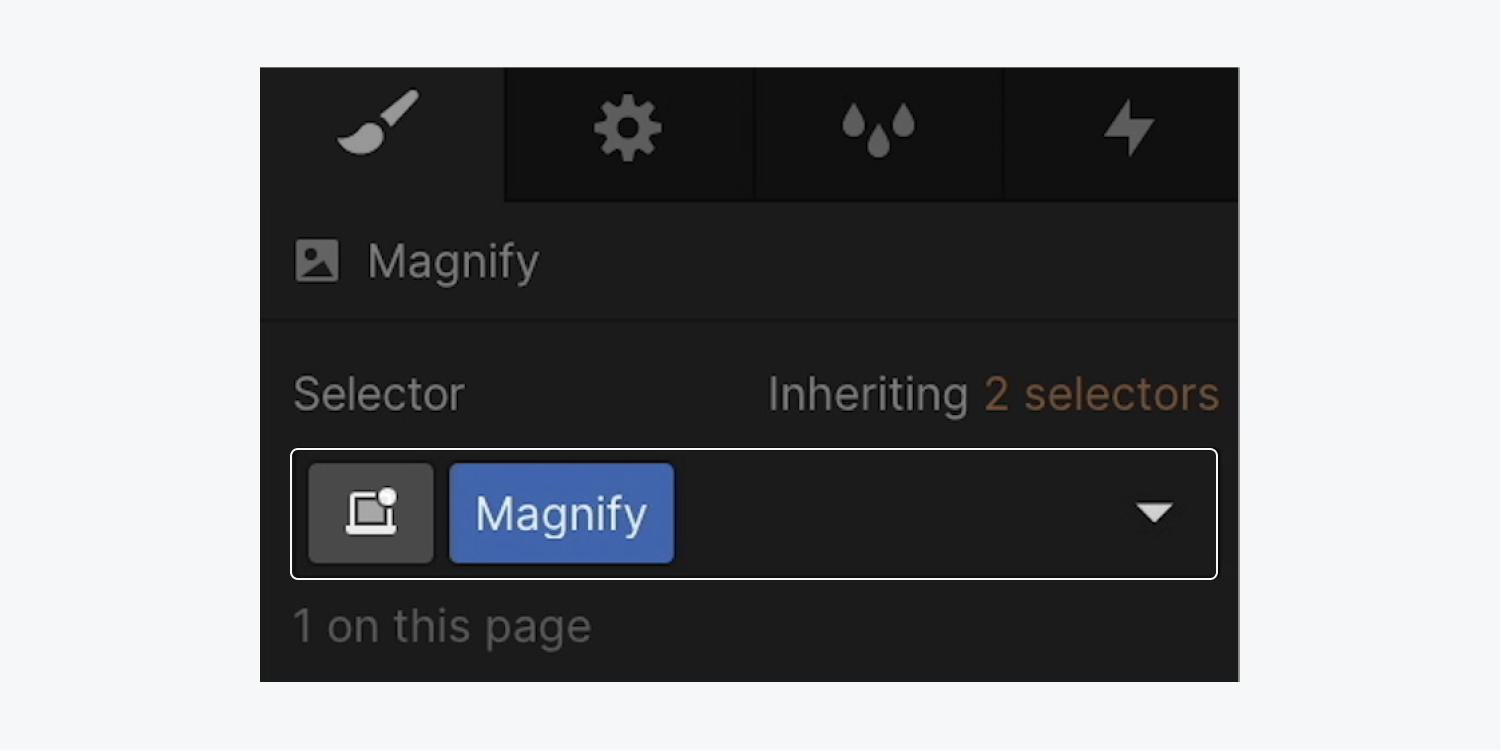
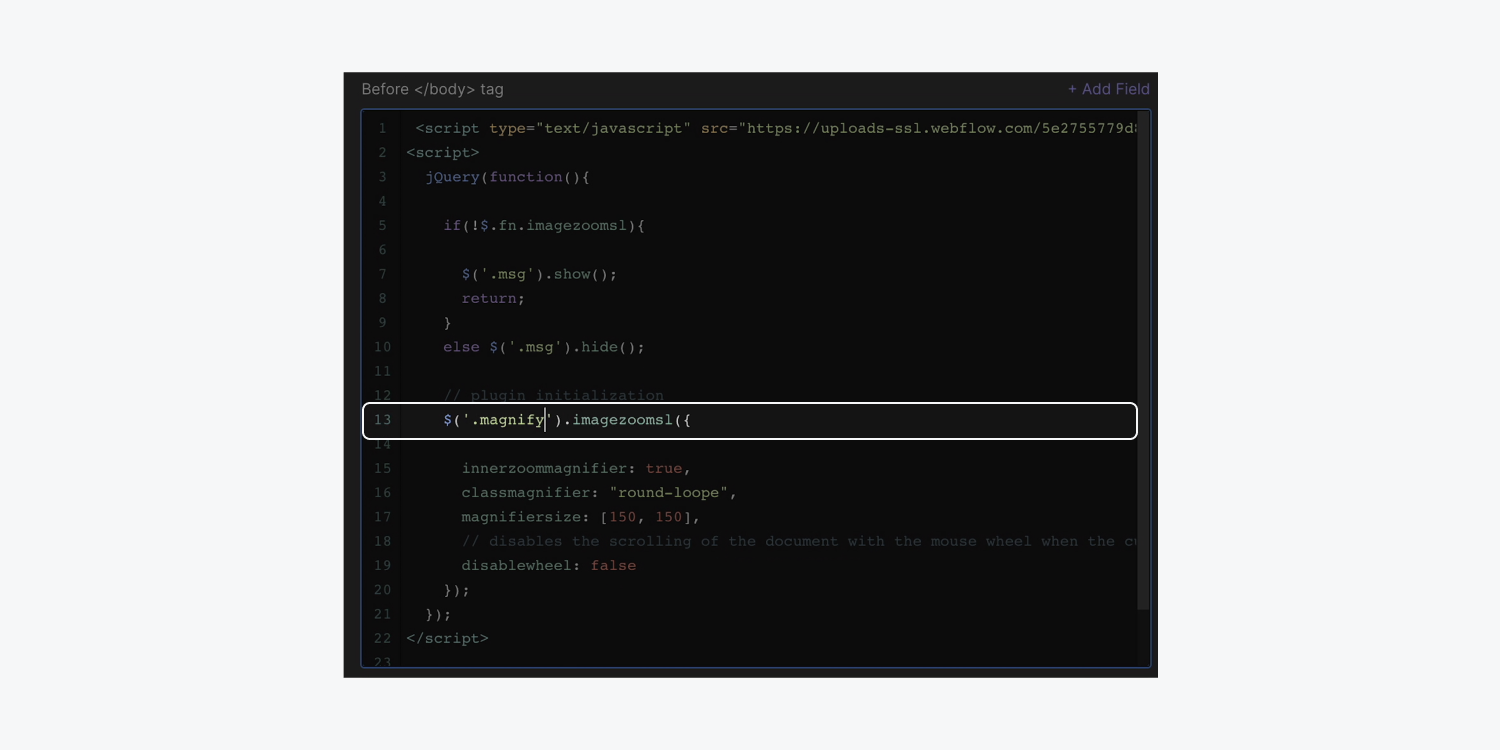
Let’s include the “Magnify” class in our code:
- Access the Pages panel and select the page settings cog icon of the page where your custom magnifier code is placed
- Scroll to the Before </body> tag section in your page’s settings
- Replace “.image” with your class name (e.g., “.magnify”)
- Click Save
Helpful tip: Instead of replicating or copying classes in an ongoing project, consider using a Global class or a Combo class to establish a unique class for images intended for magnification. Ensure that the distinct magnification class name has been included in your custom code according to the previously outlined steps. Discover more about Global classes and Combo classes.
Go ahead and publish your project and navigate to your live site to witness your personalized code in operation. Simply hover over the image where you’ve applied the class name (such as images identified with the class name “Magnify”), and observe a magnifying glass tracking your cursor movements as you glide it across the image.
Customize the magnifying tool
By default, the magnifying glass is a square measuring 150 by 150 pixels. Let’s modify its dimensions, shape, and introduce a drop shadow effect.
The default setting in our custom code specifies the magnifier size as 150 by 150 pixels. Let’s enlarge it:
- Access the Pages panel and select the page settings cog icon on the page containing your tailored magnifying code.
- Scroll down to the Before </body> tag section within your page settings and pinpoint the “magnifiersize: [150, 150]” snippet of code.
- Adjust both 150 pixel values to a larger figure (e.g., 300 pixels for each).
- Save your changes.
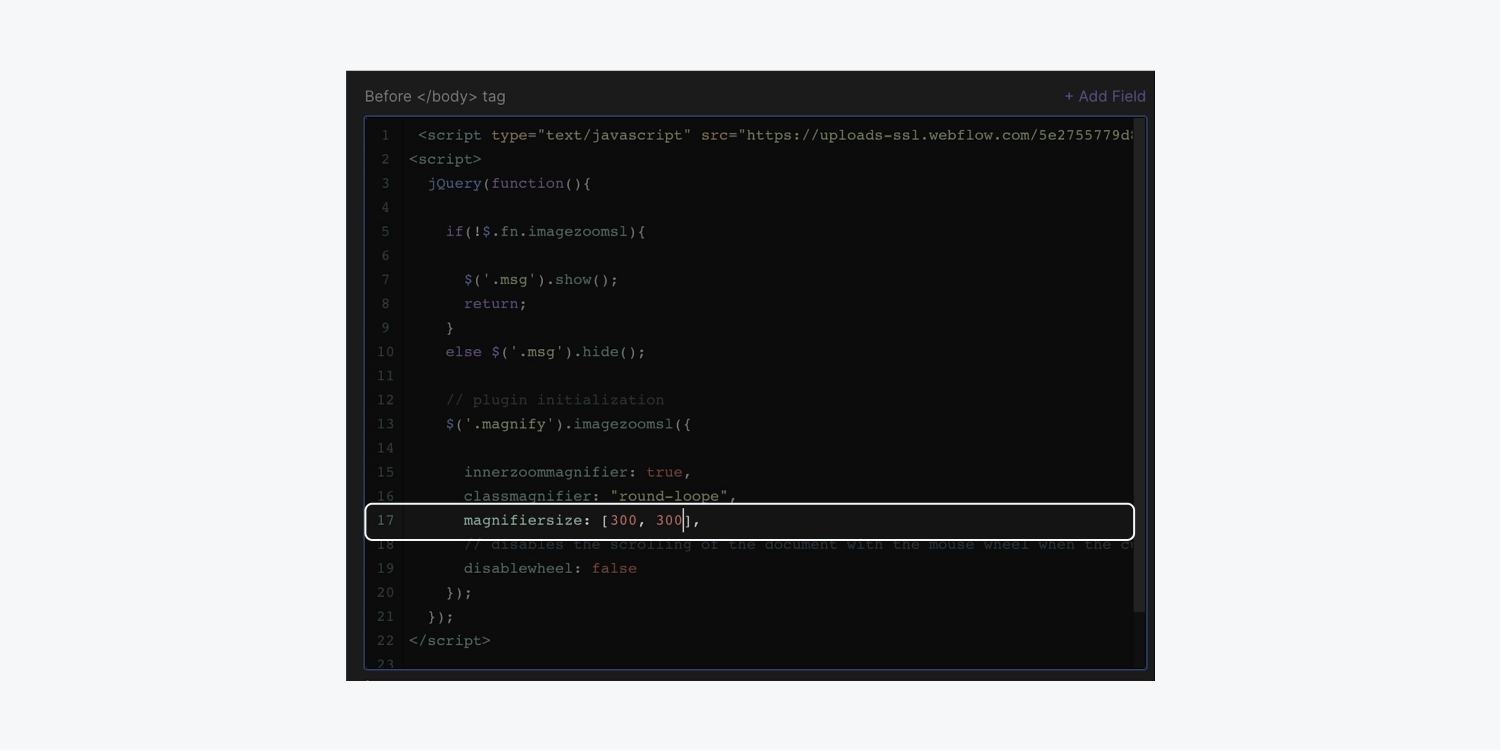
Let’s transform the magnifier shape from a square to a circle by setting a foundational style on a fresh Div block:
- Open the Navigator and choose the Body element.
- Utilize Quick find to insert a Div block as the concluding element on the page.
- Select the Div block, launch the Style panel, and click into the Selector field.
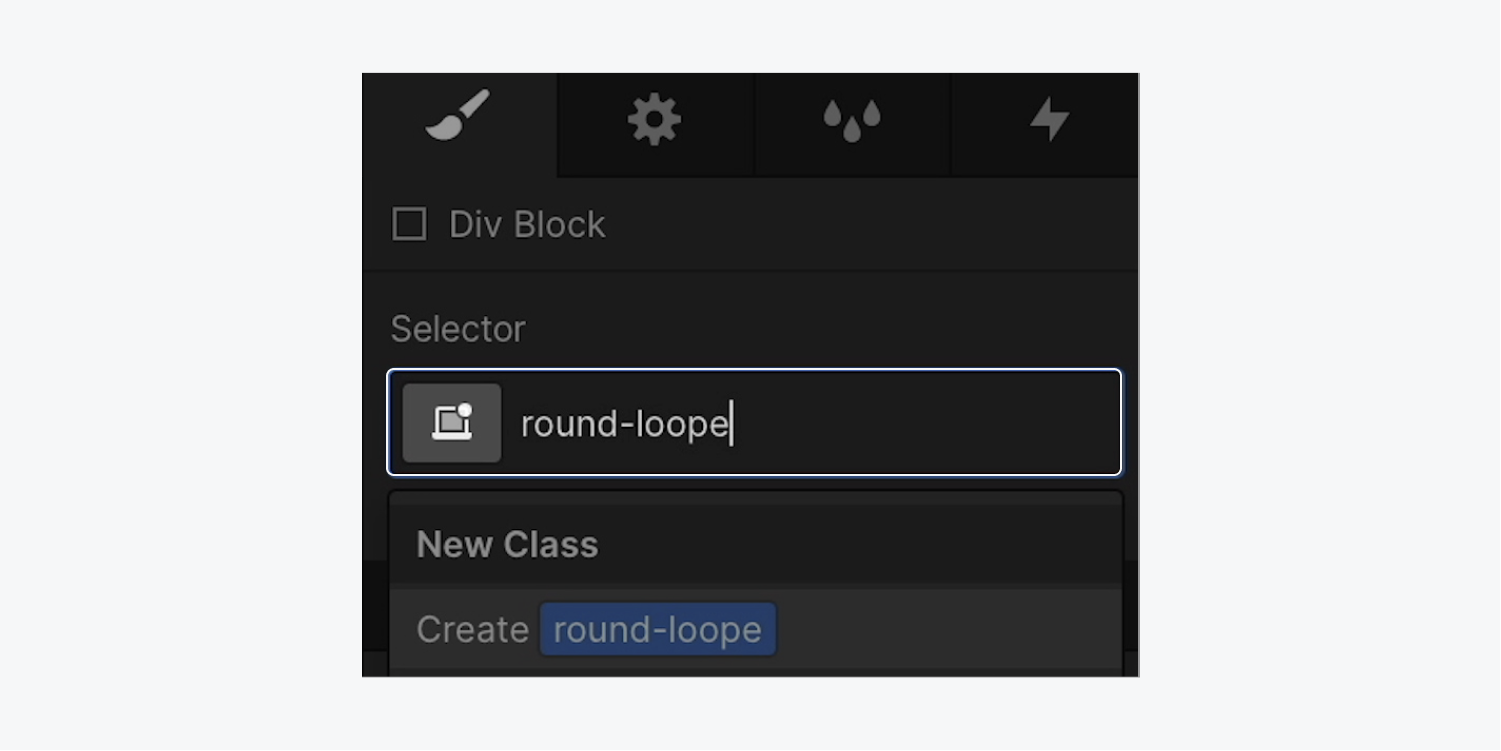
- Assign a class name to the Div block to enable the custom code to recognize the new magnifier shape (e.g., “round-loope”).
- Access Style panel > Borders and define a Radius of 50%.
At this stage, the Div block might appear oval, but the magnifier’s size is controlled by the 300 pixels you previously set.
Insider tip: Press Command + E (on Mac) or Control + E (on Windows) to trigger Quick find and promptly append elements to your project.

To introduce more depth to the magnifier, let’s include a shadow behind it:
- Choose the Div block.
- Access the Style panel > Effects.
- Incorporate a Box shadow by selecting the plus icon and customize the shadow according to your preference.
Since our “round-loope” Div block solely affects the styling of our magnifier, we do not want the Div block to be visible on our page. Let’s conceal it from view:
- Select the “round-loope” Div block.
- Open the Style panel > Layout.
- Adjust the Display to none.
- Publish the project and explore your site to preview the newly styled magnifier.

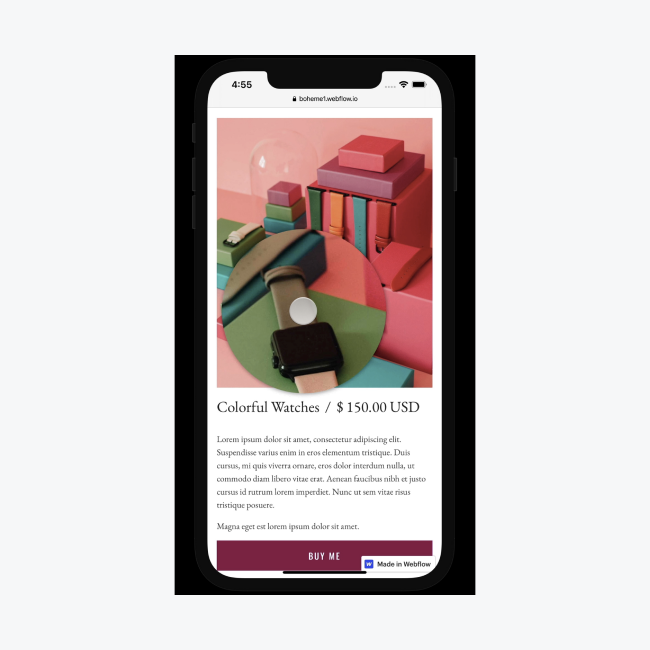
The magnifying tool also functions on mobile gadgets. Users can tap on the image to view close-ups, especially on devices like tablets and smartphones.
Congratulations! You’ve enhanced the potential of your images with magnification capabilities!
- Include or eliminate Workspace spots and members - April 15, 2024
- Centering box summary - April 15, 2024
- Store a site for future reference - April 15, 2024
