HTML elements enable you to commence your design process by specifying default styles for a particular element type and customizing large groups of elements simultaneously. These default styles can then be replaced with classes and/or combined classes as you progress with designing your site.
Handy hint: Utilizing HTML elements is vital for customizing elements within rich text fields in Webflow. To discover more, refer to our tutorial on rich text fields.
Throughout this tutorial, you’ll understand:
- Which elements can be styled
- How to personalize the Body (All pages) element
- How to customize heading elements
- How to style paragraph elements
- How to style link elements
- How to establish a tag-oriented style guide
Which elements can be styled
Elements are denoted in pink, distinguishing them from blue classes and green states. Here is a compilation of element types with stylable elements:
- Body (all pages)
- H1 Heading
- H2 Heading
- H3 Heading
- H4 Heading
- H5 Heading
- H6 Heading
- Paragraph
- Link (text links, buttons, link blocks)
- Image
- Unordered list
- Ordered list
- List item
- Label
- Strong (inline bold text)
- Ems (inline italic text)
- Block quote
- Figure (in rich text)
- Figure Caption (in rich text)
- All code
All other elements necessitate styling using classes and/or combined classes.
How to personalize the Body (All pages) element
Configuring typography styles on the Body (All pages)element will flow down to all typography across the entire site. Here, “Body” signifies an entire site page, housing all other page elements. It’s good practice to define the default font family, font size, and line height on the Body (All pages) element and substitute those styles on H1-H6 heading elements.
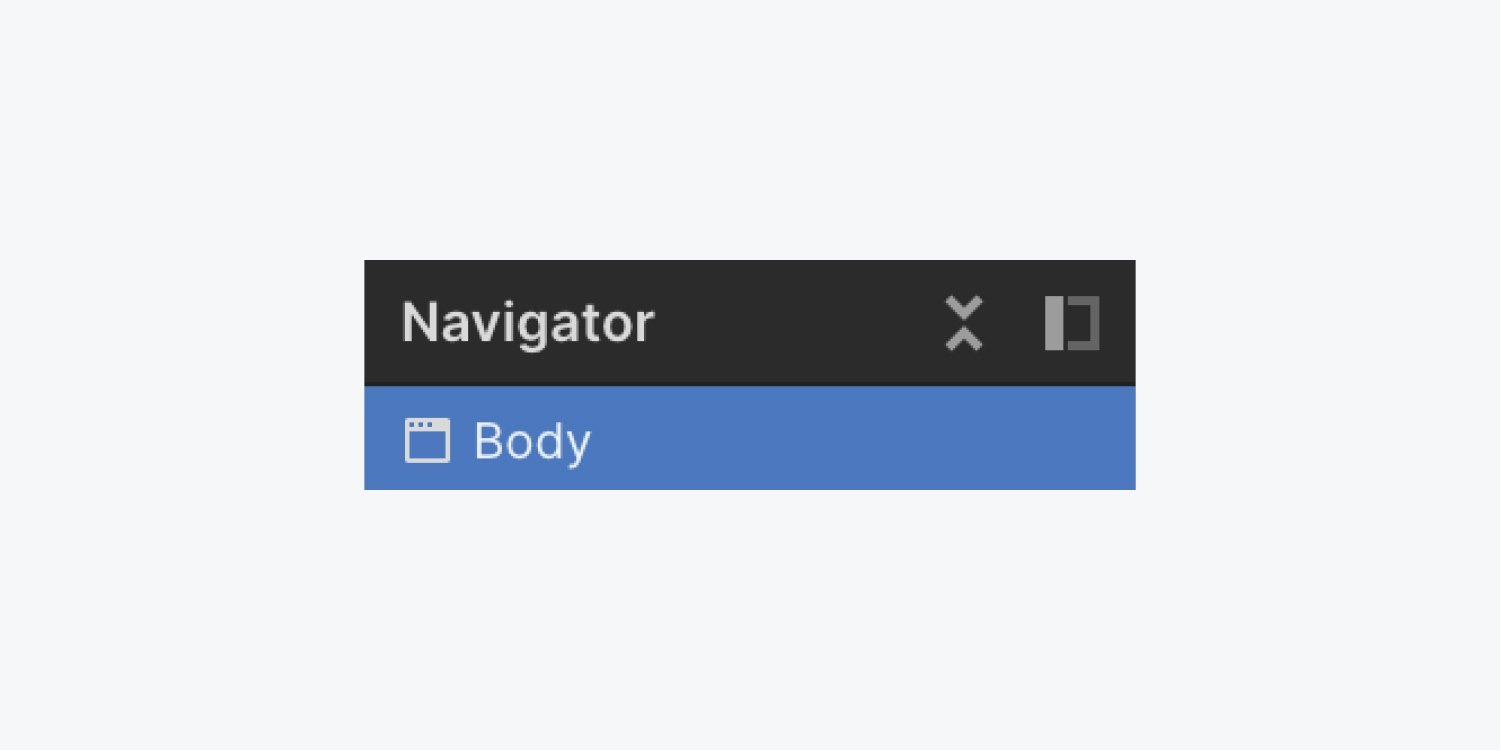
You have two ways to style the Body (All pages) element:
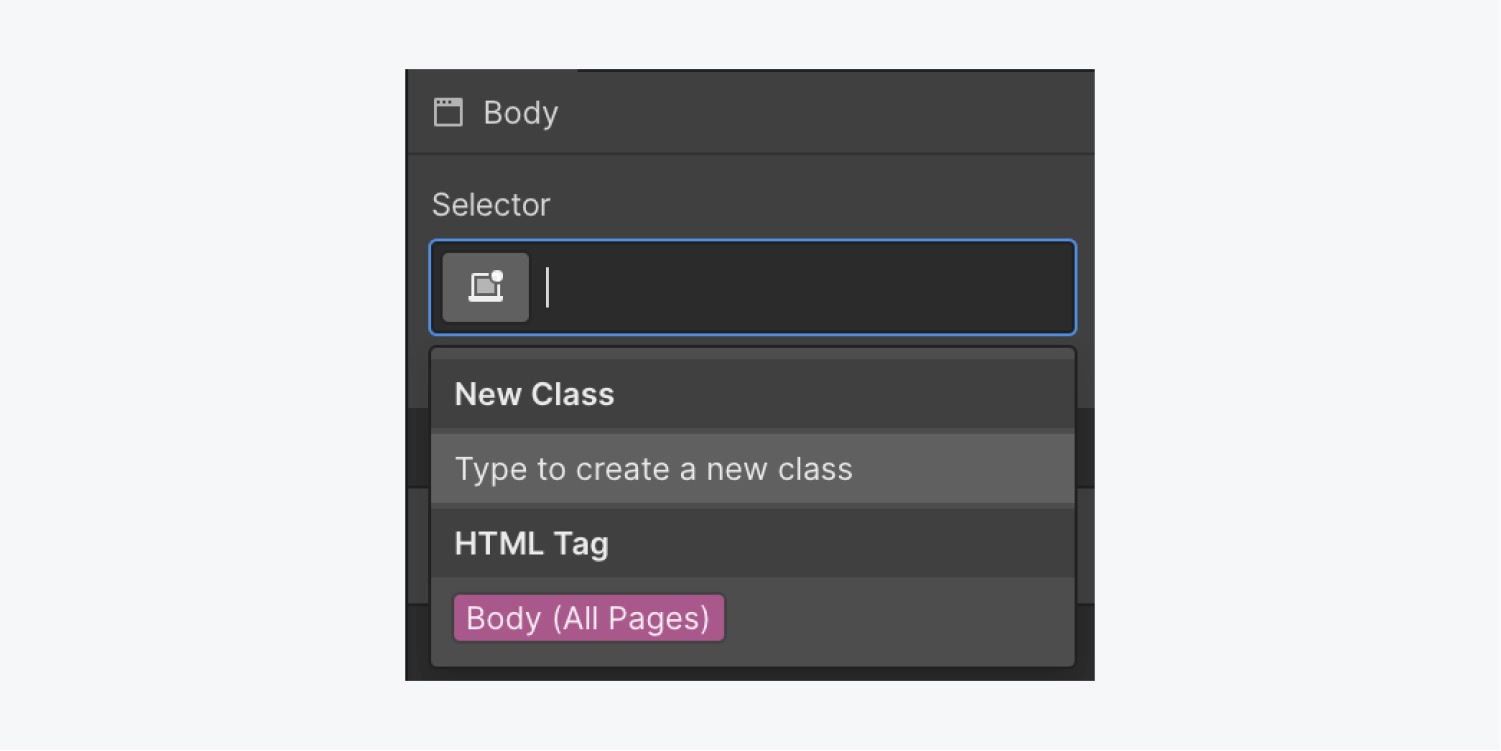
- Select the Body element and opt for the Body (All pages)element from the Selector field dropdown in the Style panel
- Select any element and pick the Body (All pages)element from the inheritance menu in the Style panel — all elements inherit styles from the Body (All pages)element
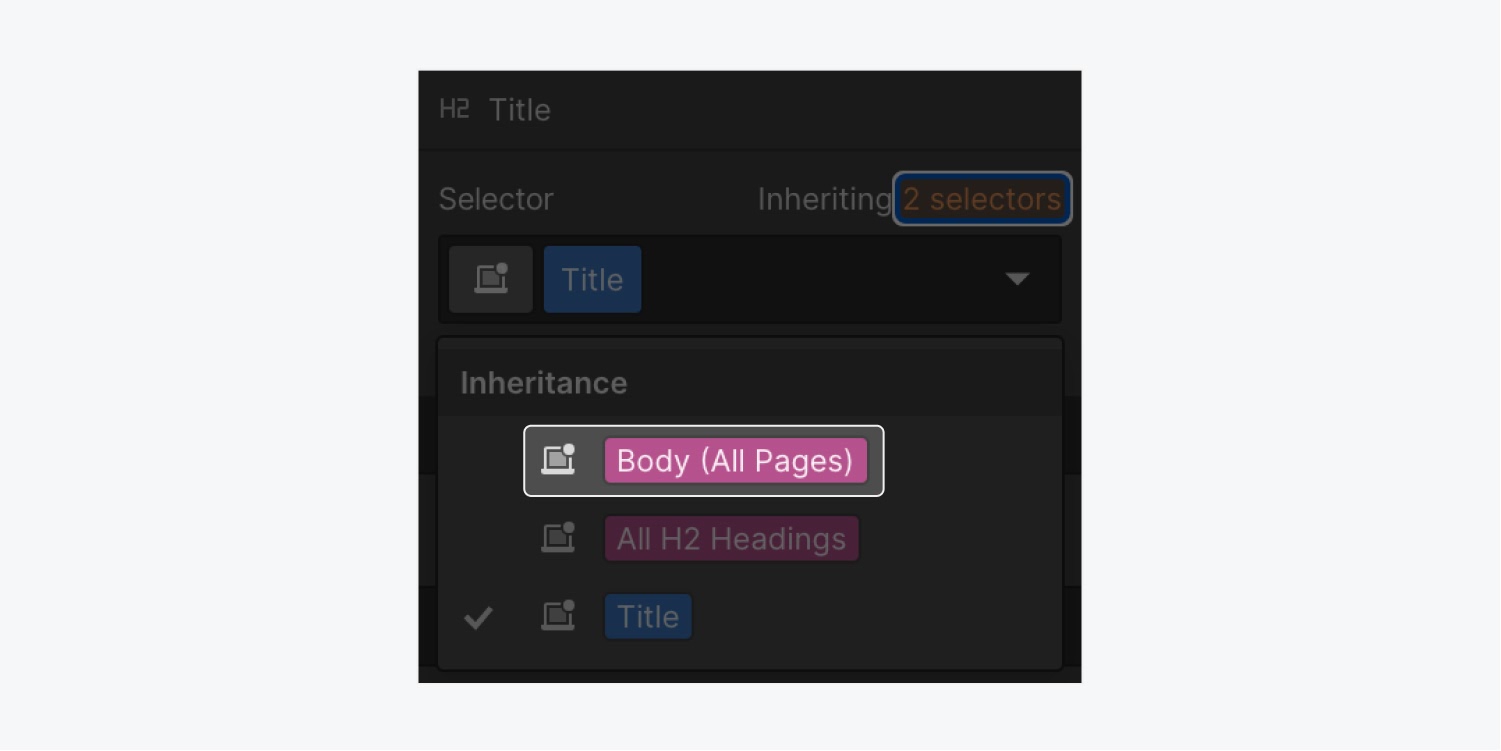
To reach the Body (All pages) element:
- Select the Body element on any page
- Enter the Selector field in the Style panel
- Pick the Body (All pages) element from the dropdown
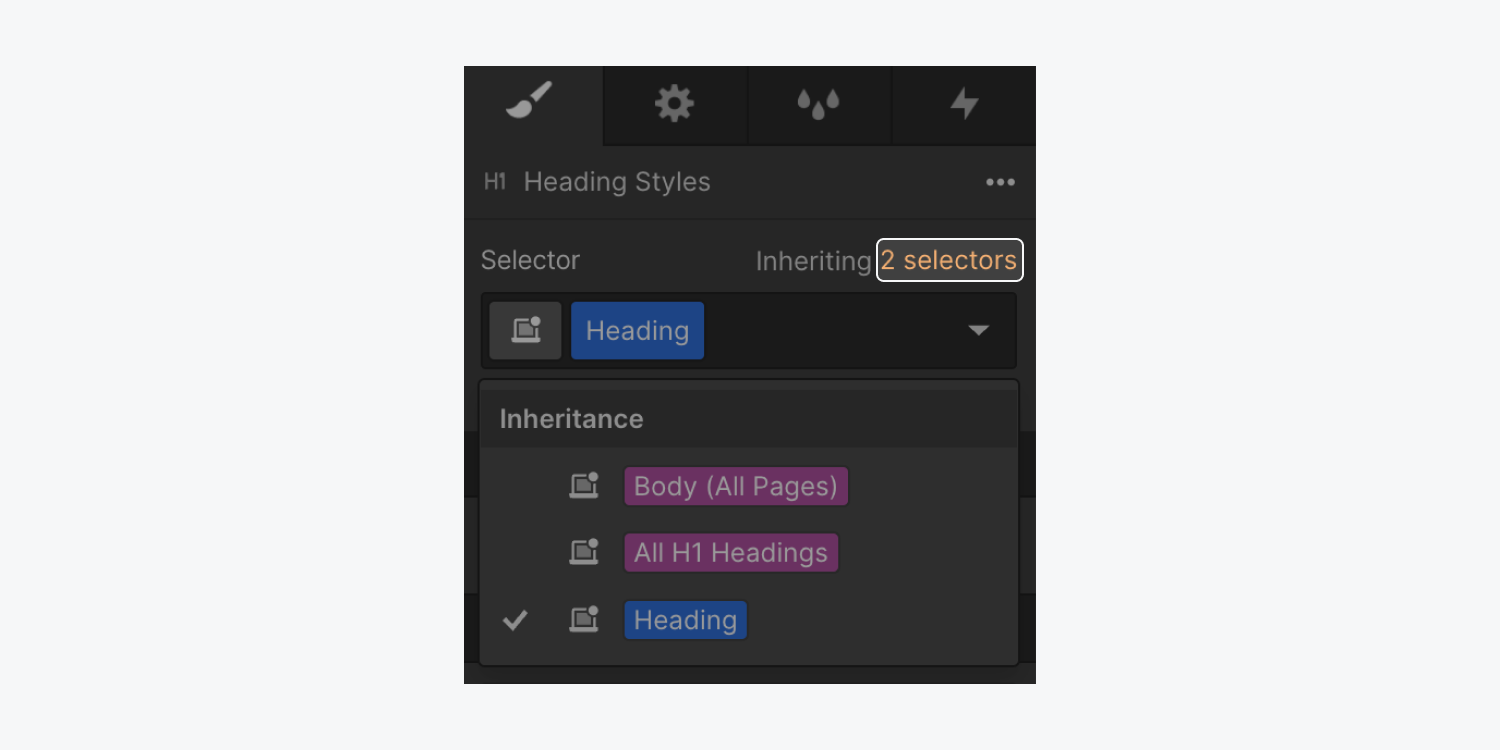
To observe and pick a tag on an element with a class applied using the inheritance menu:
- Select an element with a class
- Tap the inheritance menu link above the Selector field in the Style panel
- Choose the tag (e.g., All paragraphs)
- Apply styles
Modifications made in Body (All pages) serve as a starting point, marking a notable contrast between tags and classes — tags enable you to determine the default styling for groupings of elements.
Selecting the Body (All pages) for style changes implies that all new and existing elements will inherit styles from the Body (All pages) element. The Body (All pages) allows you to define default styles such as font, font size, font color, line height, and default background color.
You can utilize classes to supersede any default styles on your site.
How to customize heading elements
When you insert a Heading to your site, it adopts any styles established on the Body (All pages) element. (Don’t overlook — you can verify style inheritance using the inheritance menu above the Selector field in the Style panel.)
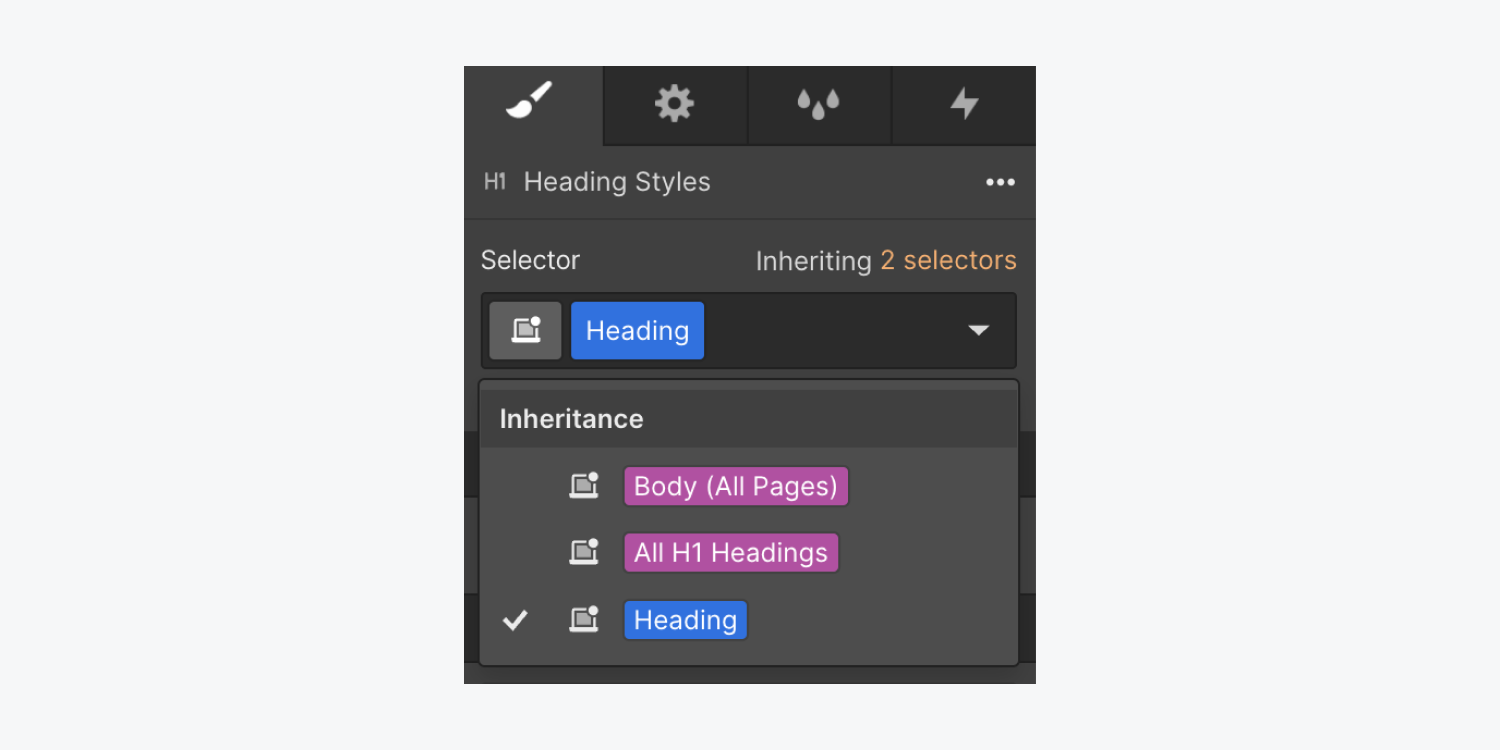
If you wish to overwrite a style without adding that class to each heading, enter the Selector field and opt for All H1 Headings. This will demonstrate that the font is still being inherited from Body (All pages), which is anticipated. Consequently, on changing the font, all your H1s will be updated.
For instance, if your default font is configuredChanging the font style to Tahoma on the Body (All pages) tag will automatically apply Tahoma to all new H1 headings. If you adjust the font for the All H1 Headings tag to Playfair, then all H1 headings will display in Playfair. Adding a class to a specific H1 heading and setting the font to Raleway will change that particular H1 (along with others using the same class) to Raleway.
Keep in mind: Elements seek the closest styling information in the hierarchy.
An element, like an H1, may have a class that dictates its styling. If the class lacks certain styling details, the H1 will refer to the next level up and adopt styling cues from the All H1 Headings tag, which, in turn, follows the styling from the Body (All pages) tag.
Remember: Tags help in defining default styles, while classes enable overriding those defaults.
Helpful hint: Typography styles for headings are typically distinct from paragraph styles. It’s a common practice to use the same font family across all heading tags (H1-H6).
How to customize paragraph tags
Select any paragraph (without a specific class) and access the All Paragraphs tag in the Style panel to make style adjustments.
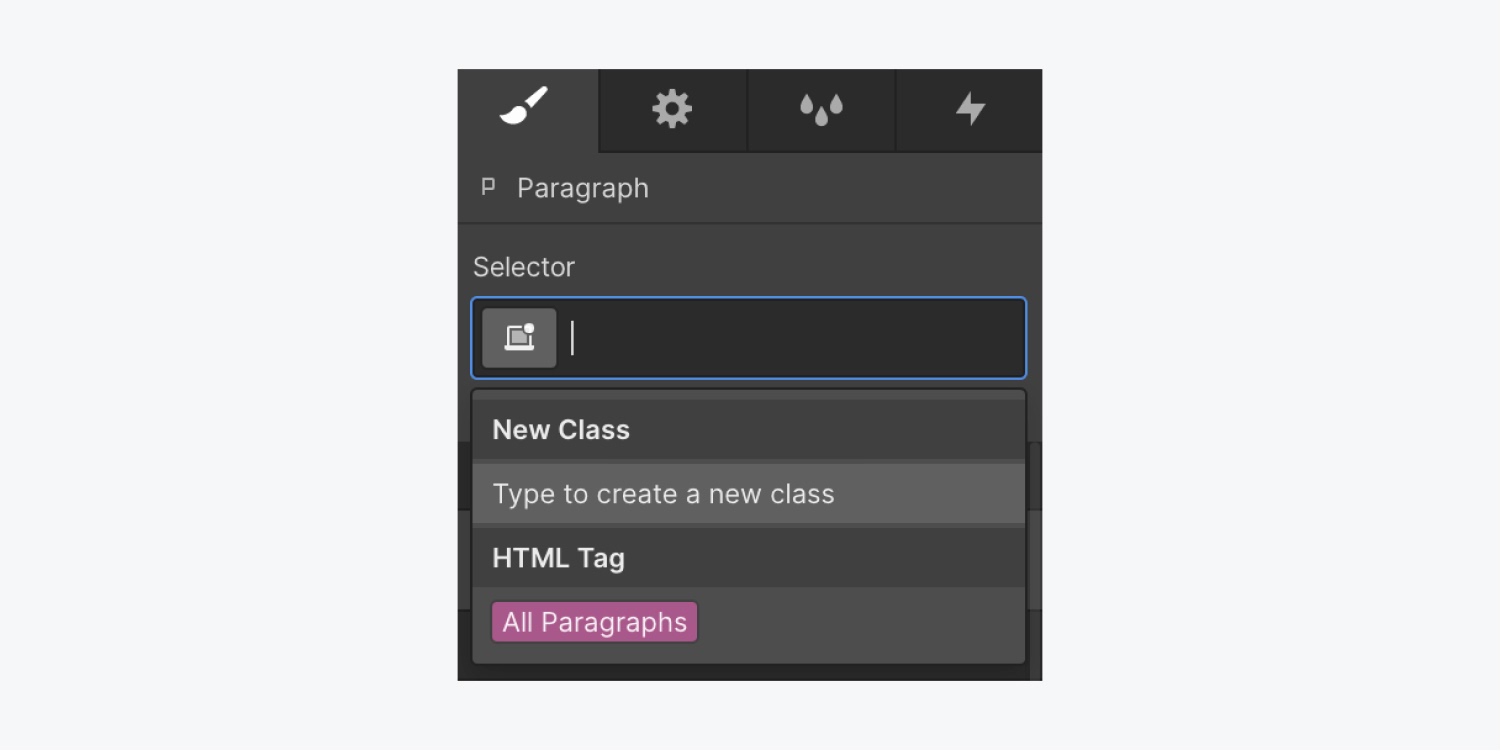
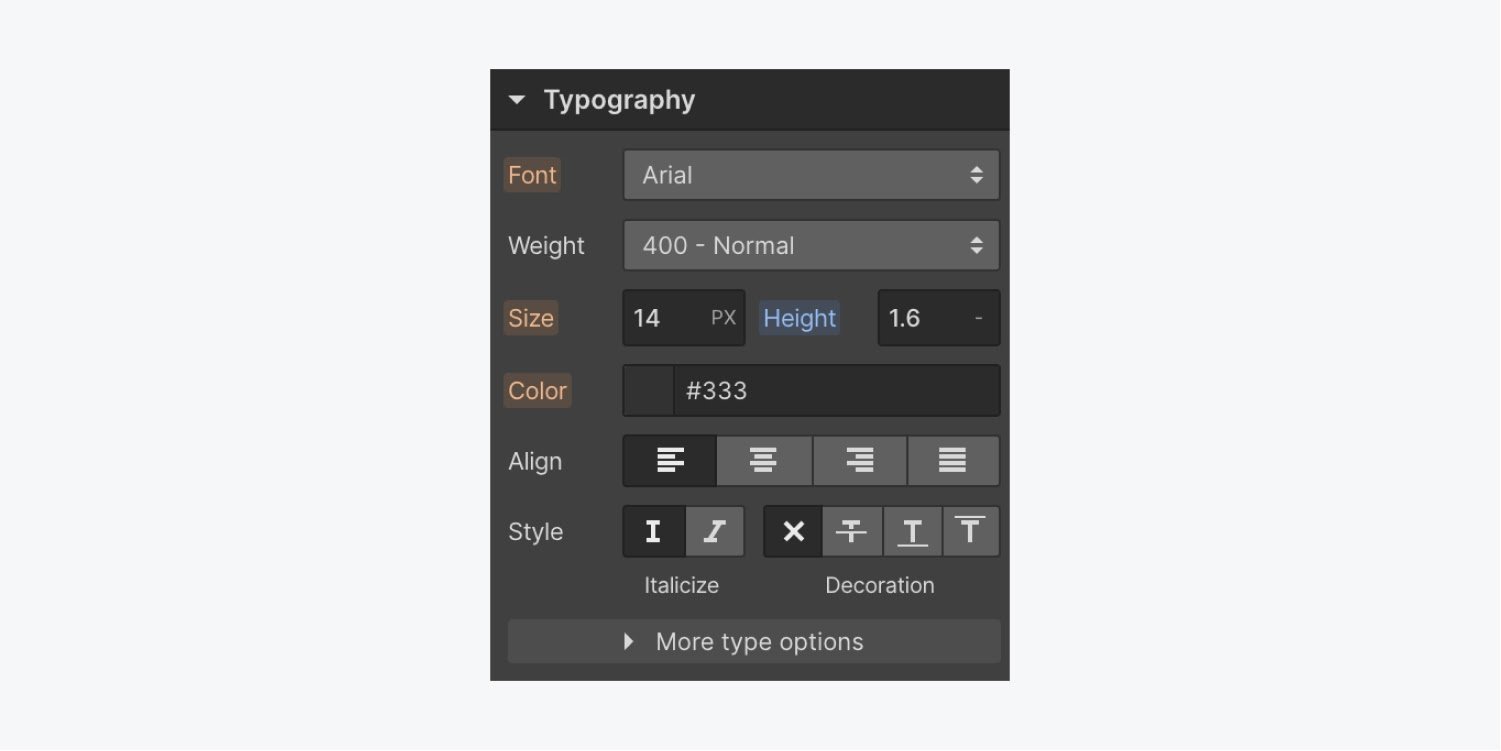
For instance, you can modify the line height by:
- Accessing the height field under Typography
- Adjusting the value (e.g., to 1.6)
- Converting it to a unitless value by typing a hyphen or selecting one from the unit dropdown
Pro tip: Unitless ensures the line height adjusts proportionally with the font size.
You can use the All Paragraphs tag to insert space between paragraphs, similar to the effect of hitting “Return” or “Enter” on a keyboard. Line height prevents text merging from line to line, while bottom margin allows for vertical spacing between paragraphs.
How to personalize link tags
To add a Link to your website, you can:
- Select it from the Add Elements panel
- Double-click on existing text on the canvas
- Highlight the desired text for linking and create a nested text link
To make default style alterations to your links:
- Access the Selector field
- Choose the All links tag
- Modify text decoration or font color
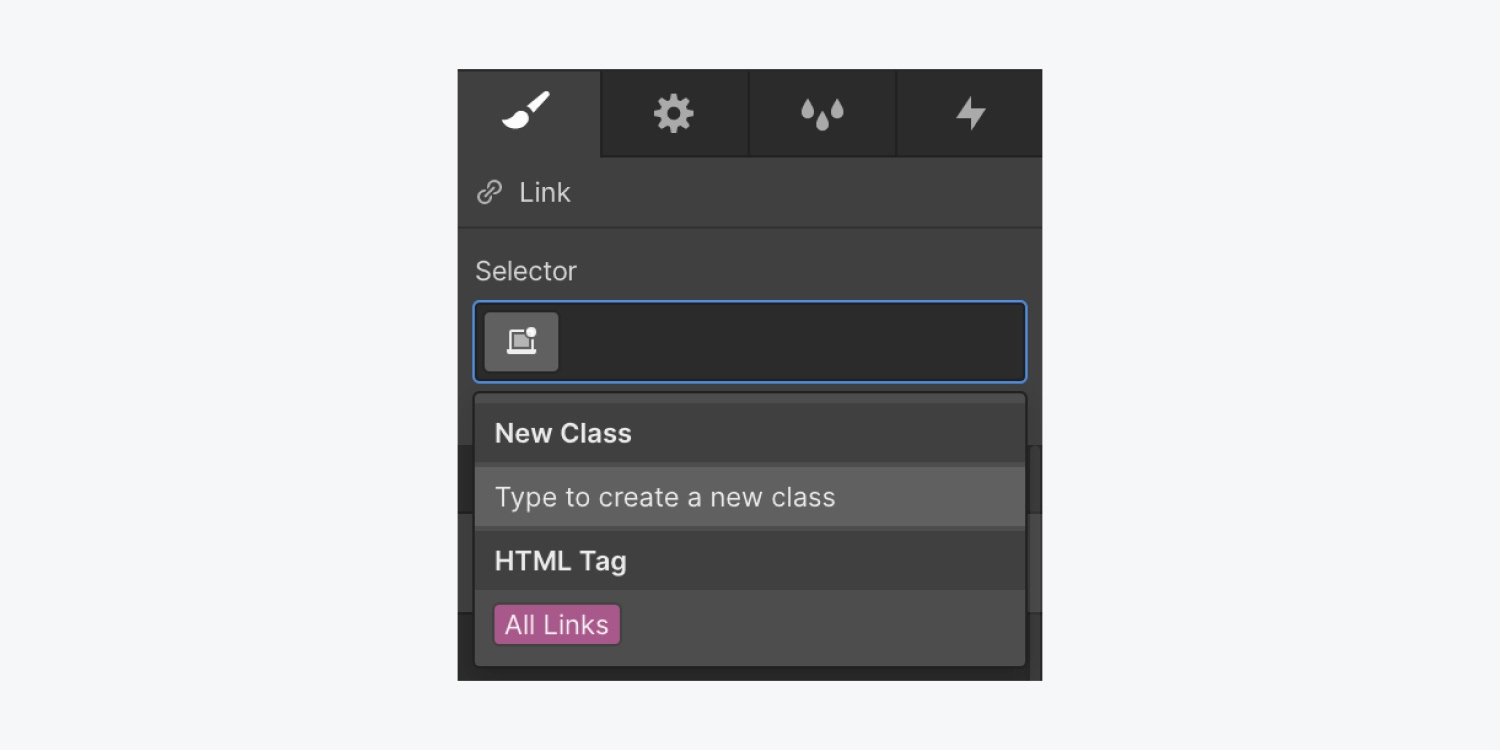
Any new links added will inherit the default styles defined on the All links tag.
Critical: The styles applied to the All links tag impact various link types beyond text links. For example, changes made to the font color on the All links tag with the hover state activated will affect all linked elements, like buttons. If needed, you may need to override these hover state styles on your button class.
Tags are beneficial for setting global defaults but can have wide-reaching effects if not managed carefully. Remember to visually review the elements impacted by tag-based style adjustments.
How to devise a tag-based style guide
A style guide allows you to establish default site styles early in the design process. Webflow has produced a tag-based style guide that you can duplicate to jumpstart your new website with a polished style guide.
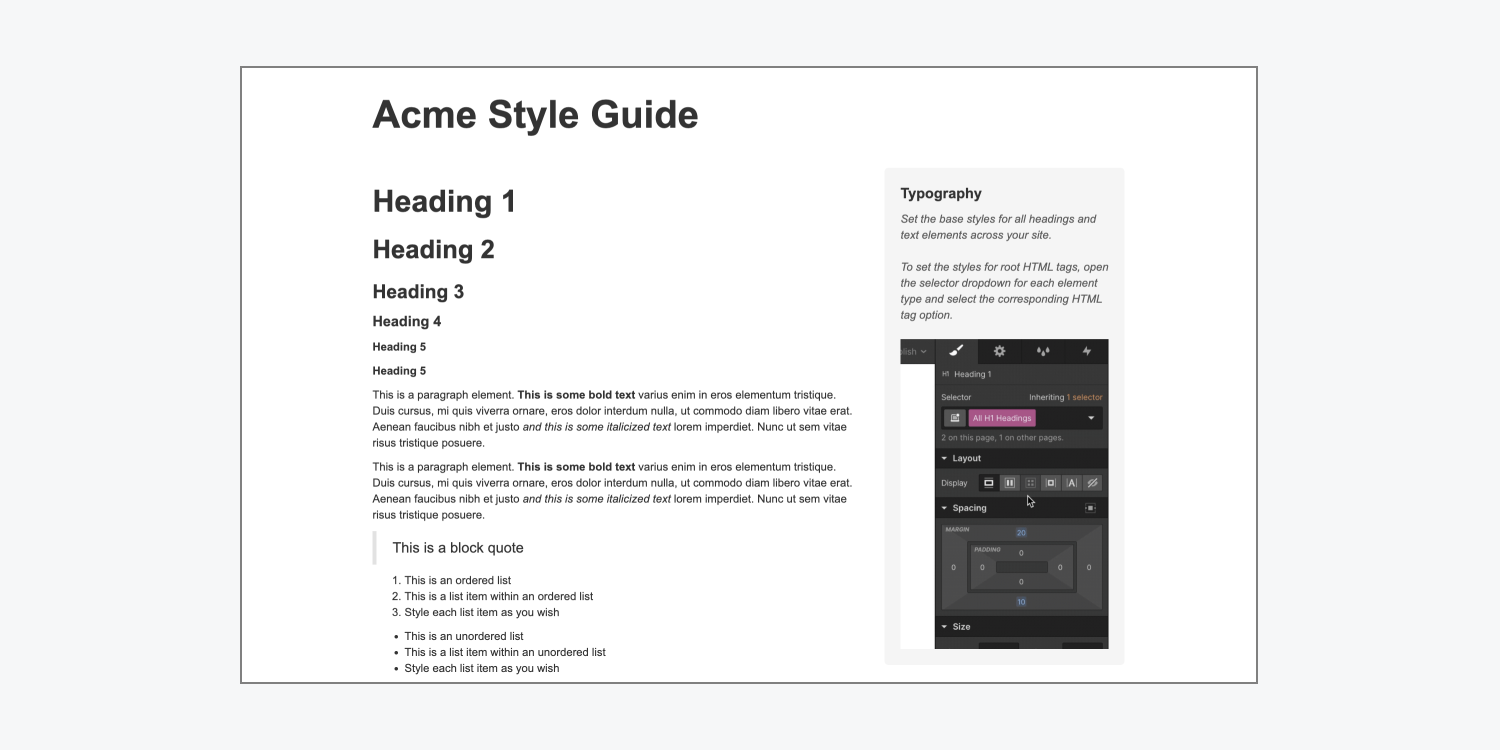
Note: Remember to secure the style guide’s content or prevent search engines from indexing it if you prefer to keep it private and not searchable online.
How to craft your simplistic style guide template
Style guides act as dedicated pages where common elements are structured and styled for easy previewing of default styles. You can create a style guide template to expedite the creation of style guides for each new website you make.
To create a style guide template:
- Establish a single-page site
- Include a section on the page
- Add at least one instance of each element with an HTML tag for styling
- Avoid applying classes to these elements
To utilize this template on a new site:
- Develop a new page on your new site
- Name the page (e.g., “Style guide”)
- Save the page as a draft
- Go to the template site
- Select and copy the section
- Paste it onto the “Style guide” page of your new site
- Select each element and style its HTML tag accordingly
Vital: Do not overlook styling the Body (All pages) tag — as you can’t duplicate/paste a page’s body, you need to set its style on the “Style guide” page of your new site by styling the Body (All Pages) tag. Refer to additional details about the Body element.
- Include or eliminate Workspace spots and members - April 15, 2024
- Centering box summary - April 15, 2024
- Store a site for future reference - April 15, 2024
