Within the scope of our series concerning After Effects and Lottie in Webflow, we devised a page load transition in After Effects employing the Bodymovin plug-in. This guide will walk you through the process of integrating it into our project so it displays on the screen before vanishing once the page completes loading.
Topics covered in this instructional:
- Incorporate the Lottie transition into our project
- Establish the trigger
- Configure the transition to fade away
Integrate the Lottie transition into our project
You must export your Lottie transition from After Effects and upload it to your Webflow project. We exported the transition using Bodymovin. Discover how to execute this in steps 3 and 4 of our comprehensive tutorial.
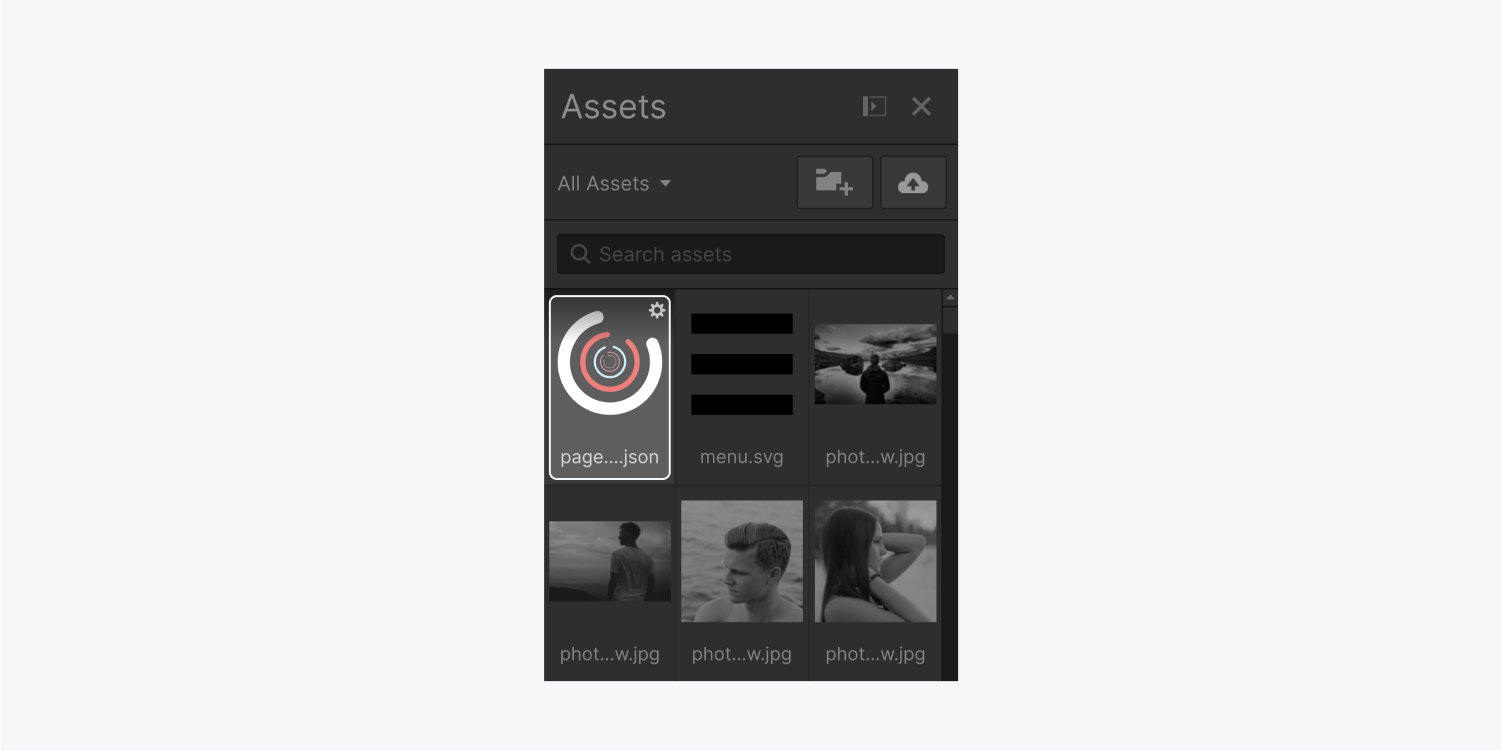
To locate and insert the transition, tap the image icon in the Assets panel located in the left toolbar and drop the transition at the top of the page.
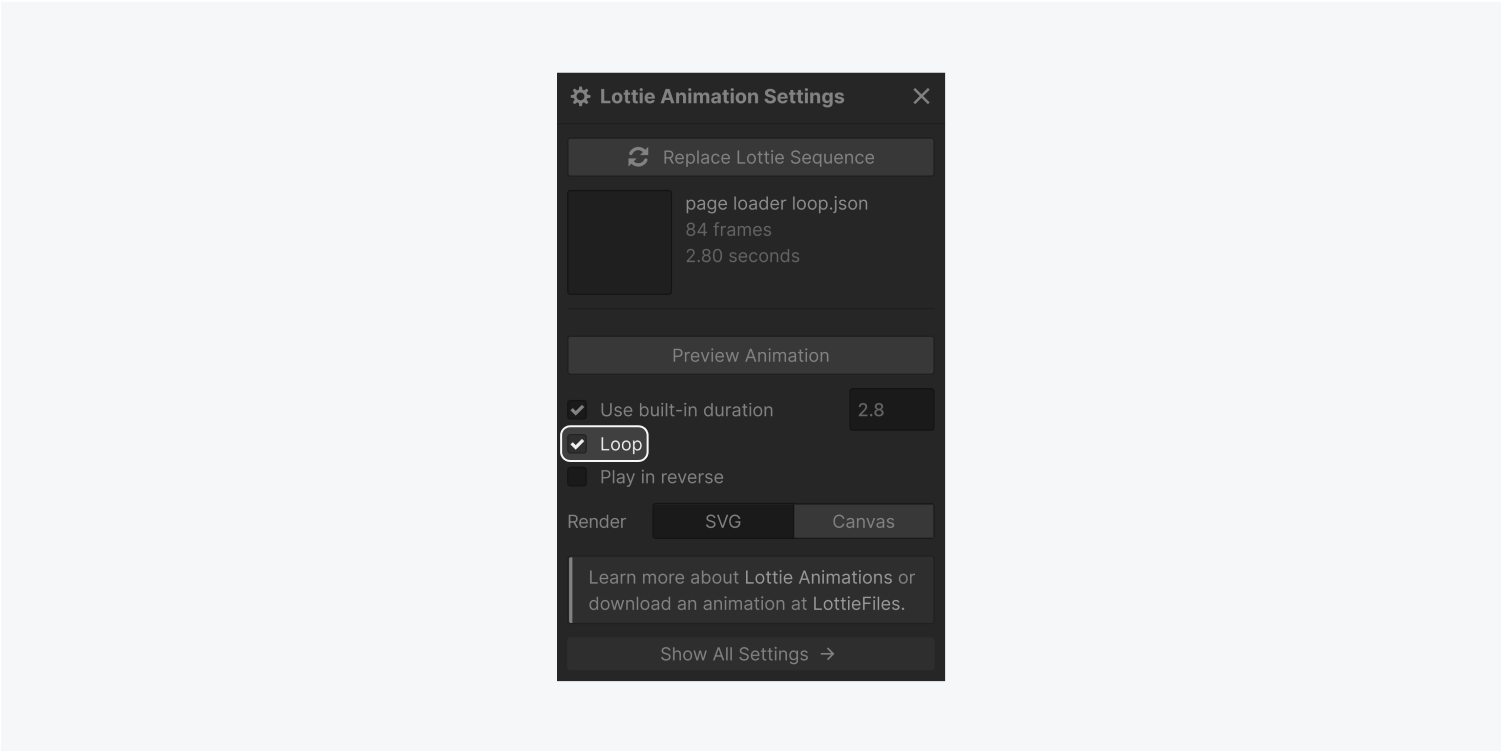
To loop the transition, enable Loop in the Lottie Animation Settings popup.
Close the settings window and within the Style panel on the right, pick Fixed from the dropdown list beside Position. This will dictate the transition’s position on the screen.
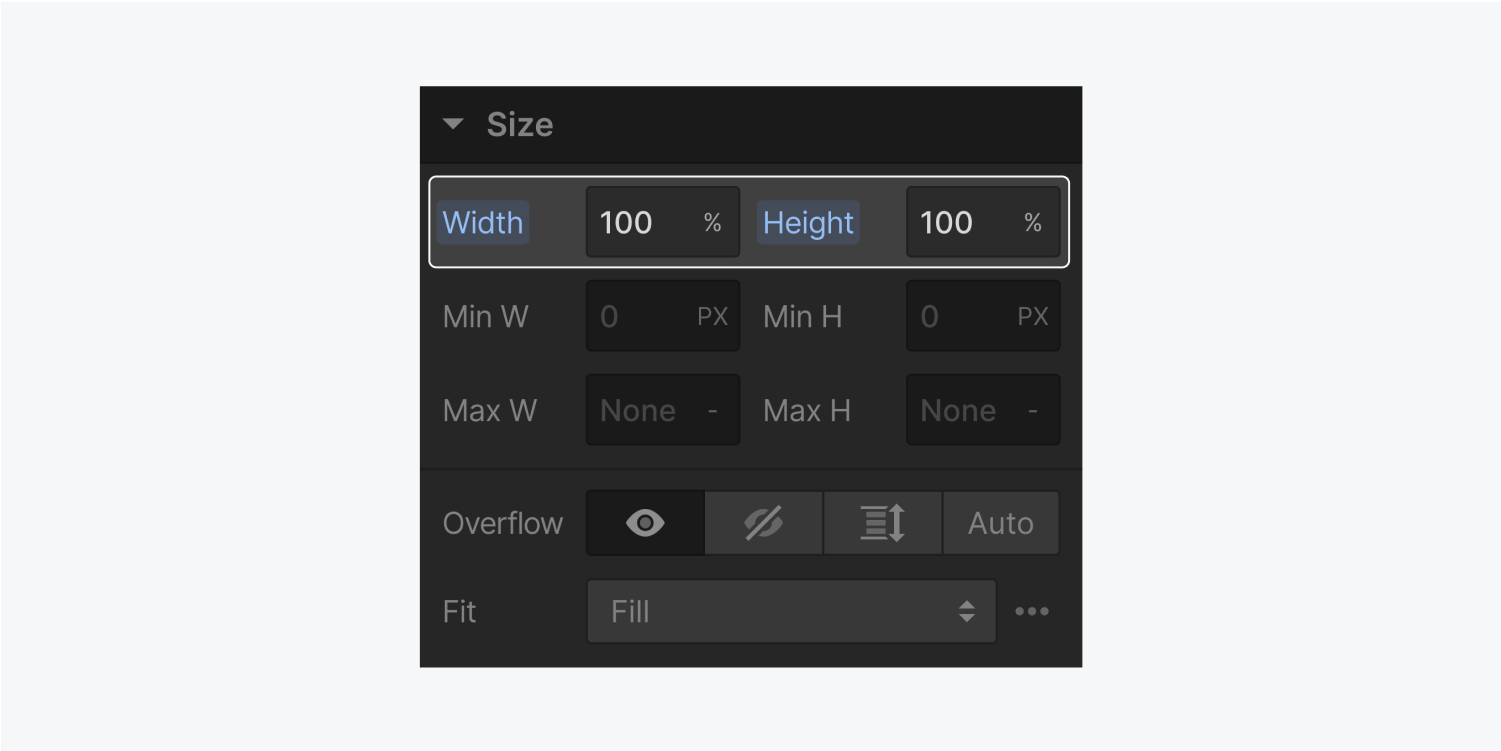
For Size, assign 100% as both the width and height.
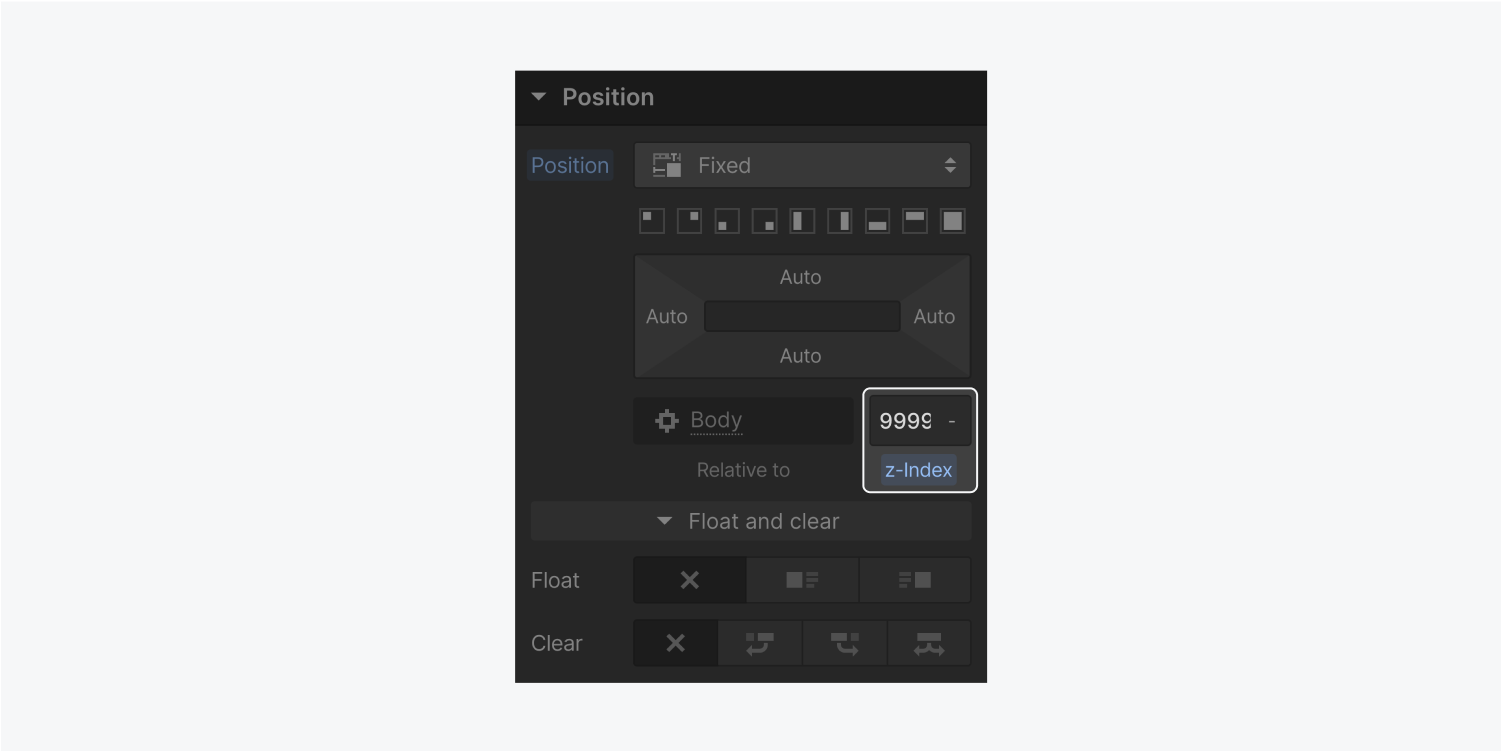
Within Position, allocate a high number to the z-index (the stacking order) such as 9999. This ensures the transition always sits on top.
If your transition features a transparent backdrop, you may additionally incorporate a background color.
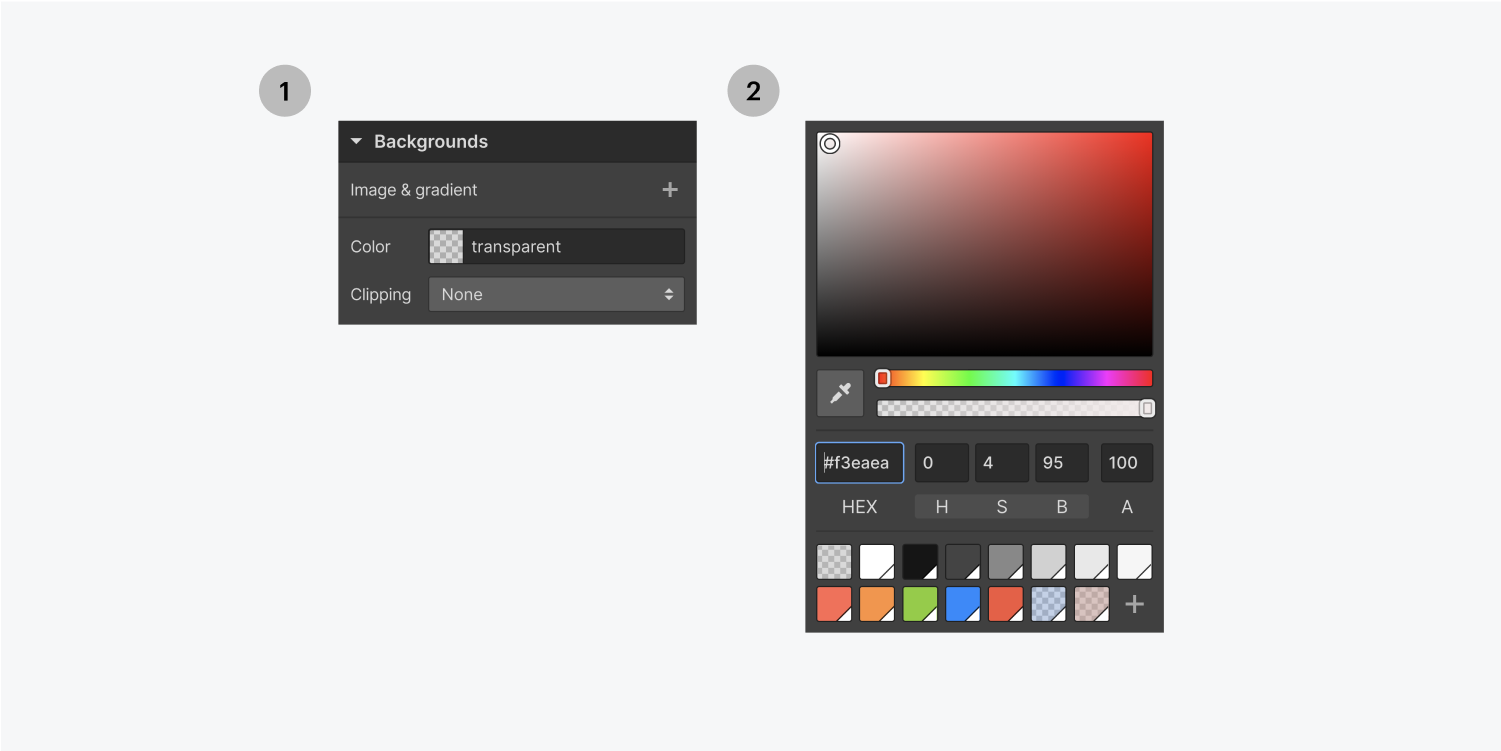
Great! Let’s proceed with configuring the trigger to conceal the transition upon page completion of loading.
Establish the trigger
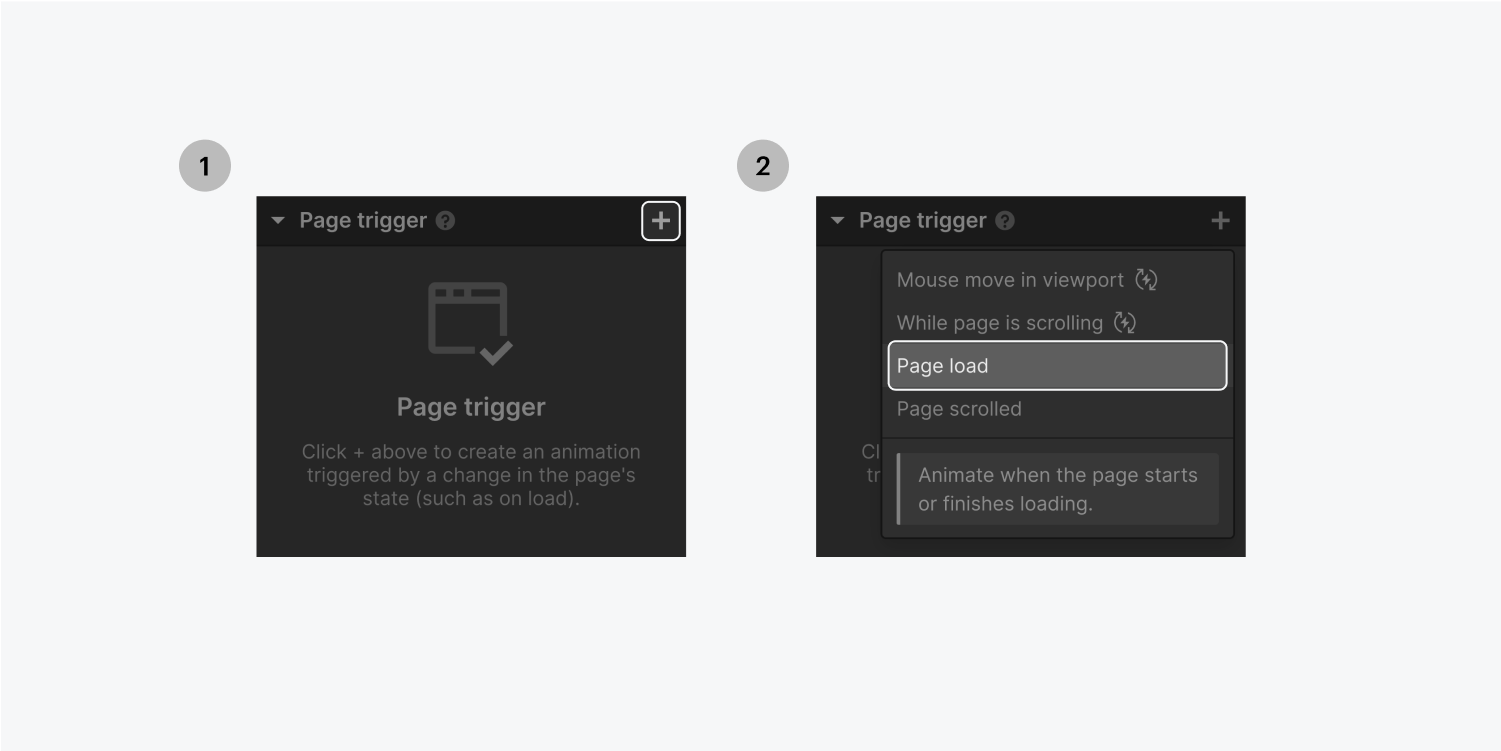
In the Interactions panel, hit the plus symbol adjacent to Page trigger and select Page load from the dropdown list.
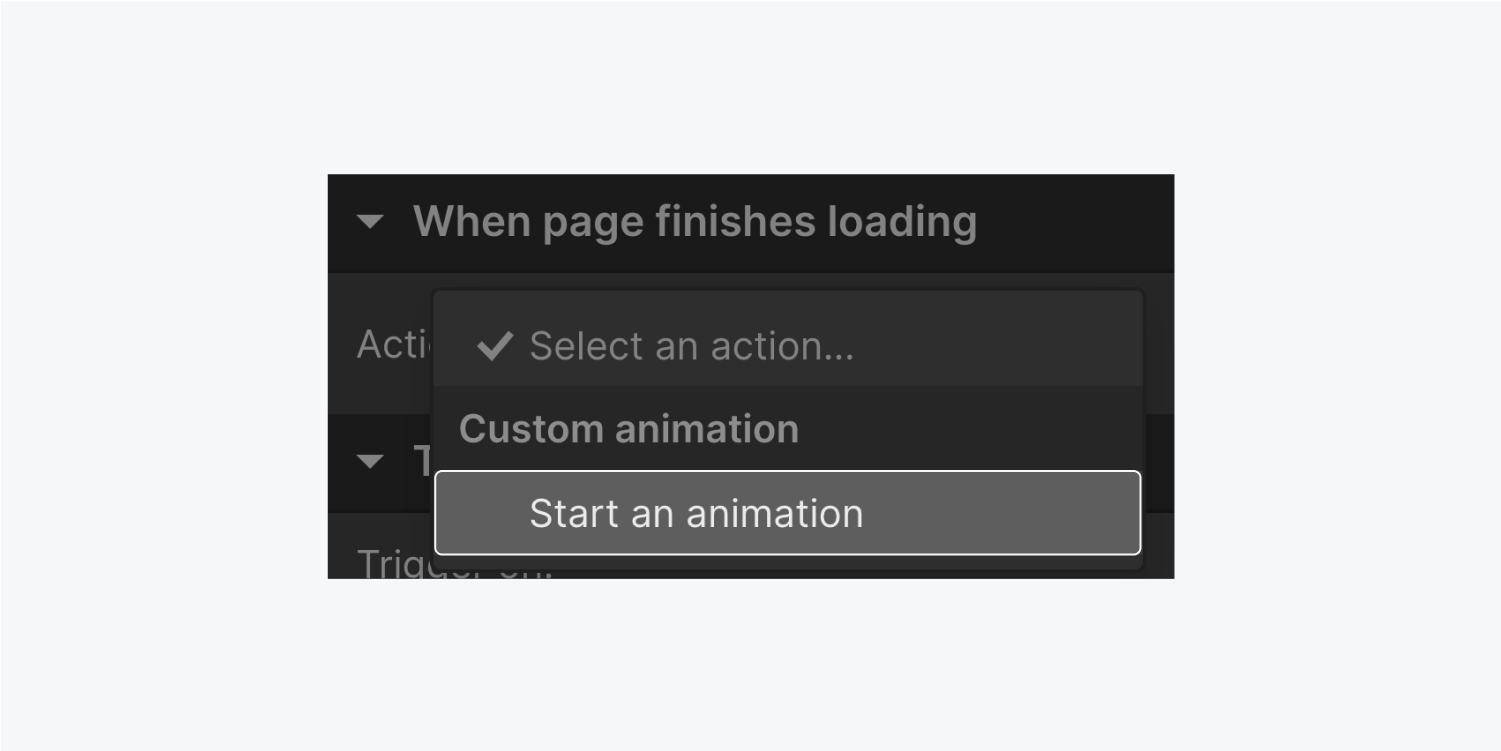
Beneath When page finishes loading, select Initiate an Animation from the Action menu.
To maintain organization, click the plus symbol beside Timed Animations and label your animation (e.g., Page loader).
Remain within the Interactions panel for the subsequent step where we ascertain the transition conceals upon page load completion.
Configure the transition to vanish
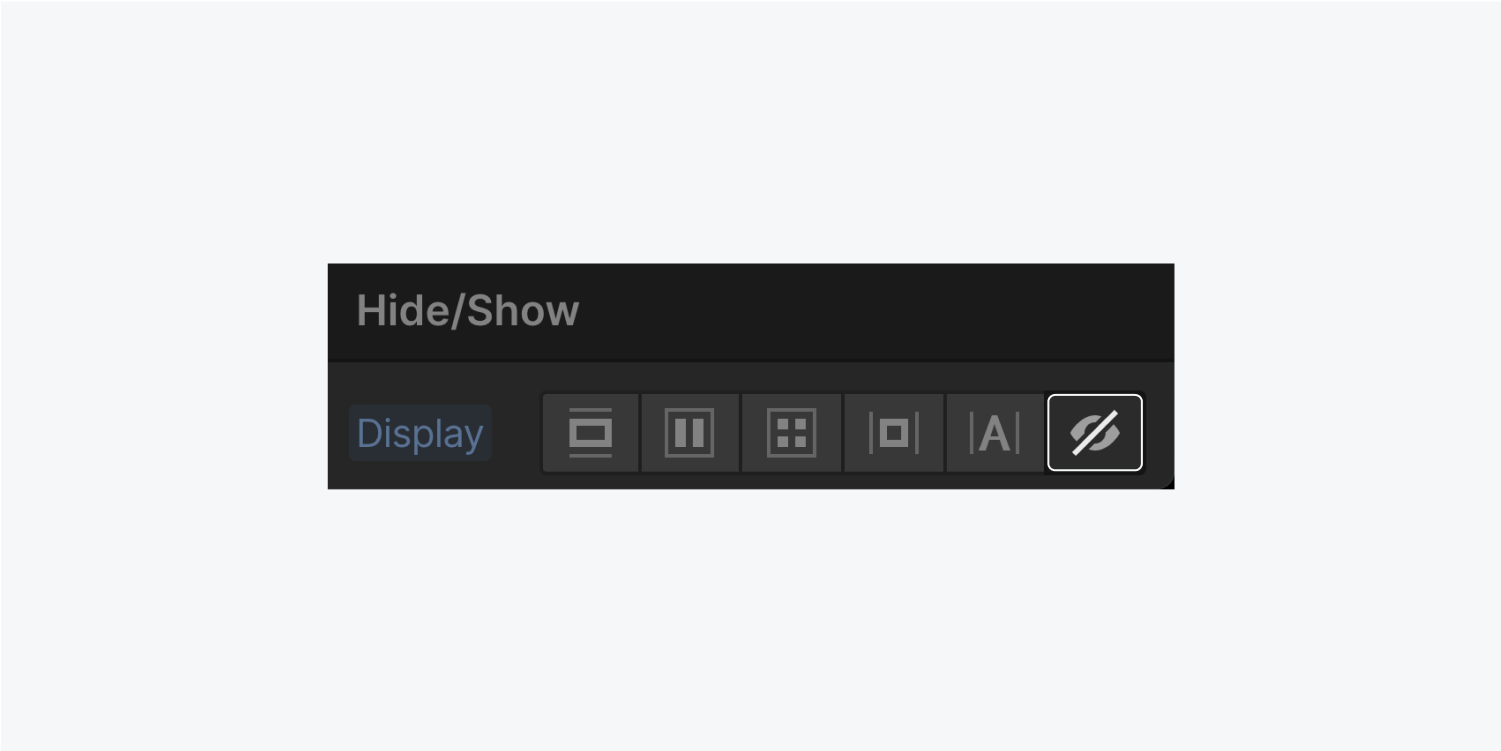
Select the plus symbol next to Timed Actions in the Interactions panel and opt for Hide/Show from the dropdown list.
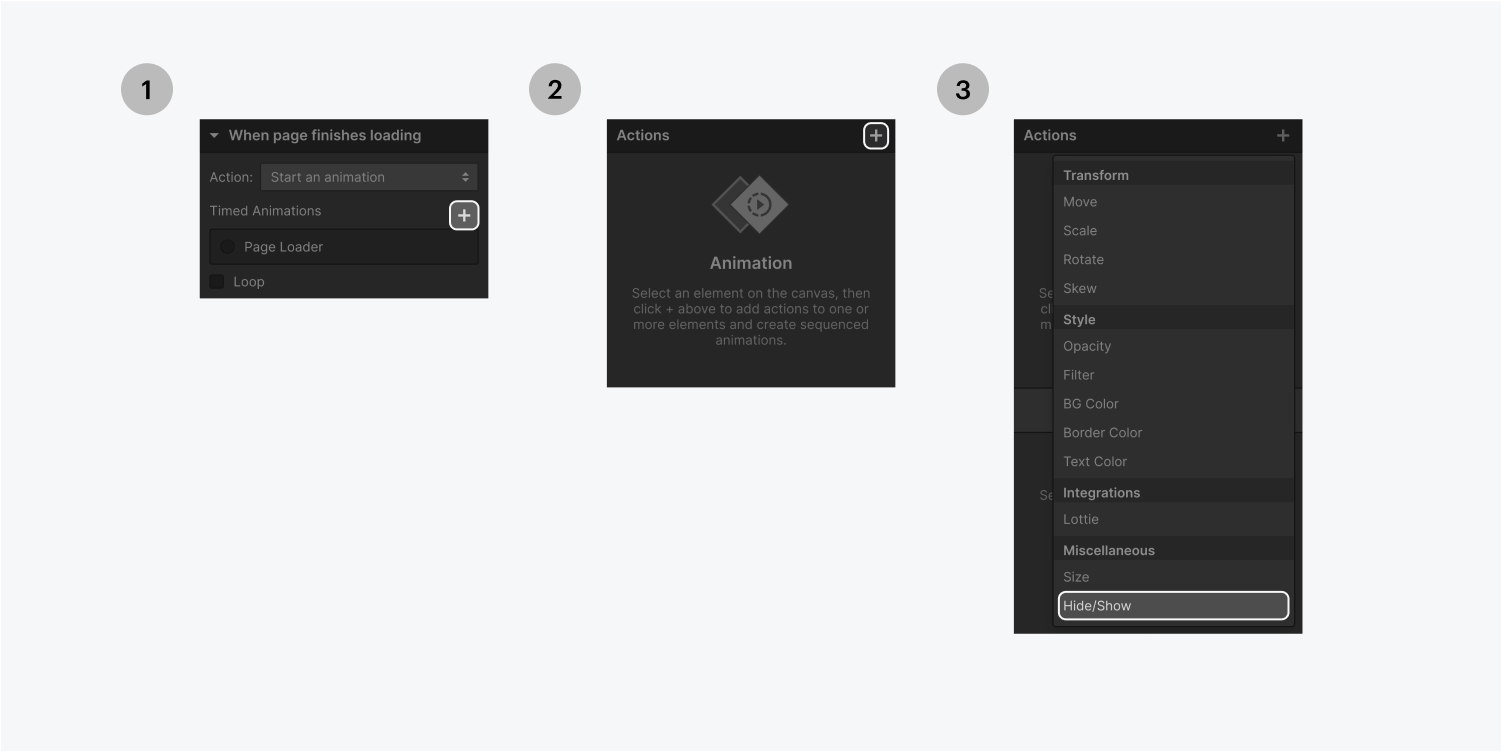
Beneath Hide/Show, configure the Display setting to none.
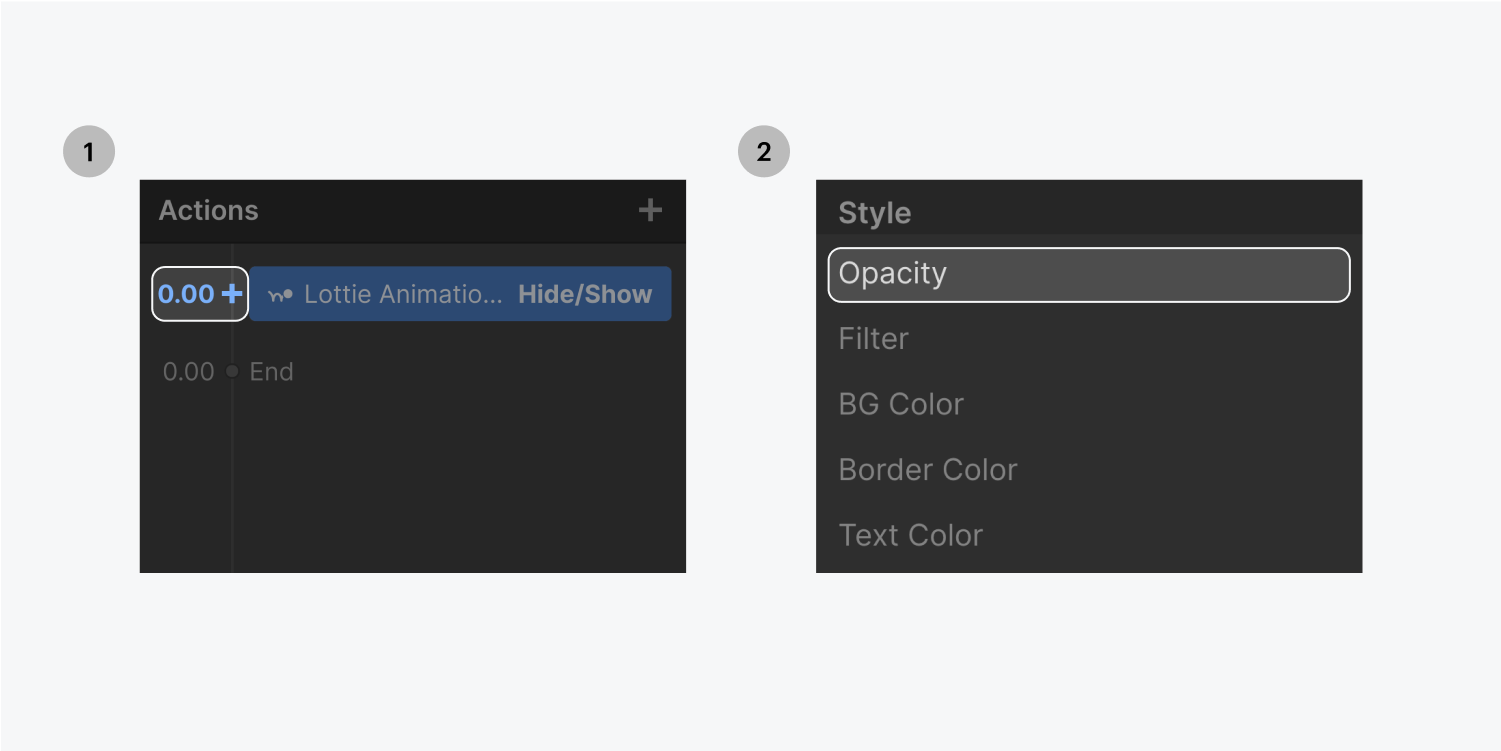
In the Timed Actions segment, tap 0.00 second in the timeline and select Opacity from the dropdown list.
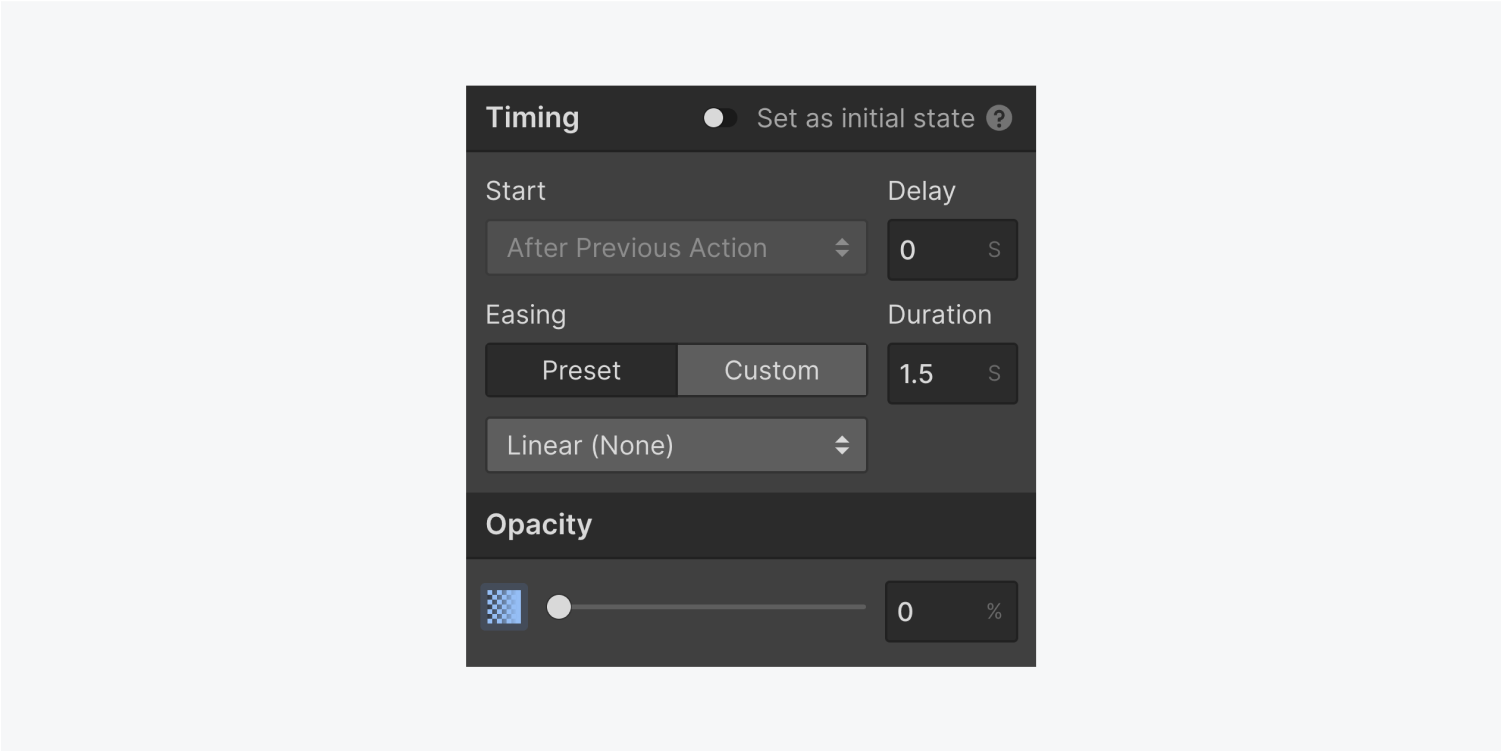
Adjust the Opacity to 0 and Duration to 1.5 seconds to gently fade out the transition.
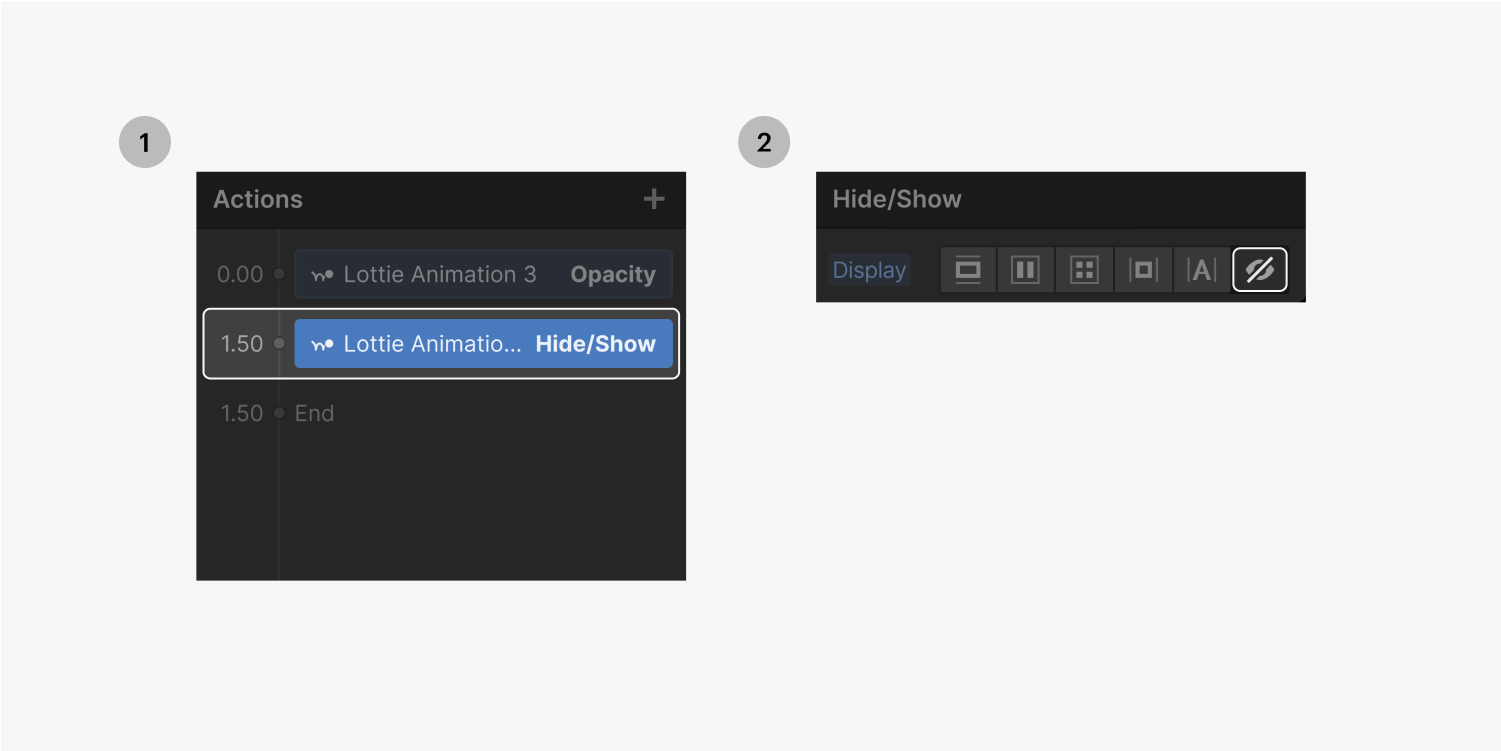
In the Timed Actions segment, press the Lottie Animation at 1.5 seconds on the timeline and within Hide/Show, set the Display to none.
Review your adjustments in preview mode — fine-tune your settings and tailor the transition to align perfectly with the page design you’re crafting.
- Include or eliminate Workspace spots and members - April 15, 2024
- Centering box summary - April 15, 2024
- Store a site for future reference - April 15, 2024
